
It began with a sketch in 2018

I did the initial design on my iPad with Procreate, and used that to build a 3D model in Solidworks. I went back and forth between 2D and 3D design tools since CAD can be quite rigid to use for testing new ideas.
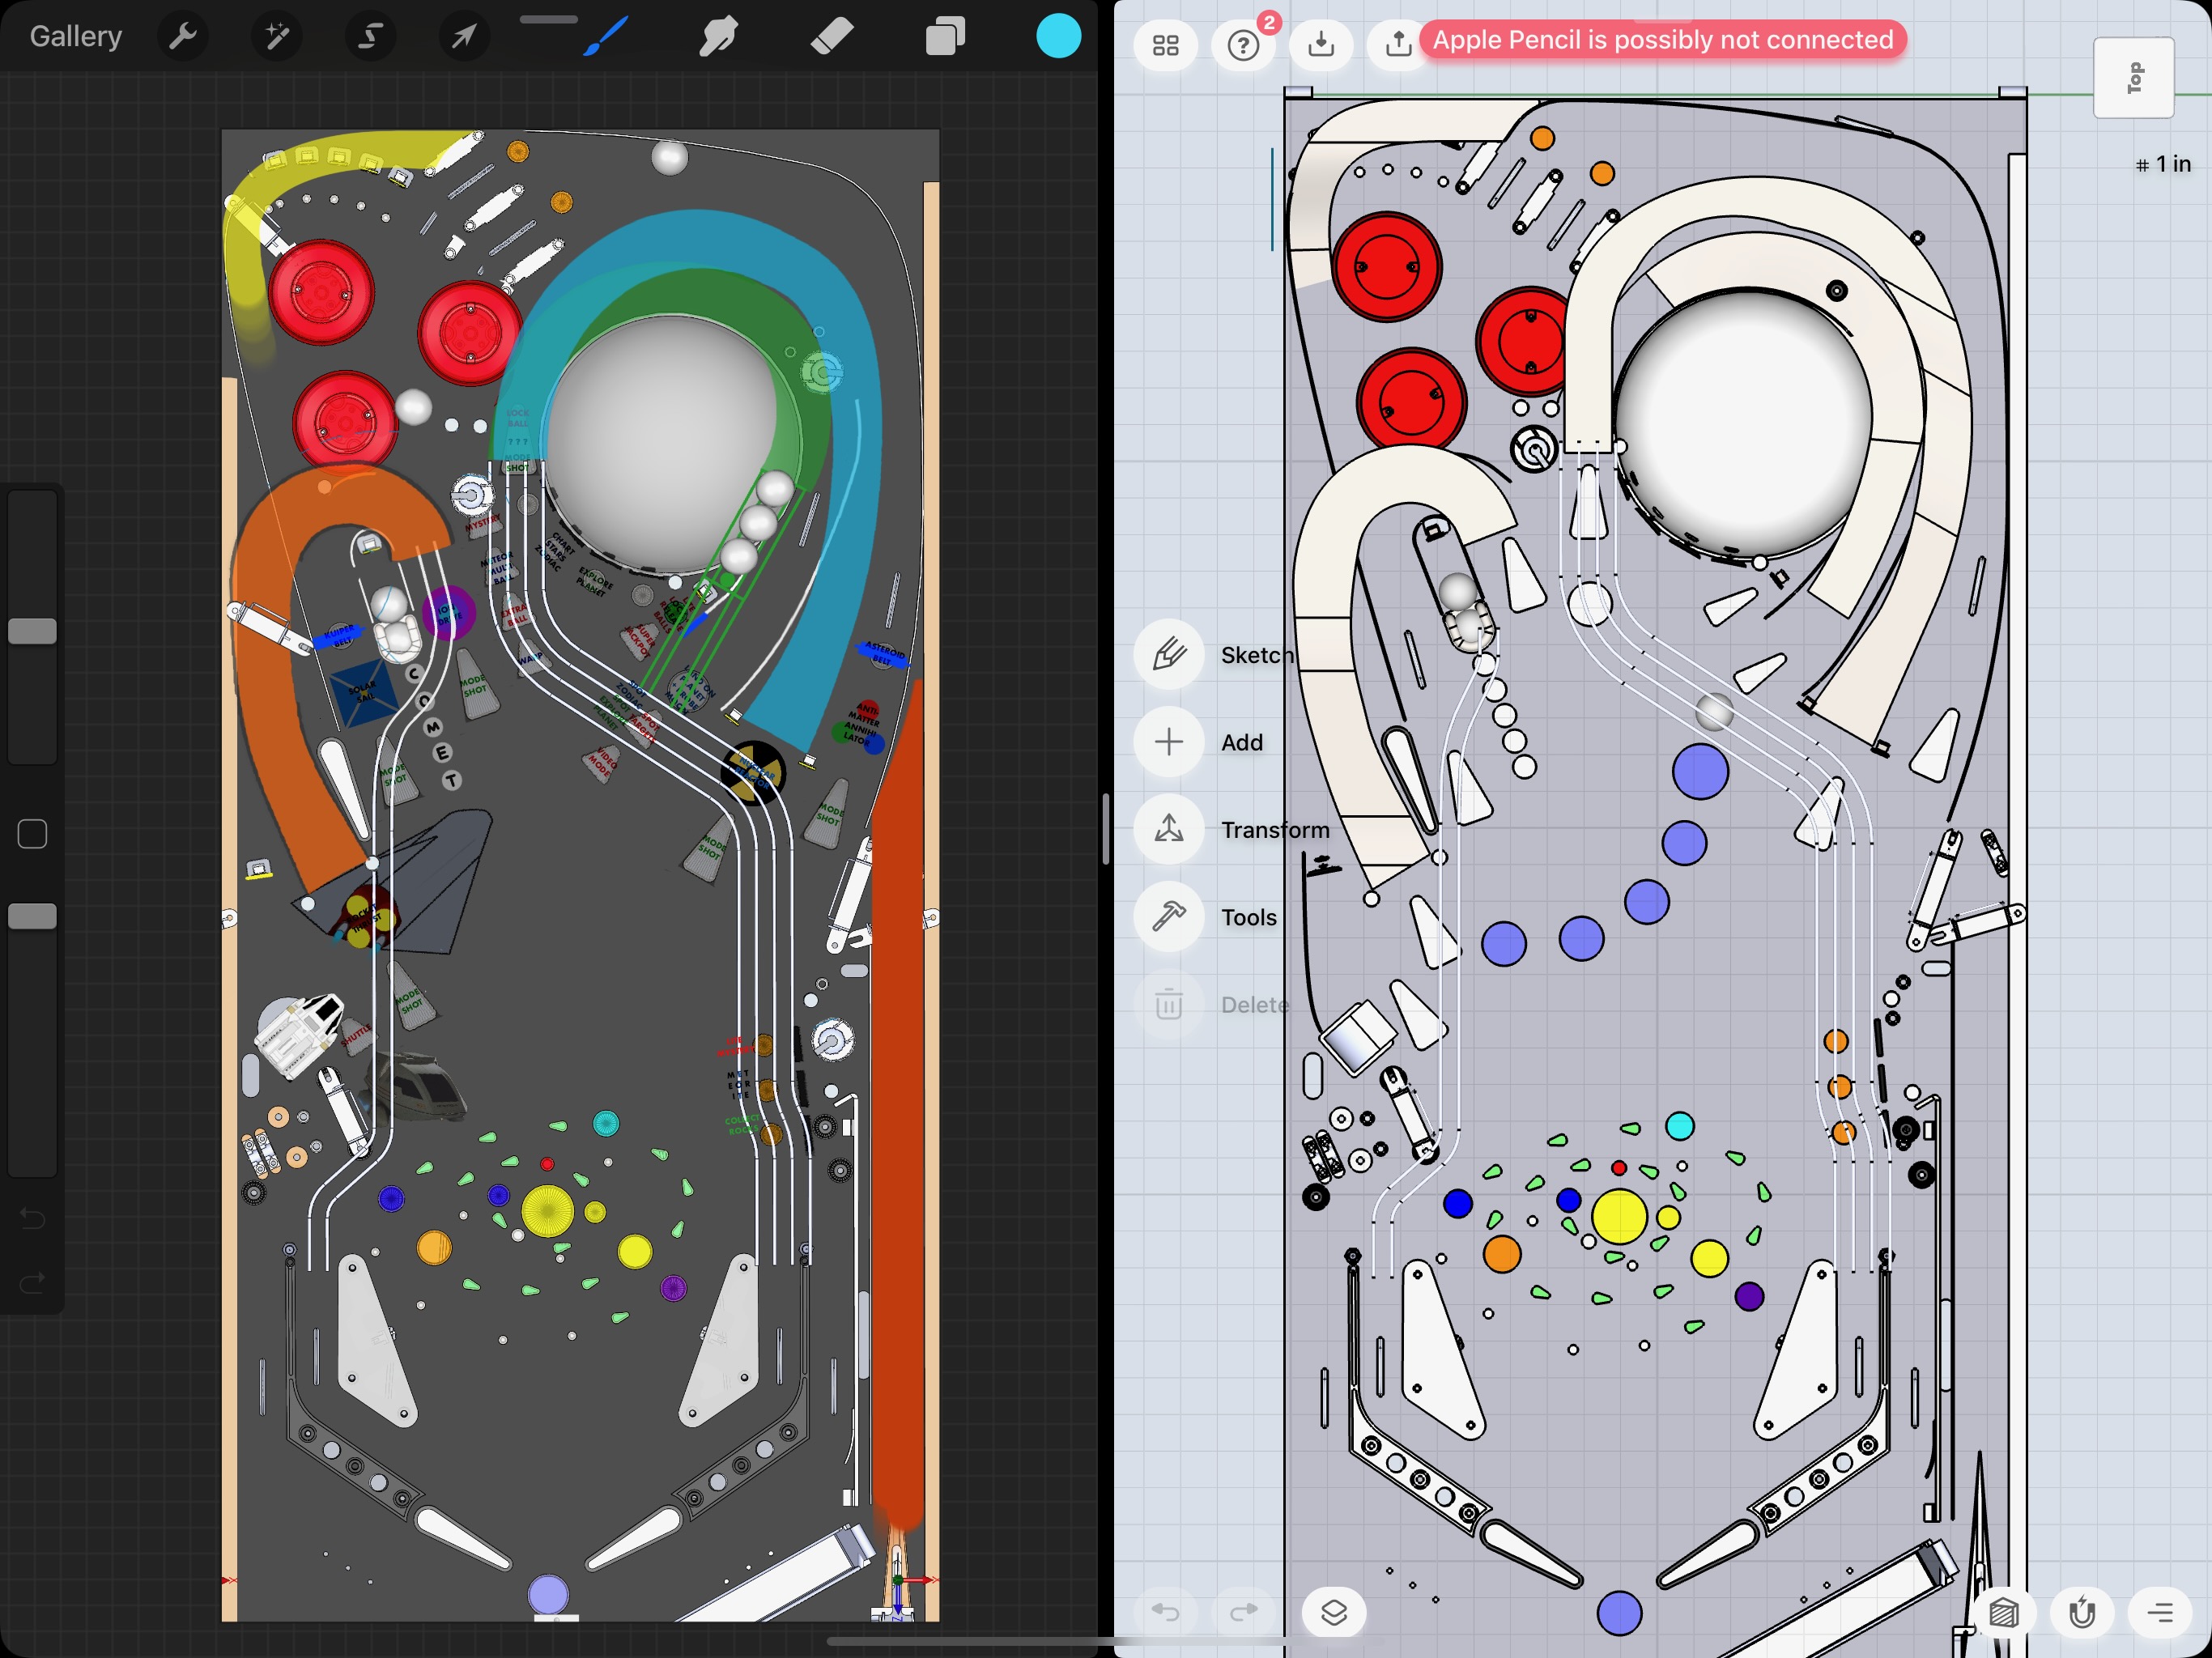
The Visual Pinball Engine project was just getting off the ground, and at the time the dev team was targeting a web player (instead of Unity, their current platform). I was able to create a rough table through Visual Pinball X and import into the Visual Pinball Engine framework, allowing me to play it on my iPhone!

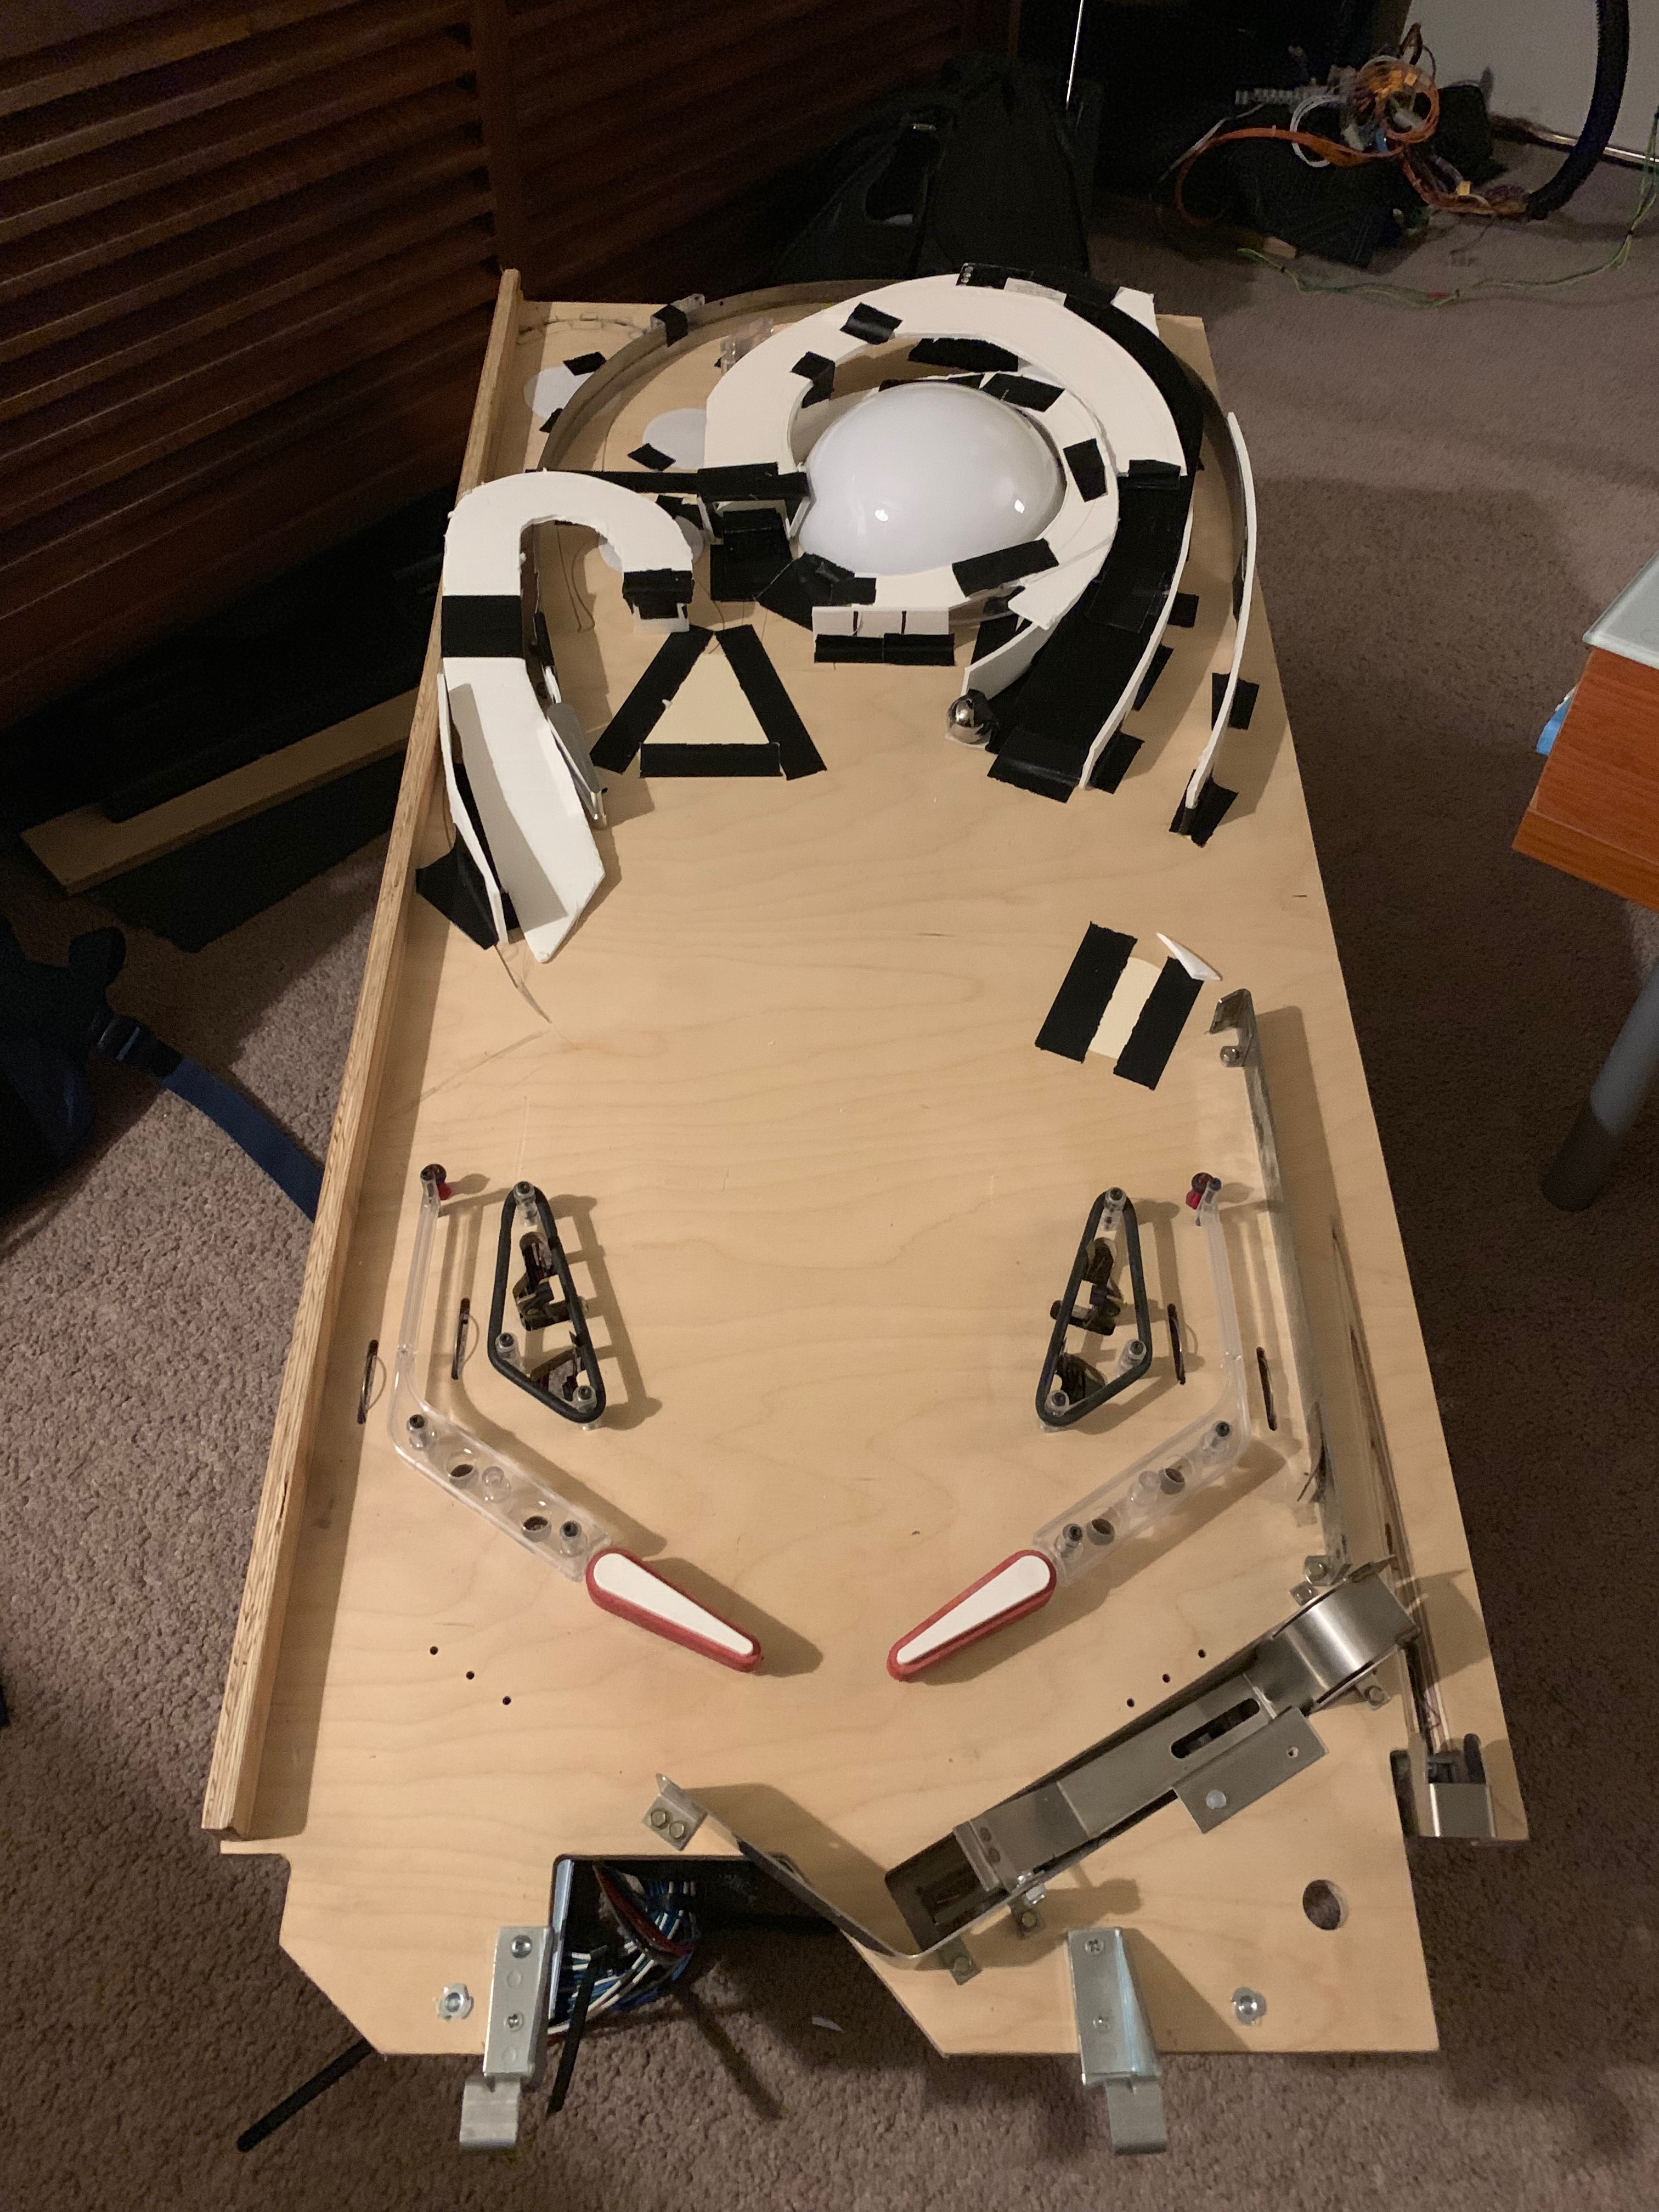
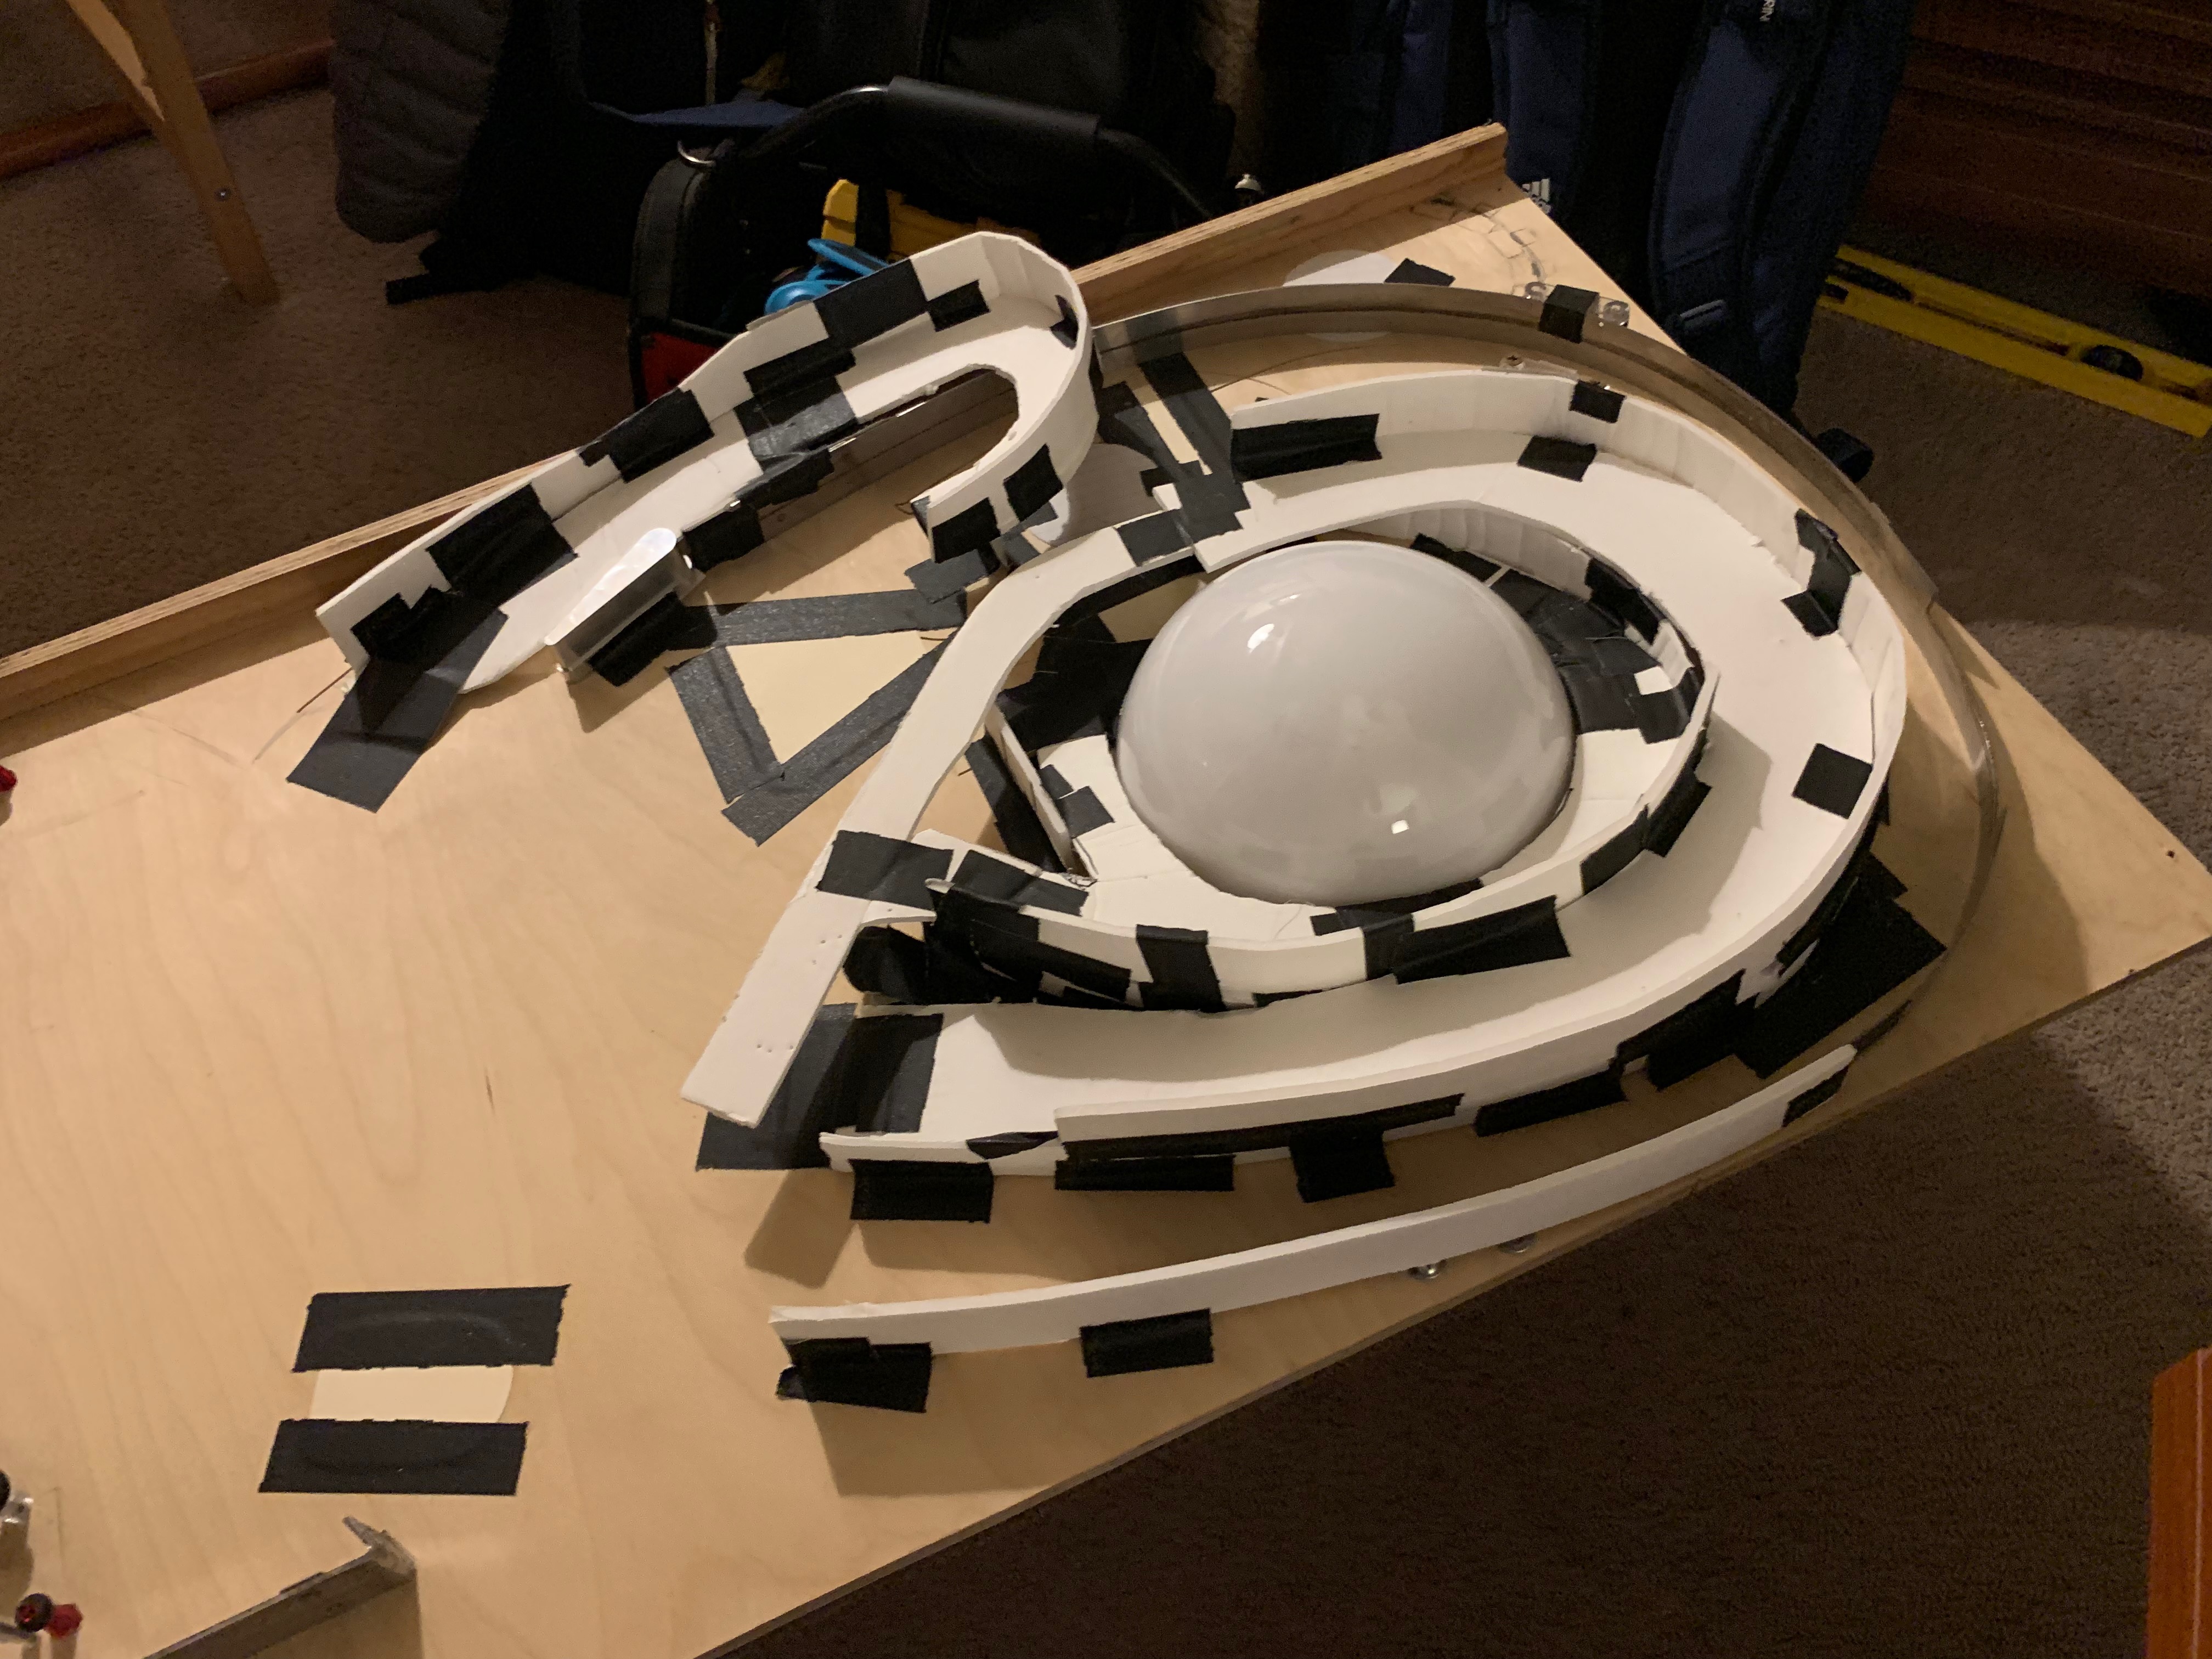
I had previously started building a Factory themed pinball machine back in 2015, but didn’t like the direction it was going. I taped up the playfield from that project and used it to lay out Gravity’s initial design with foam board and tape.

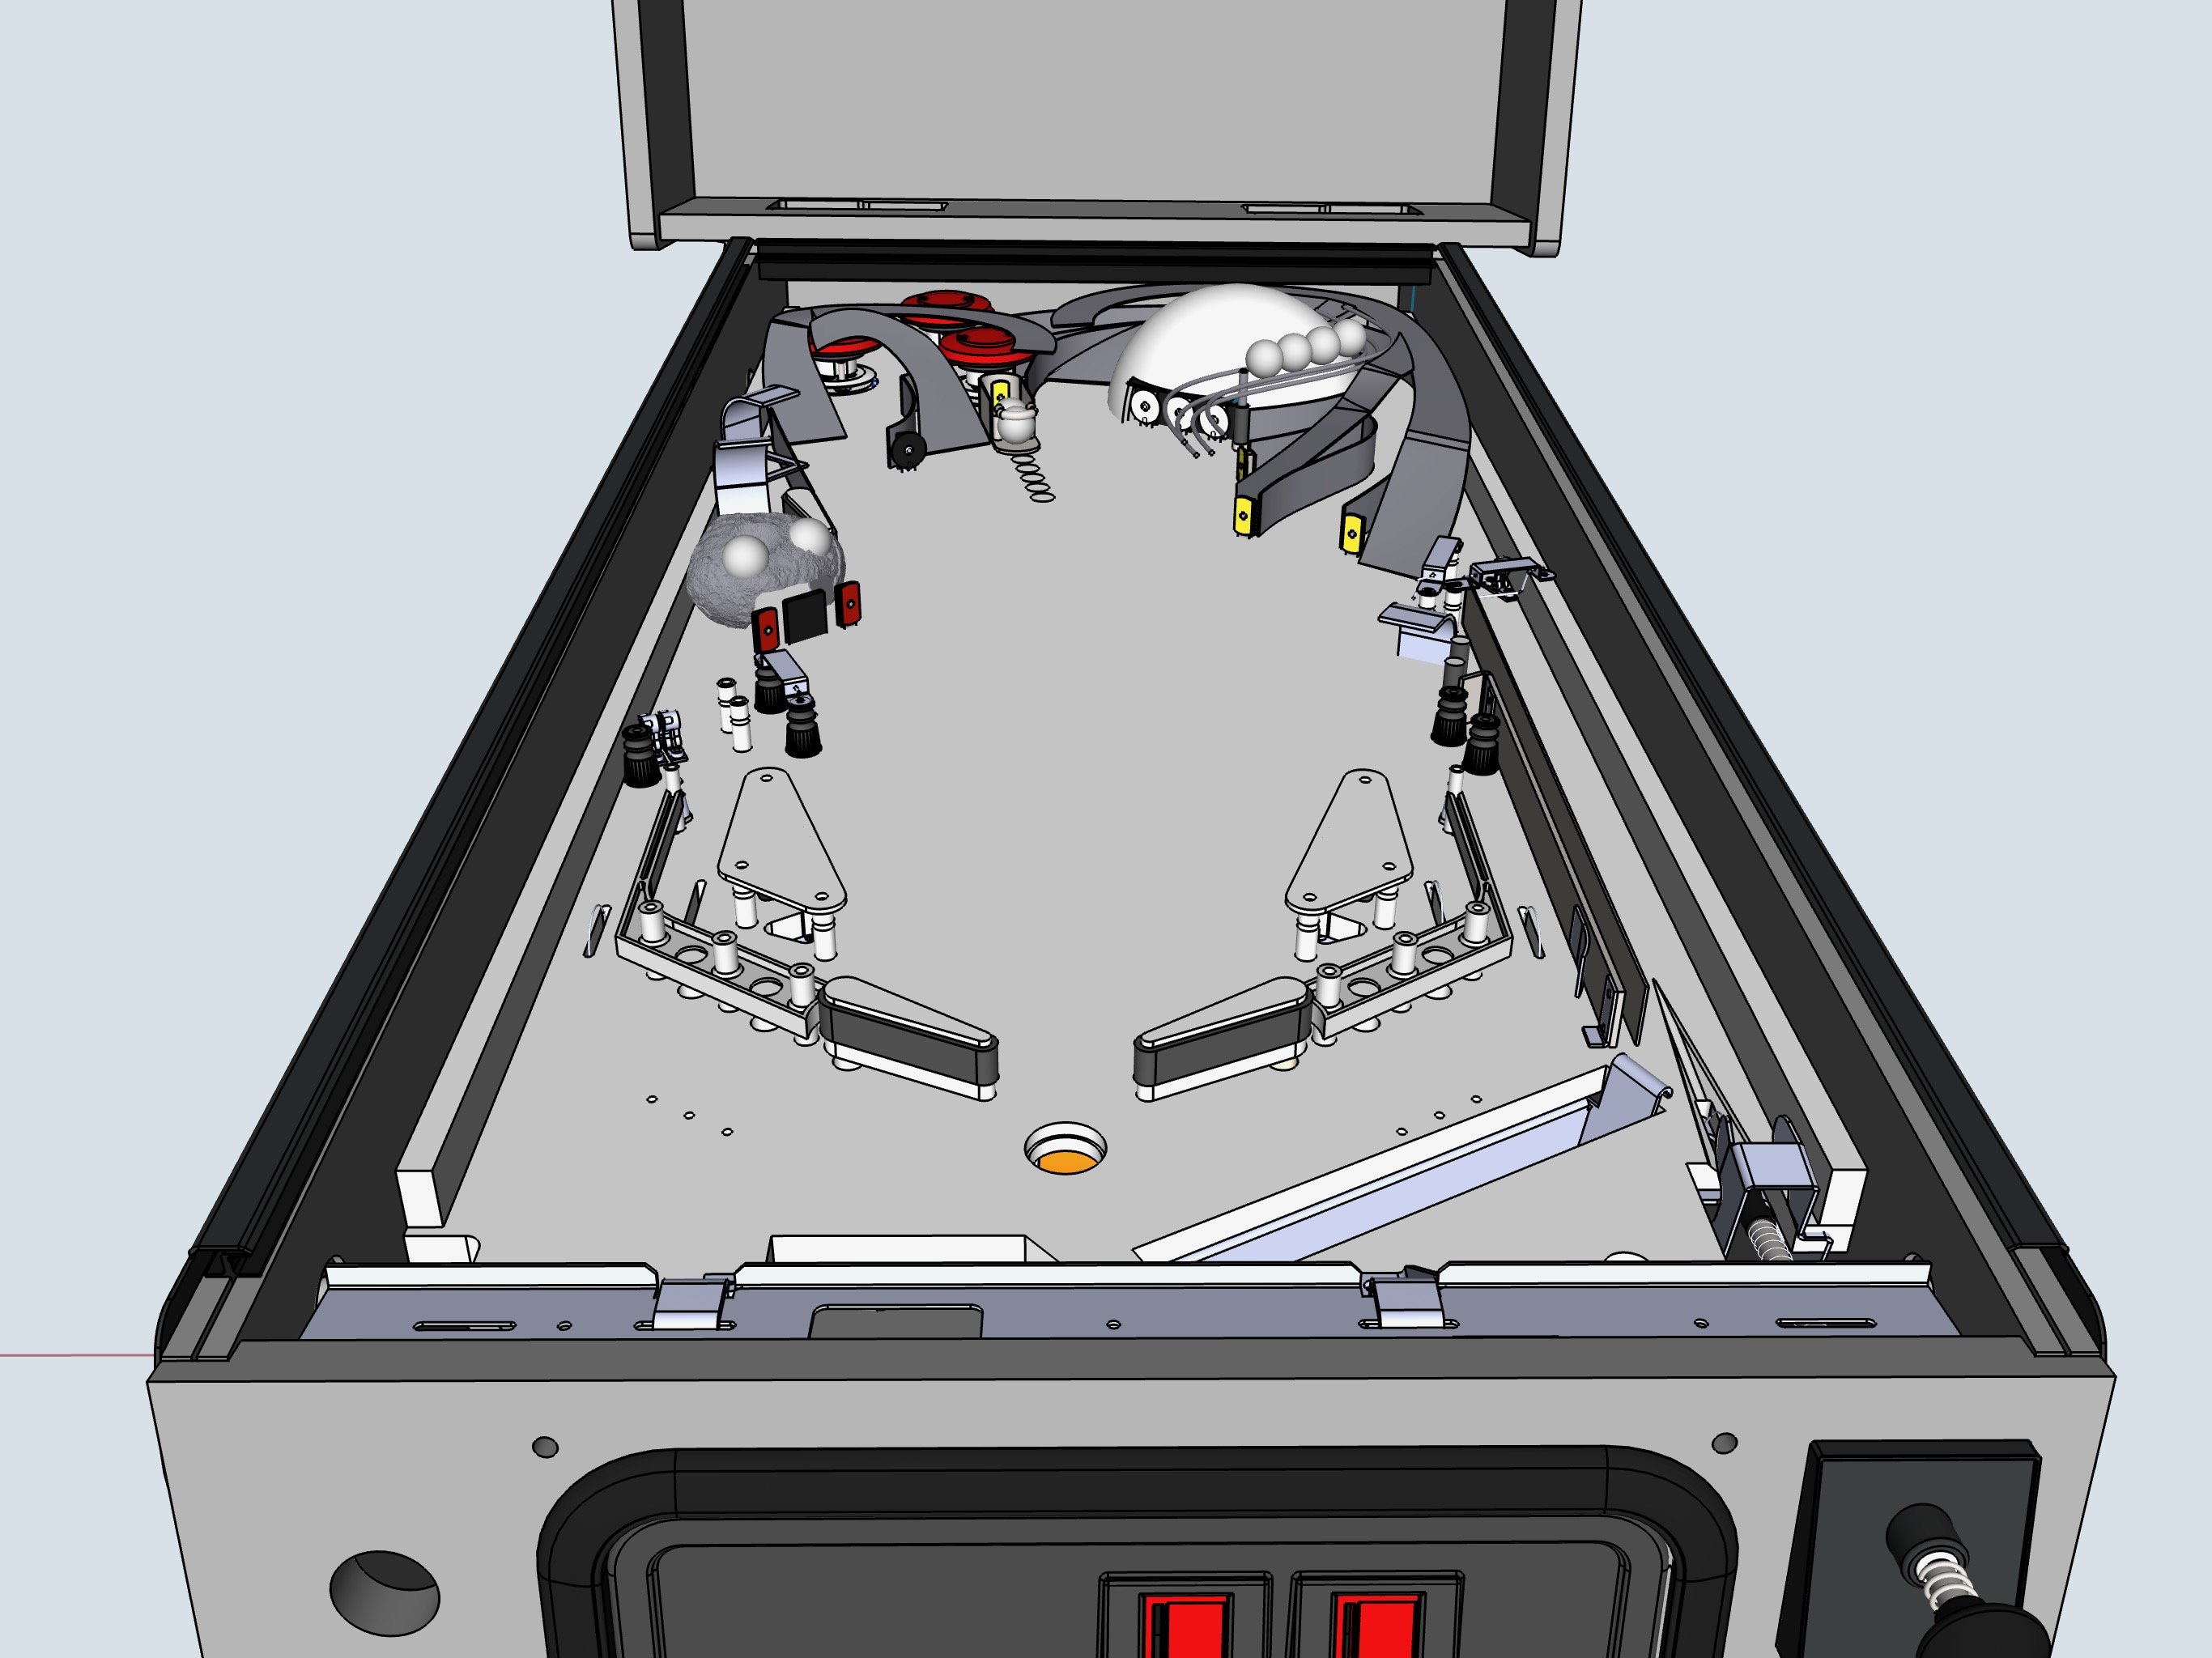
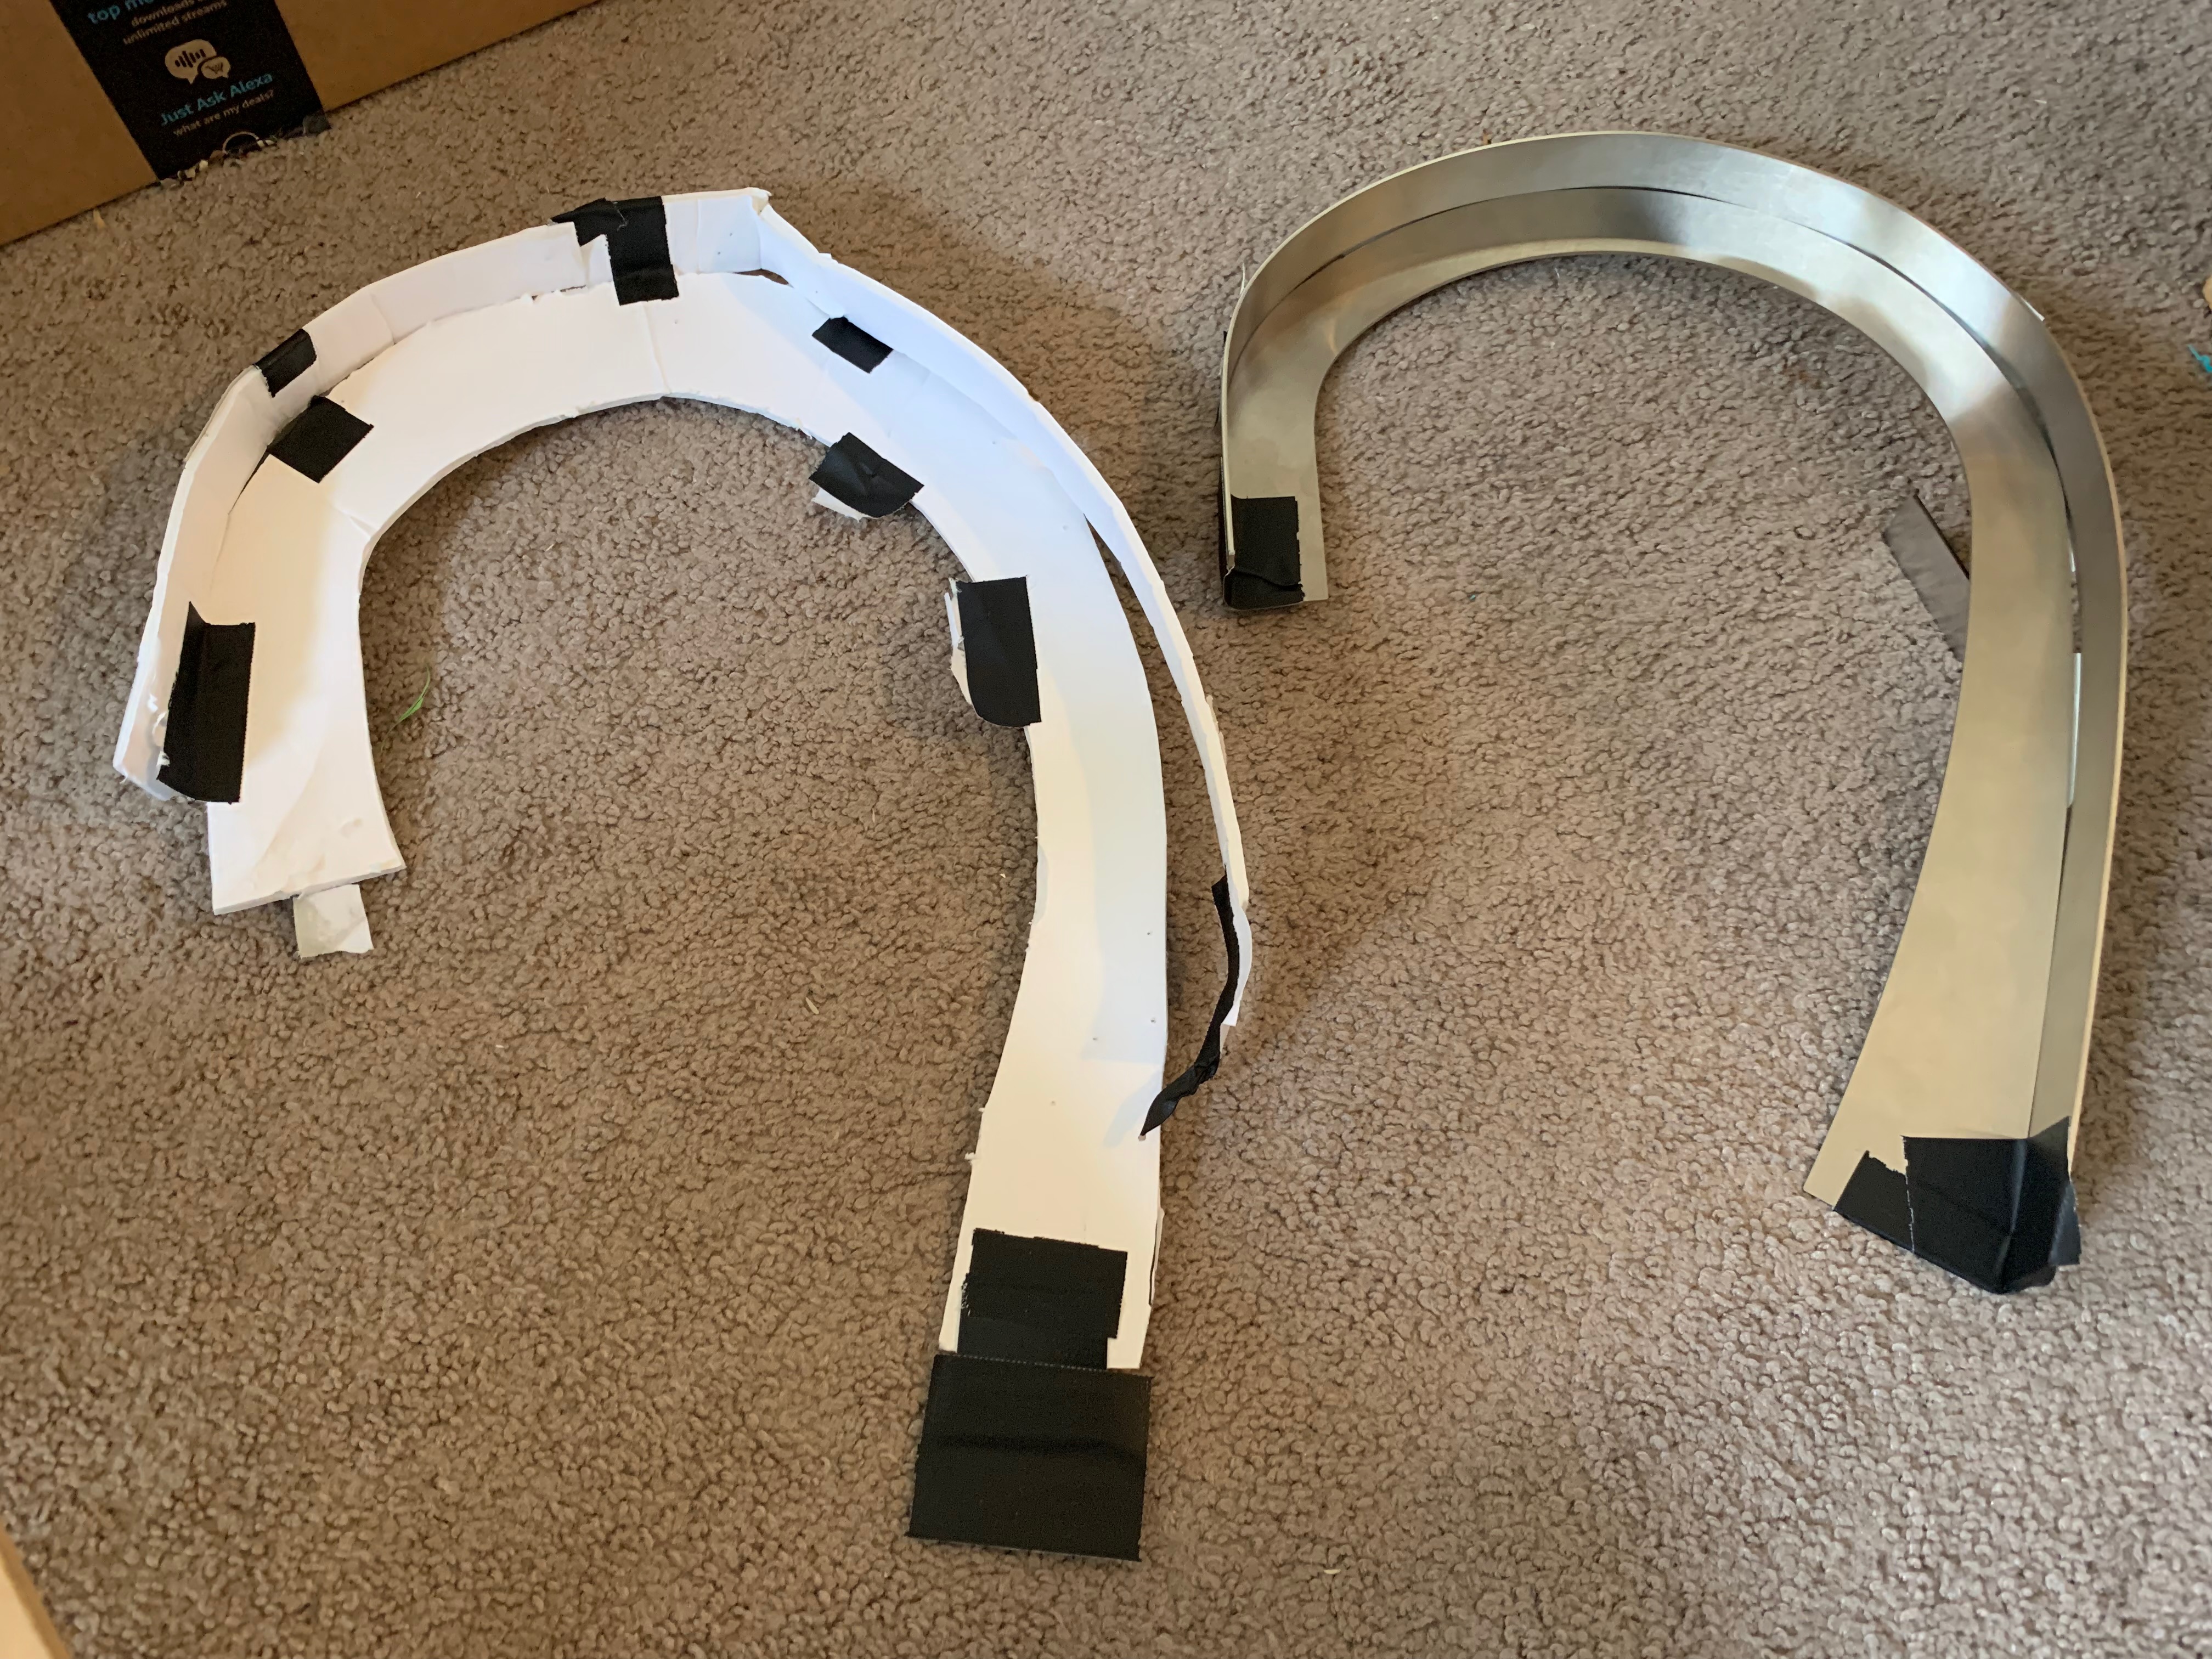
Once it became clear that my design was going to work, I ordered laser cut metal ramps from oshcut. They had accidentally used a slightly too thick sheet, but it was fine for the first revision.


The electronics are powered and controlled by P-ROC from Multimorphic, and I’m using Mission Pinball Framework as the gameplay engine.
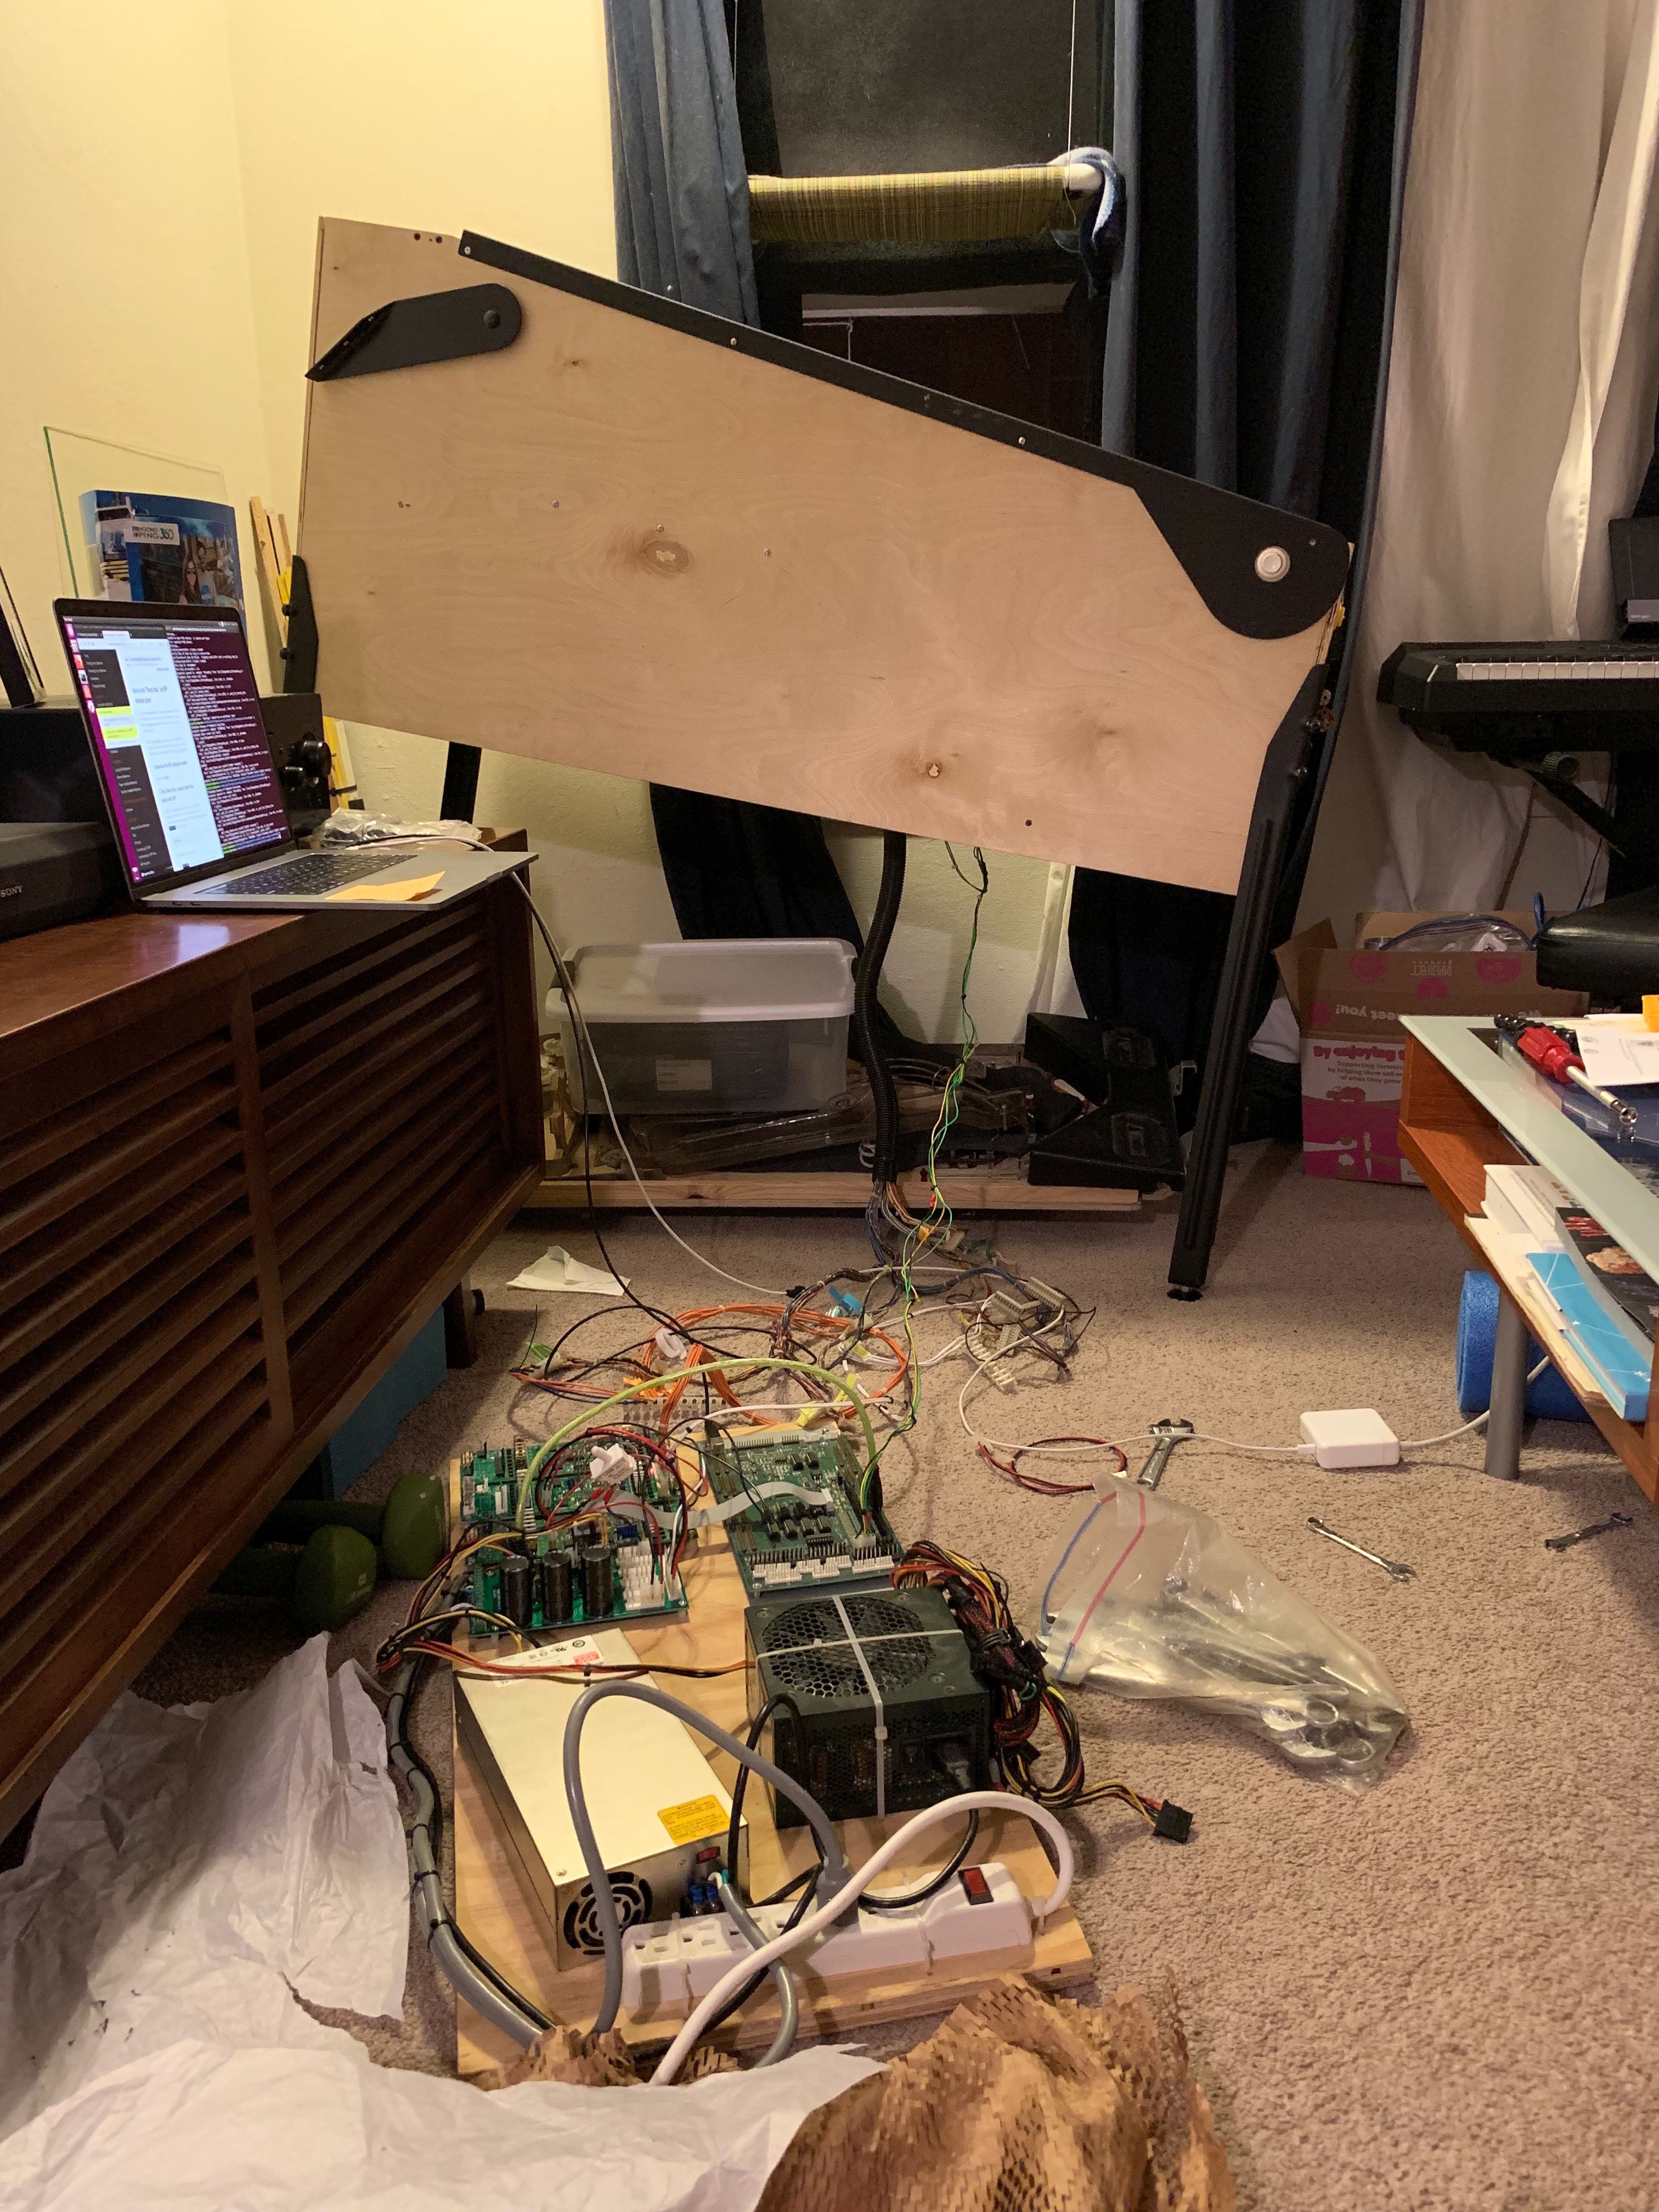
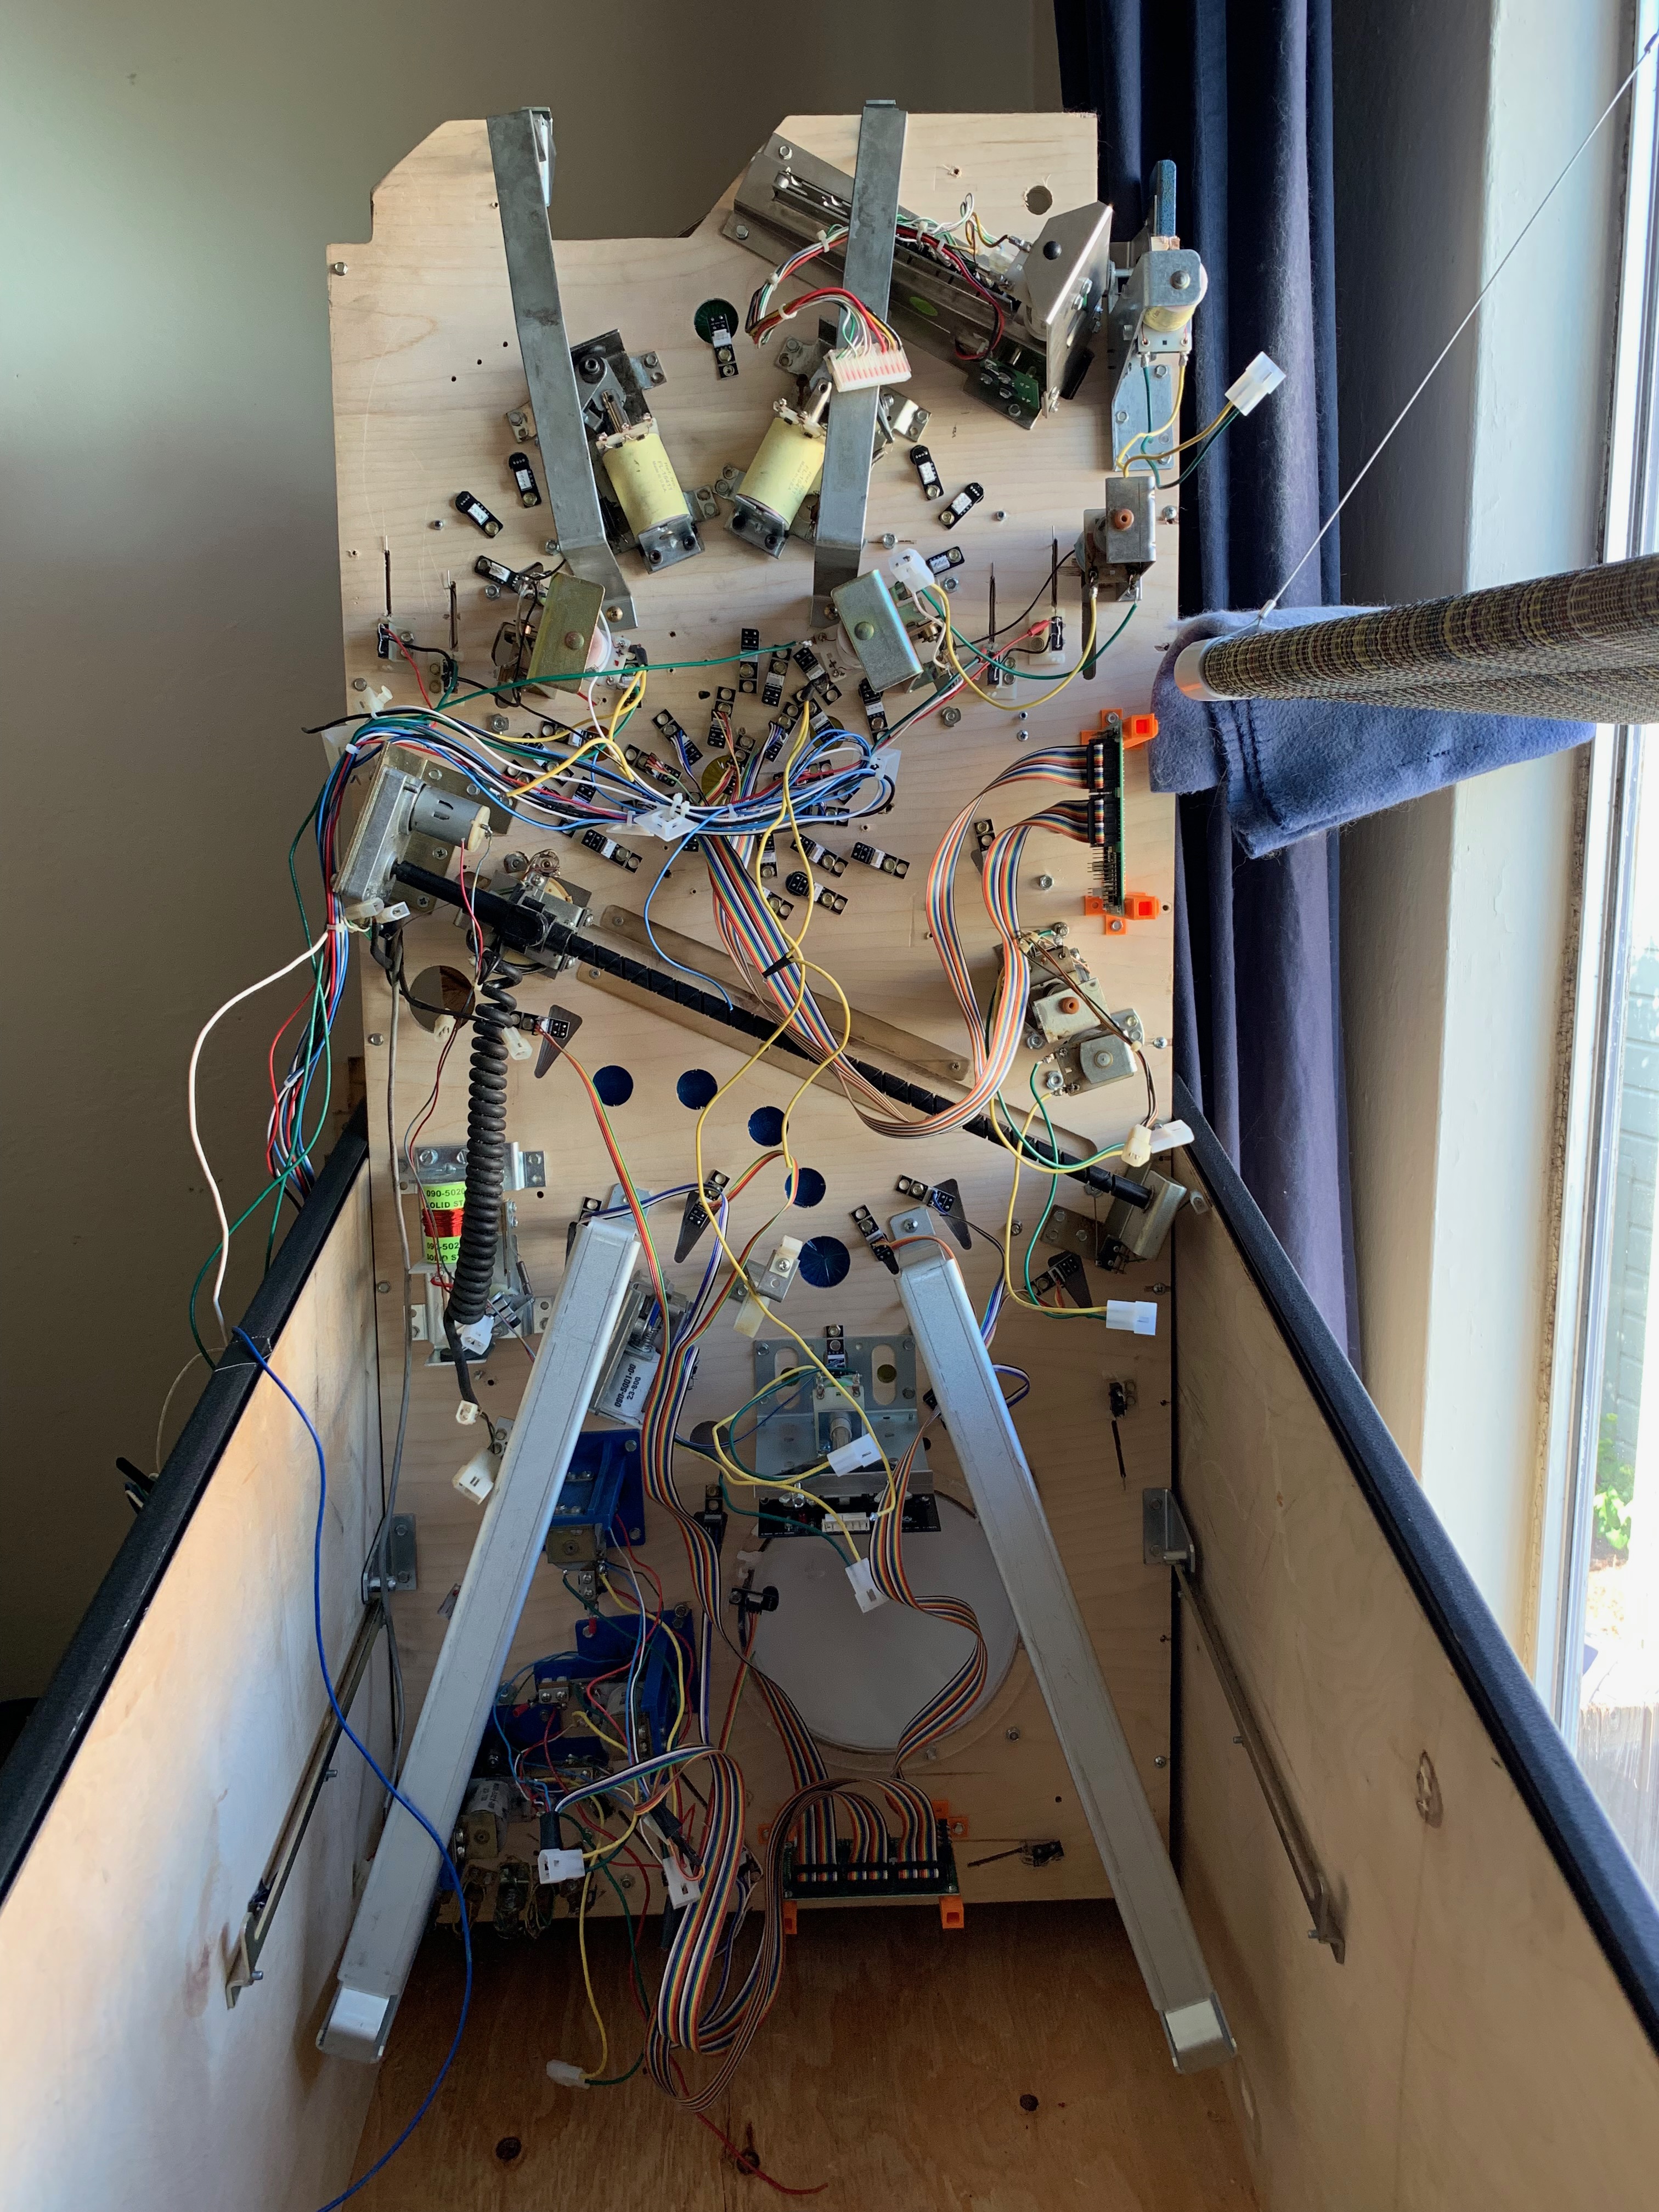
It’s best to mount the power driver boards around the playfield to reduce the amount of wiring, so I made these brackets to help with that.

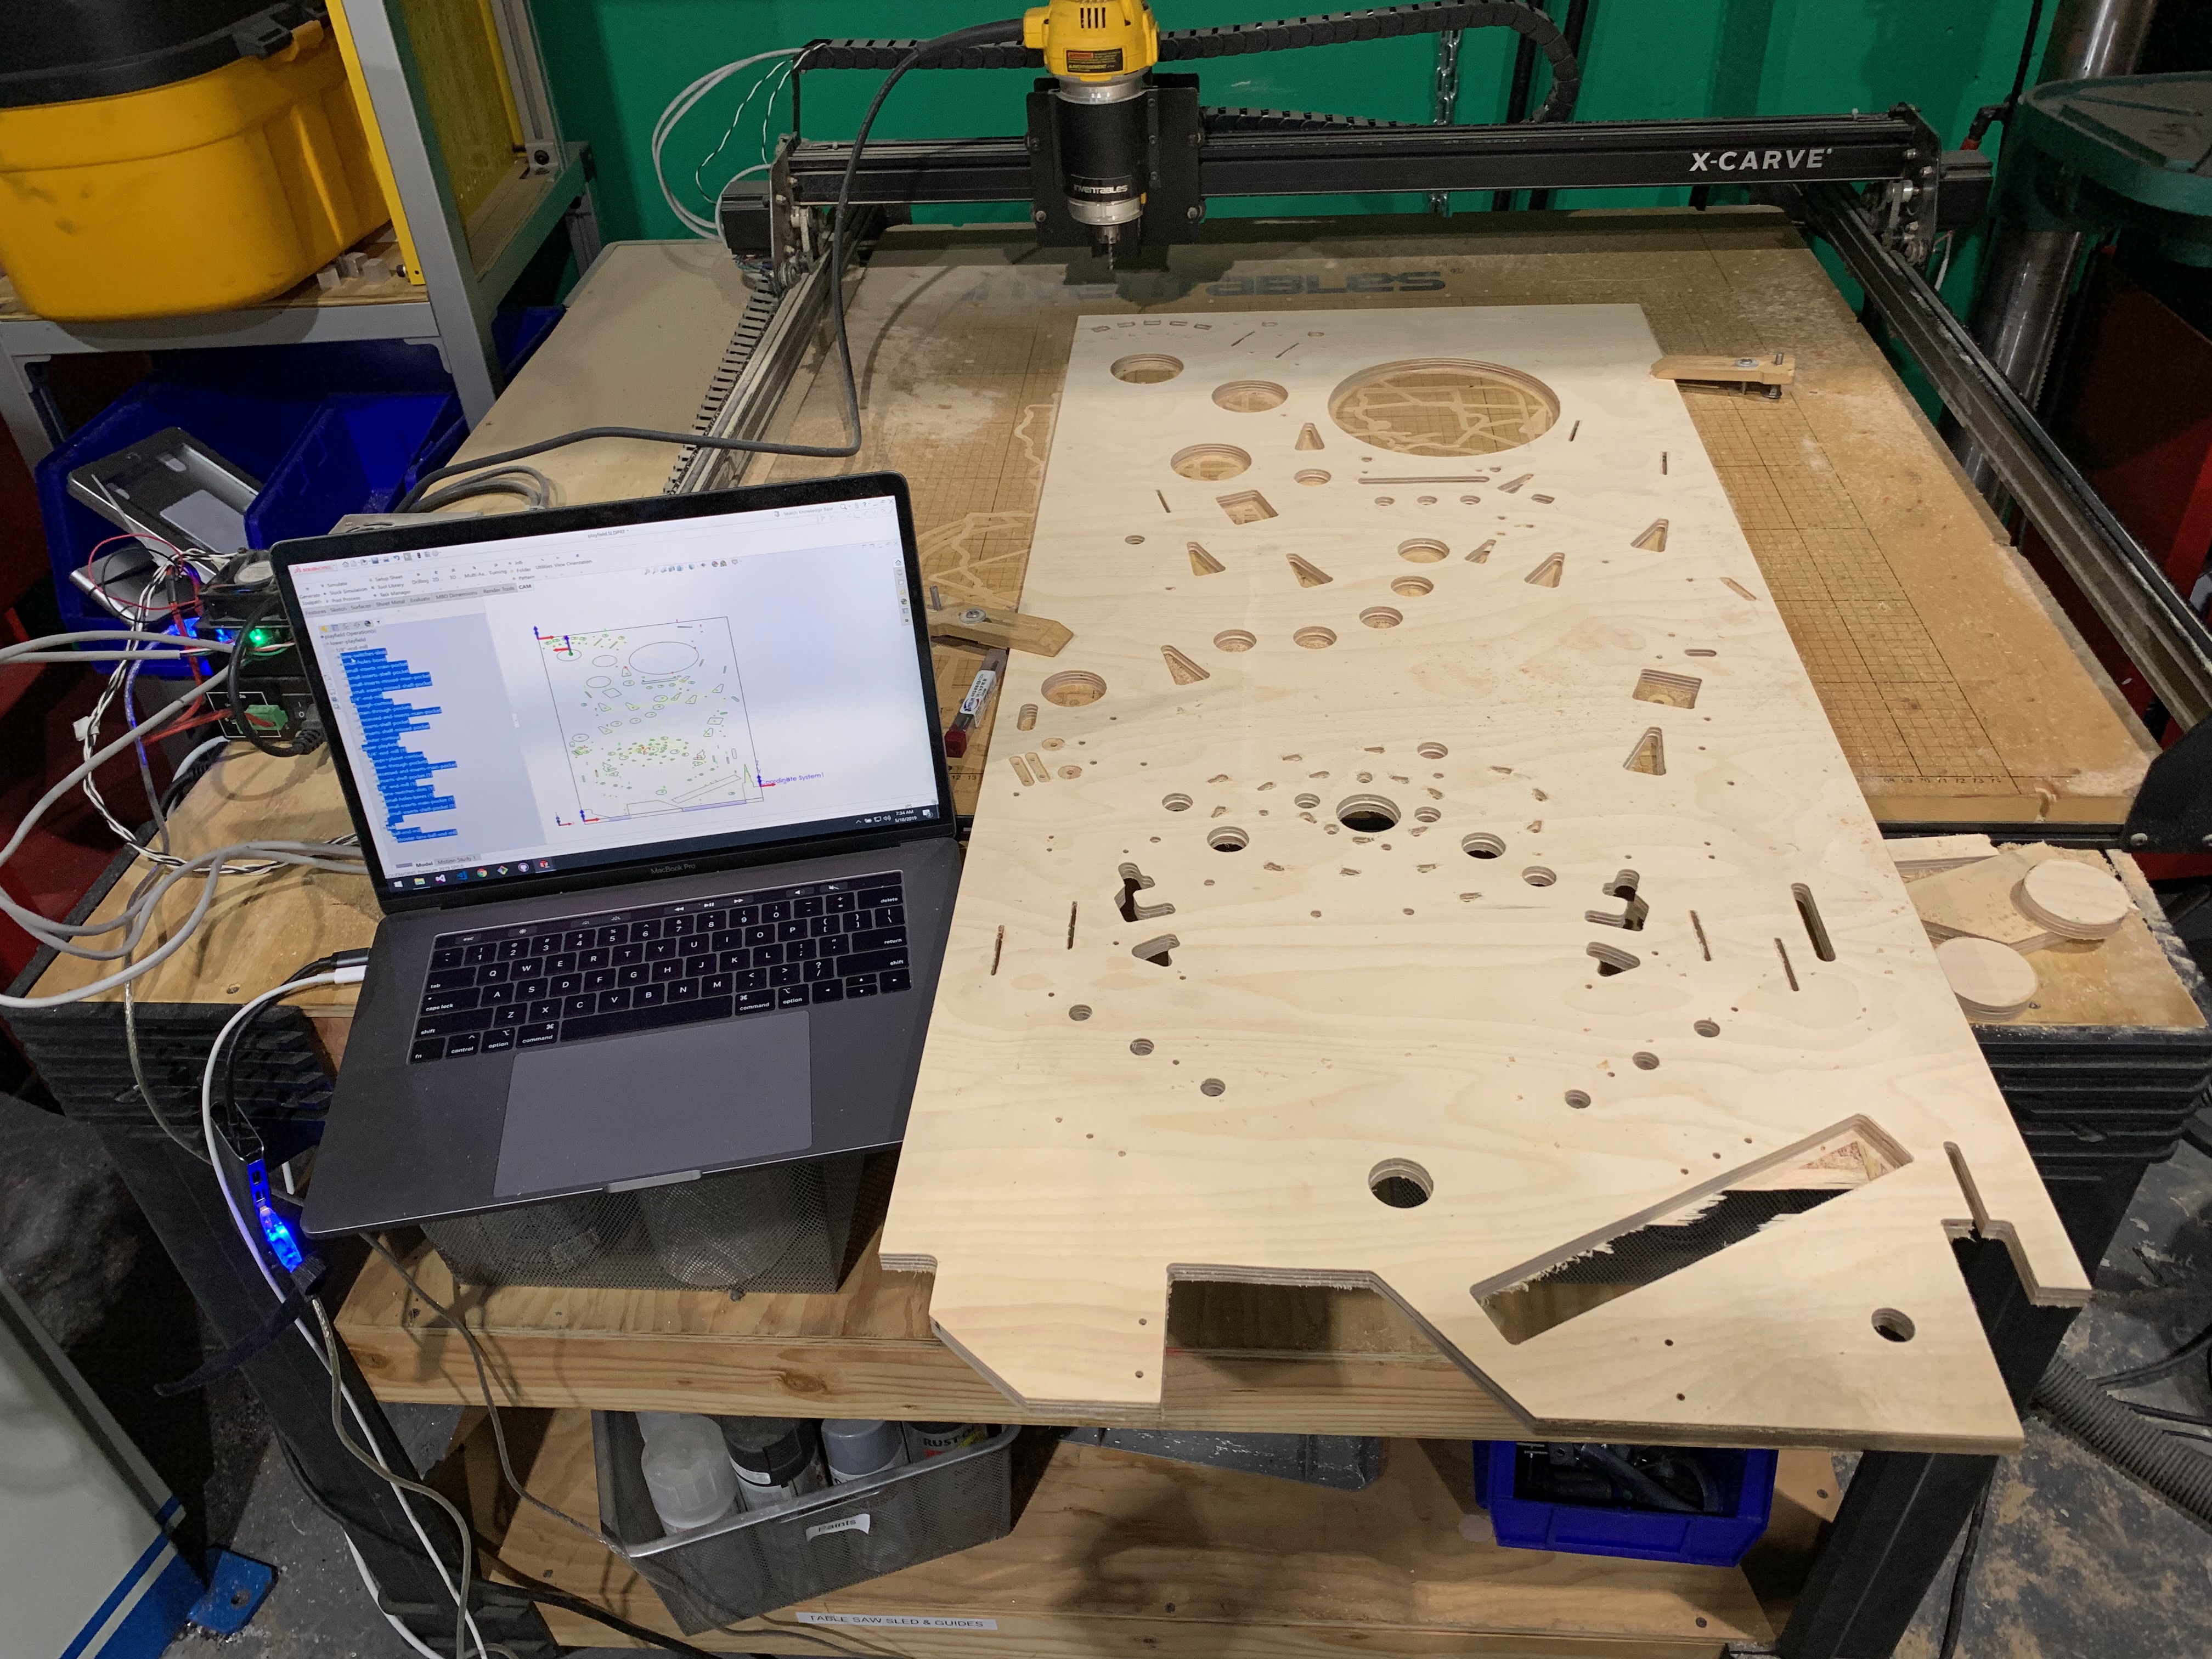
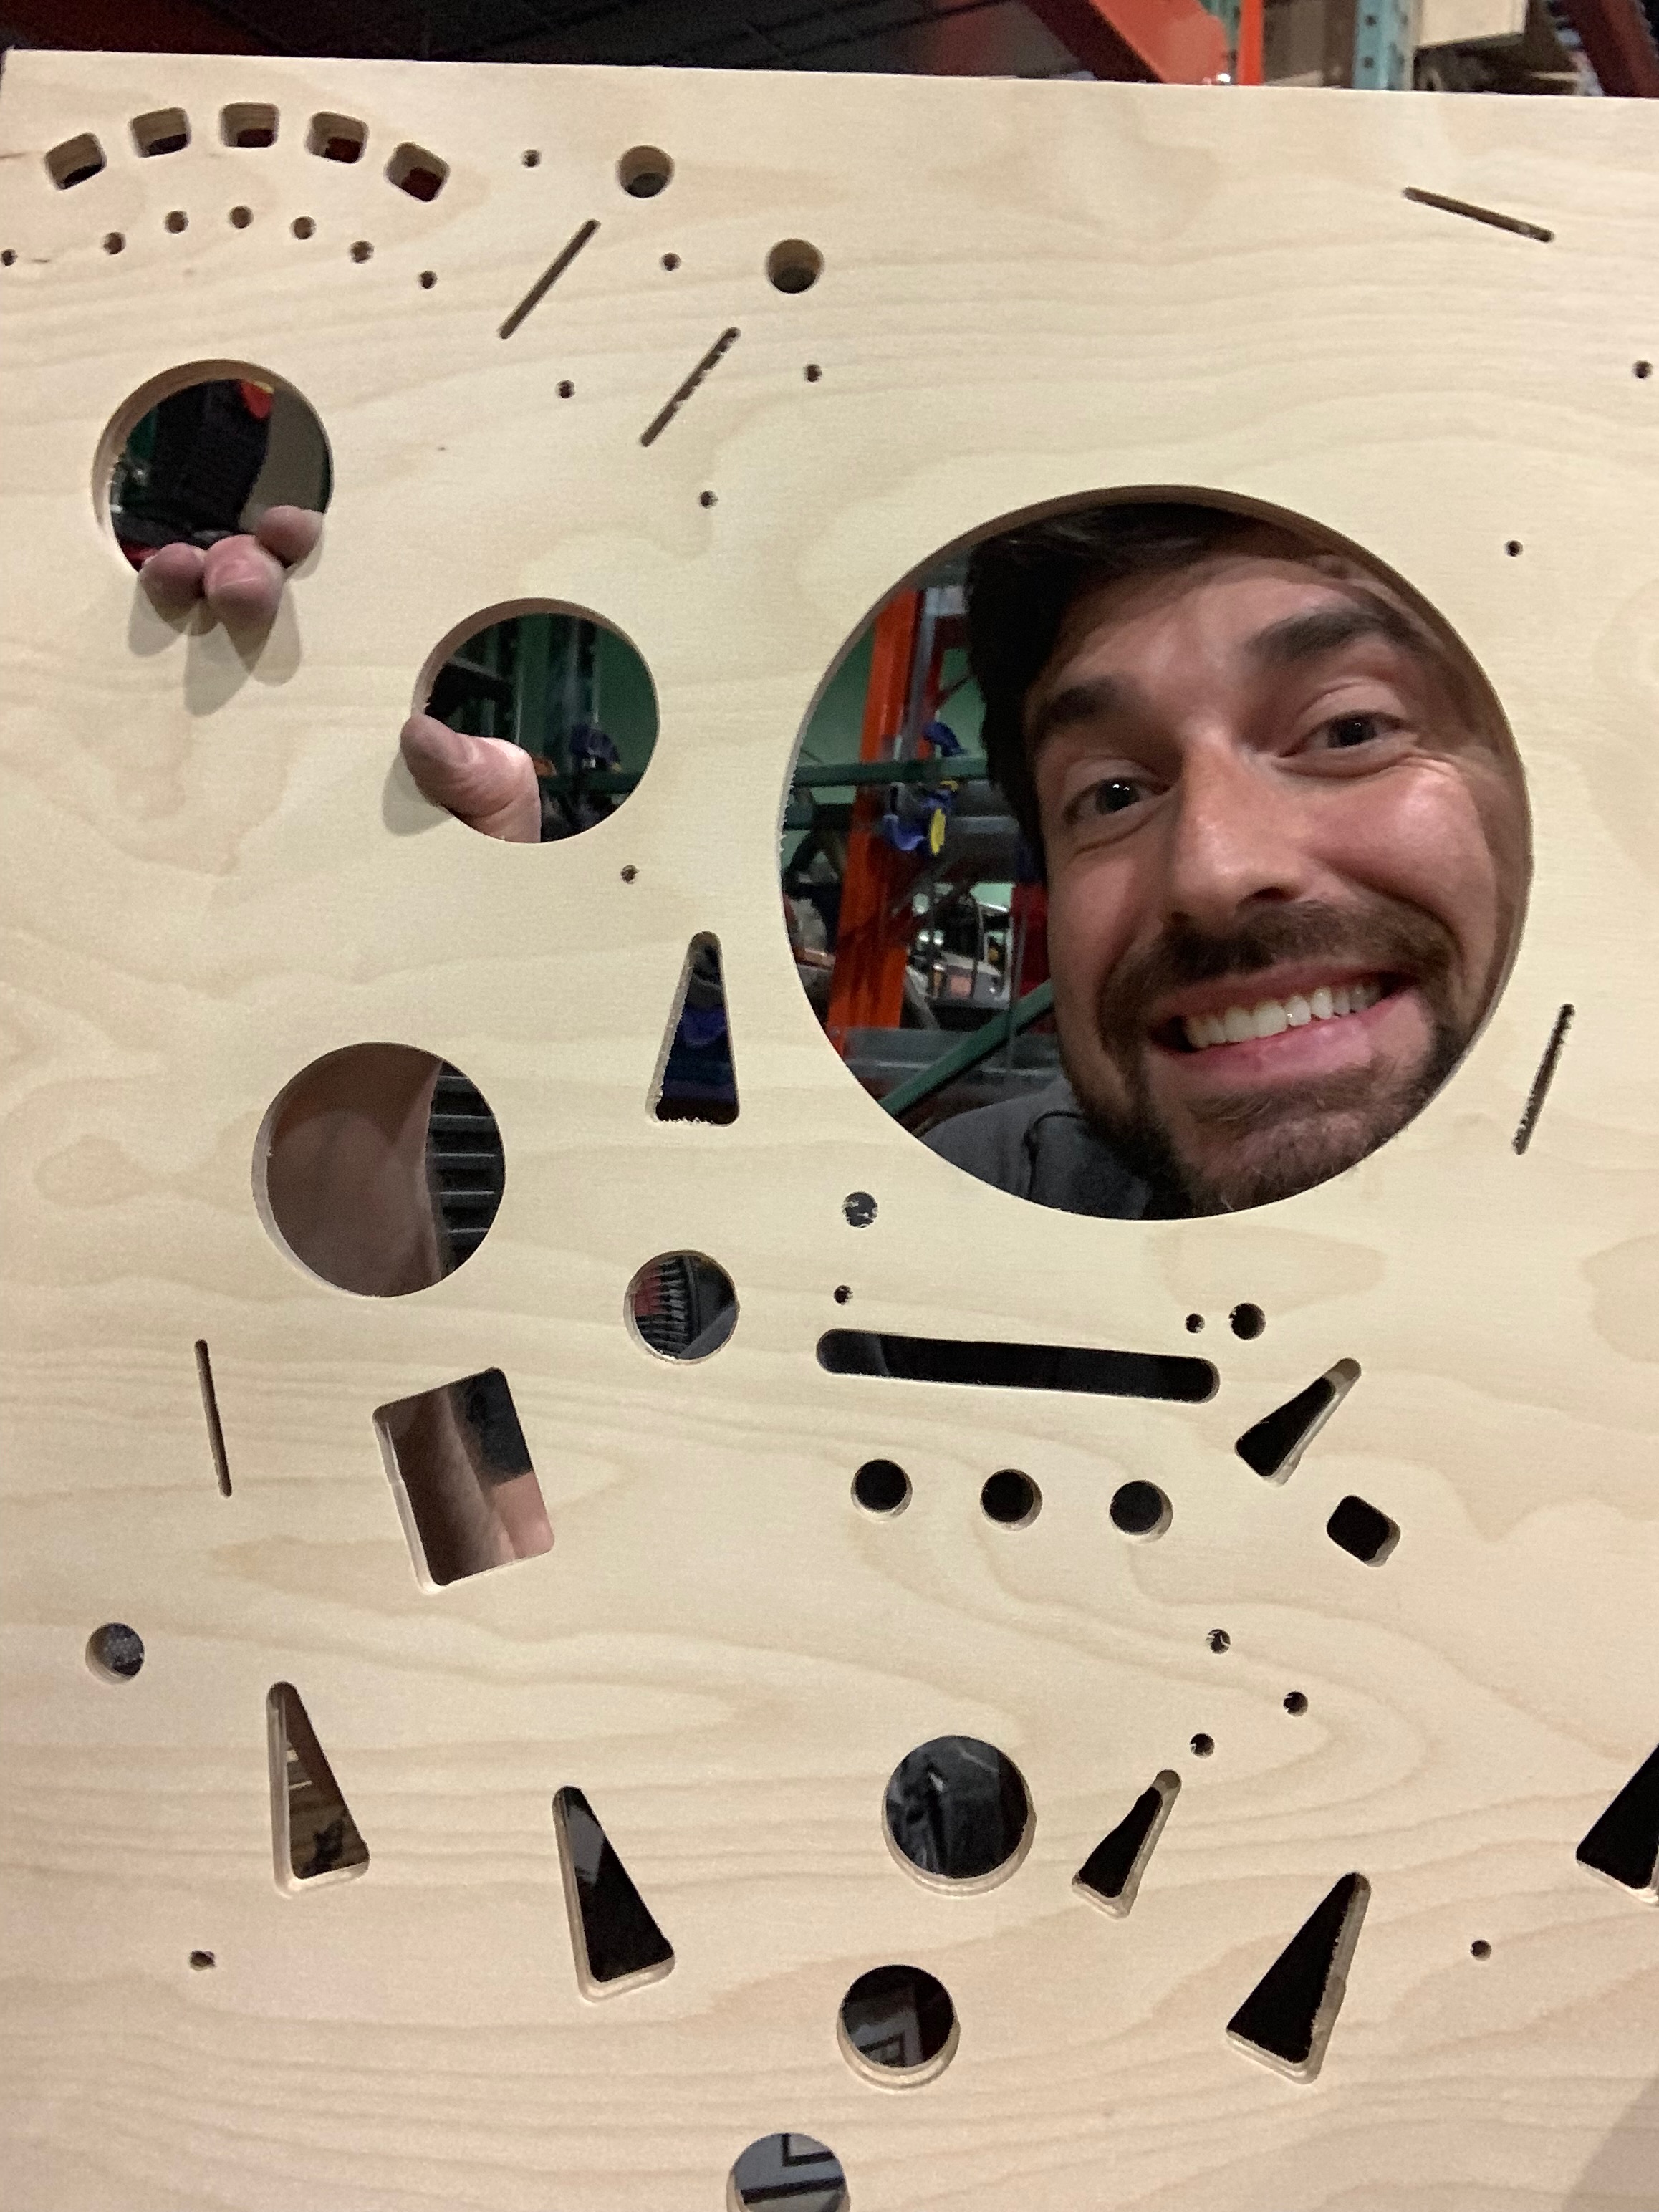
After a lot of CAD work, it was finally time to start routing a fresh playfield. It helped that I founded a CNC machining business where we had a lot of equipment, but unfortunately our machines are for metal. Luckily our hobby shop had a small x-carve router that I was able to use for the playfield.

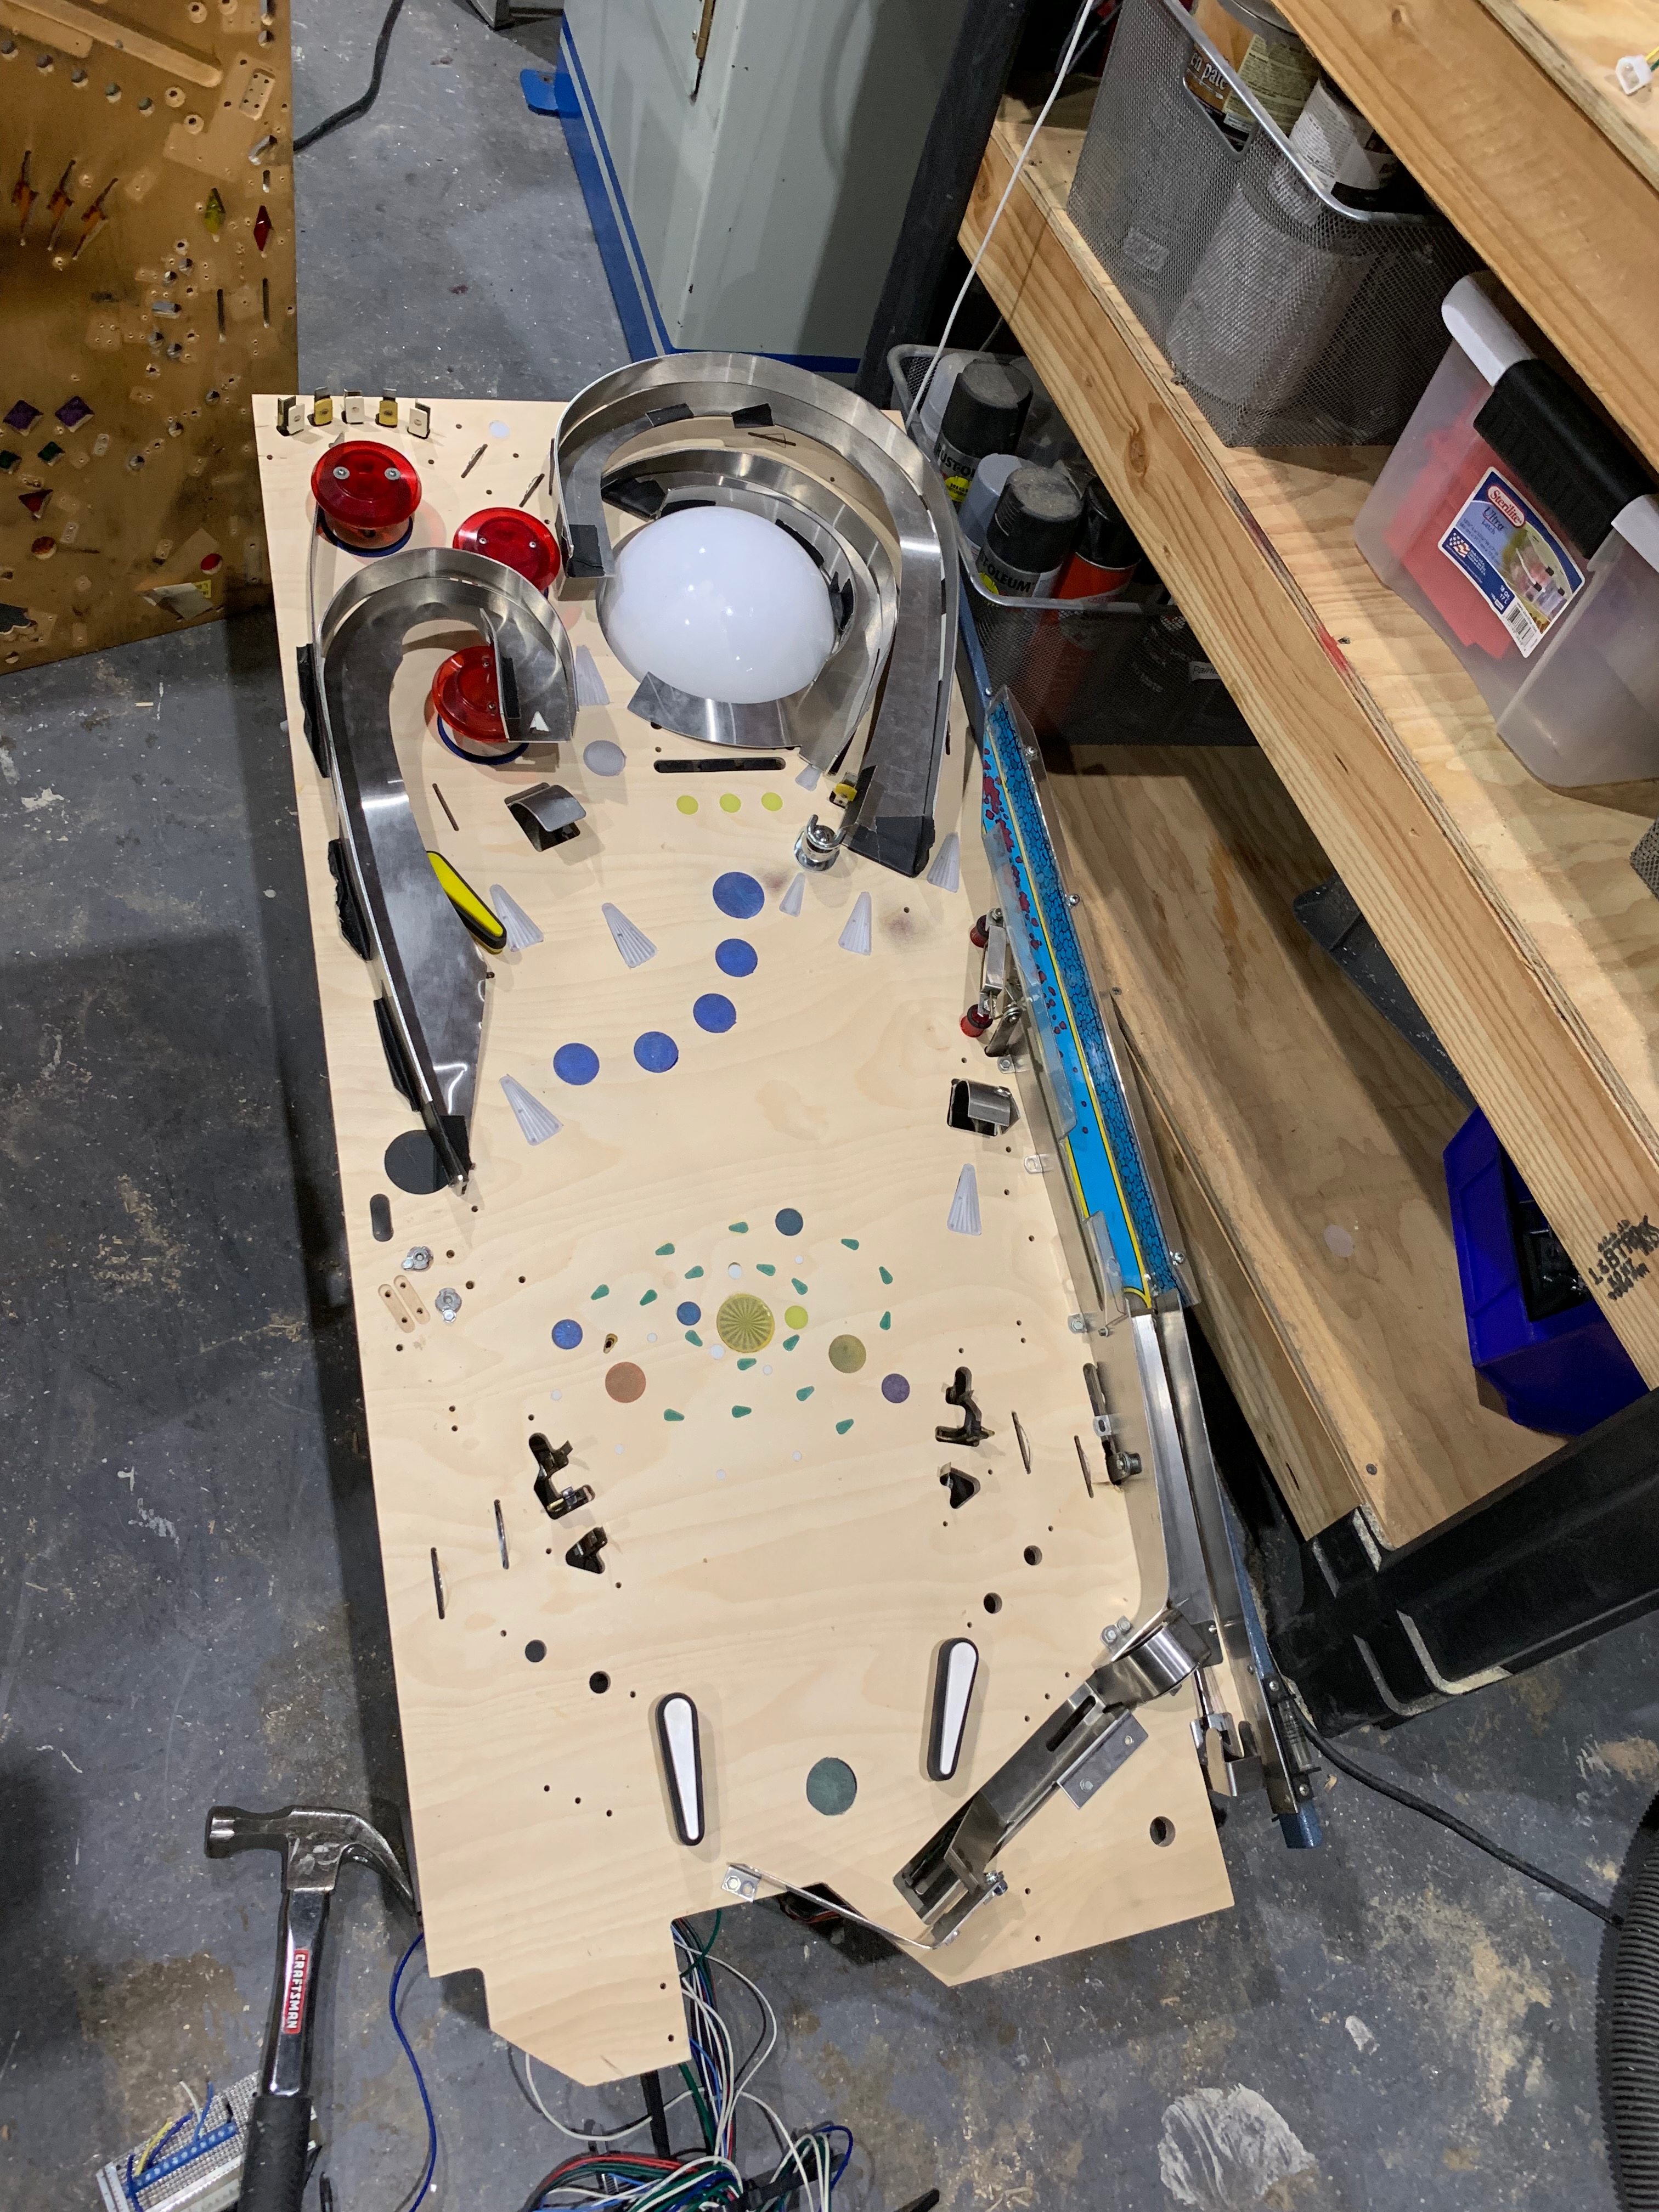
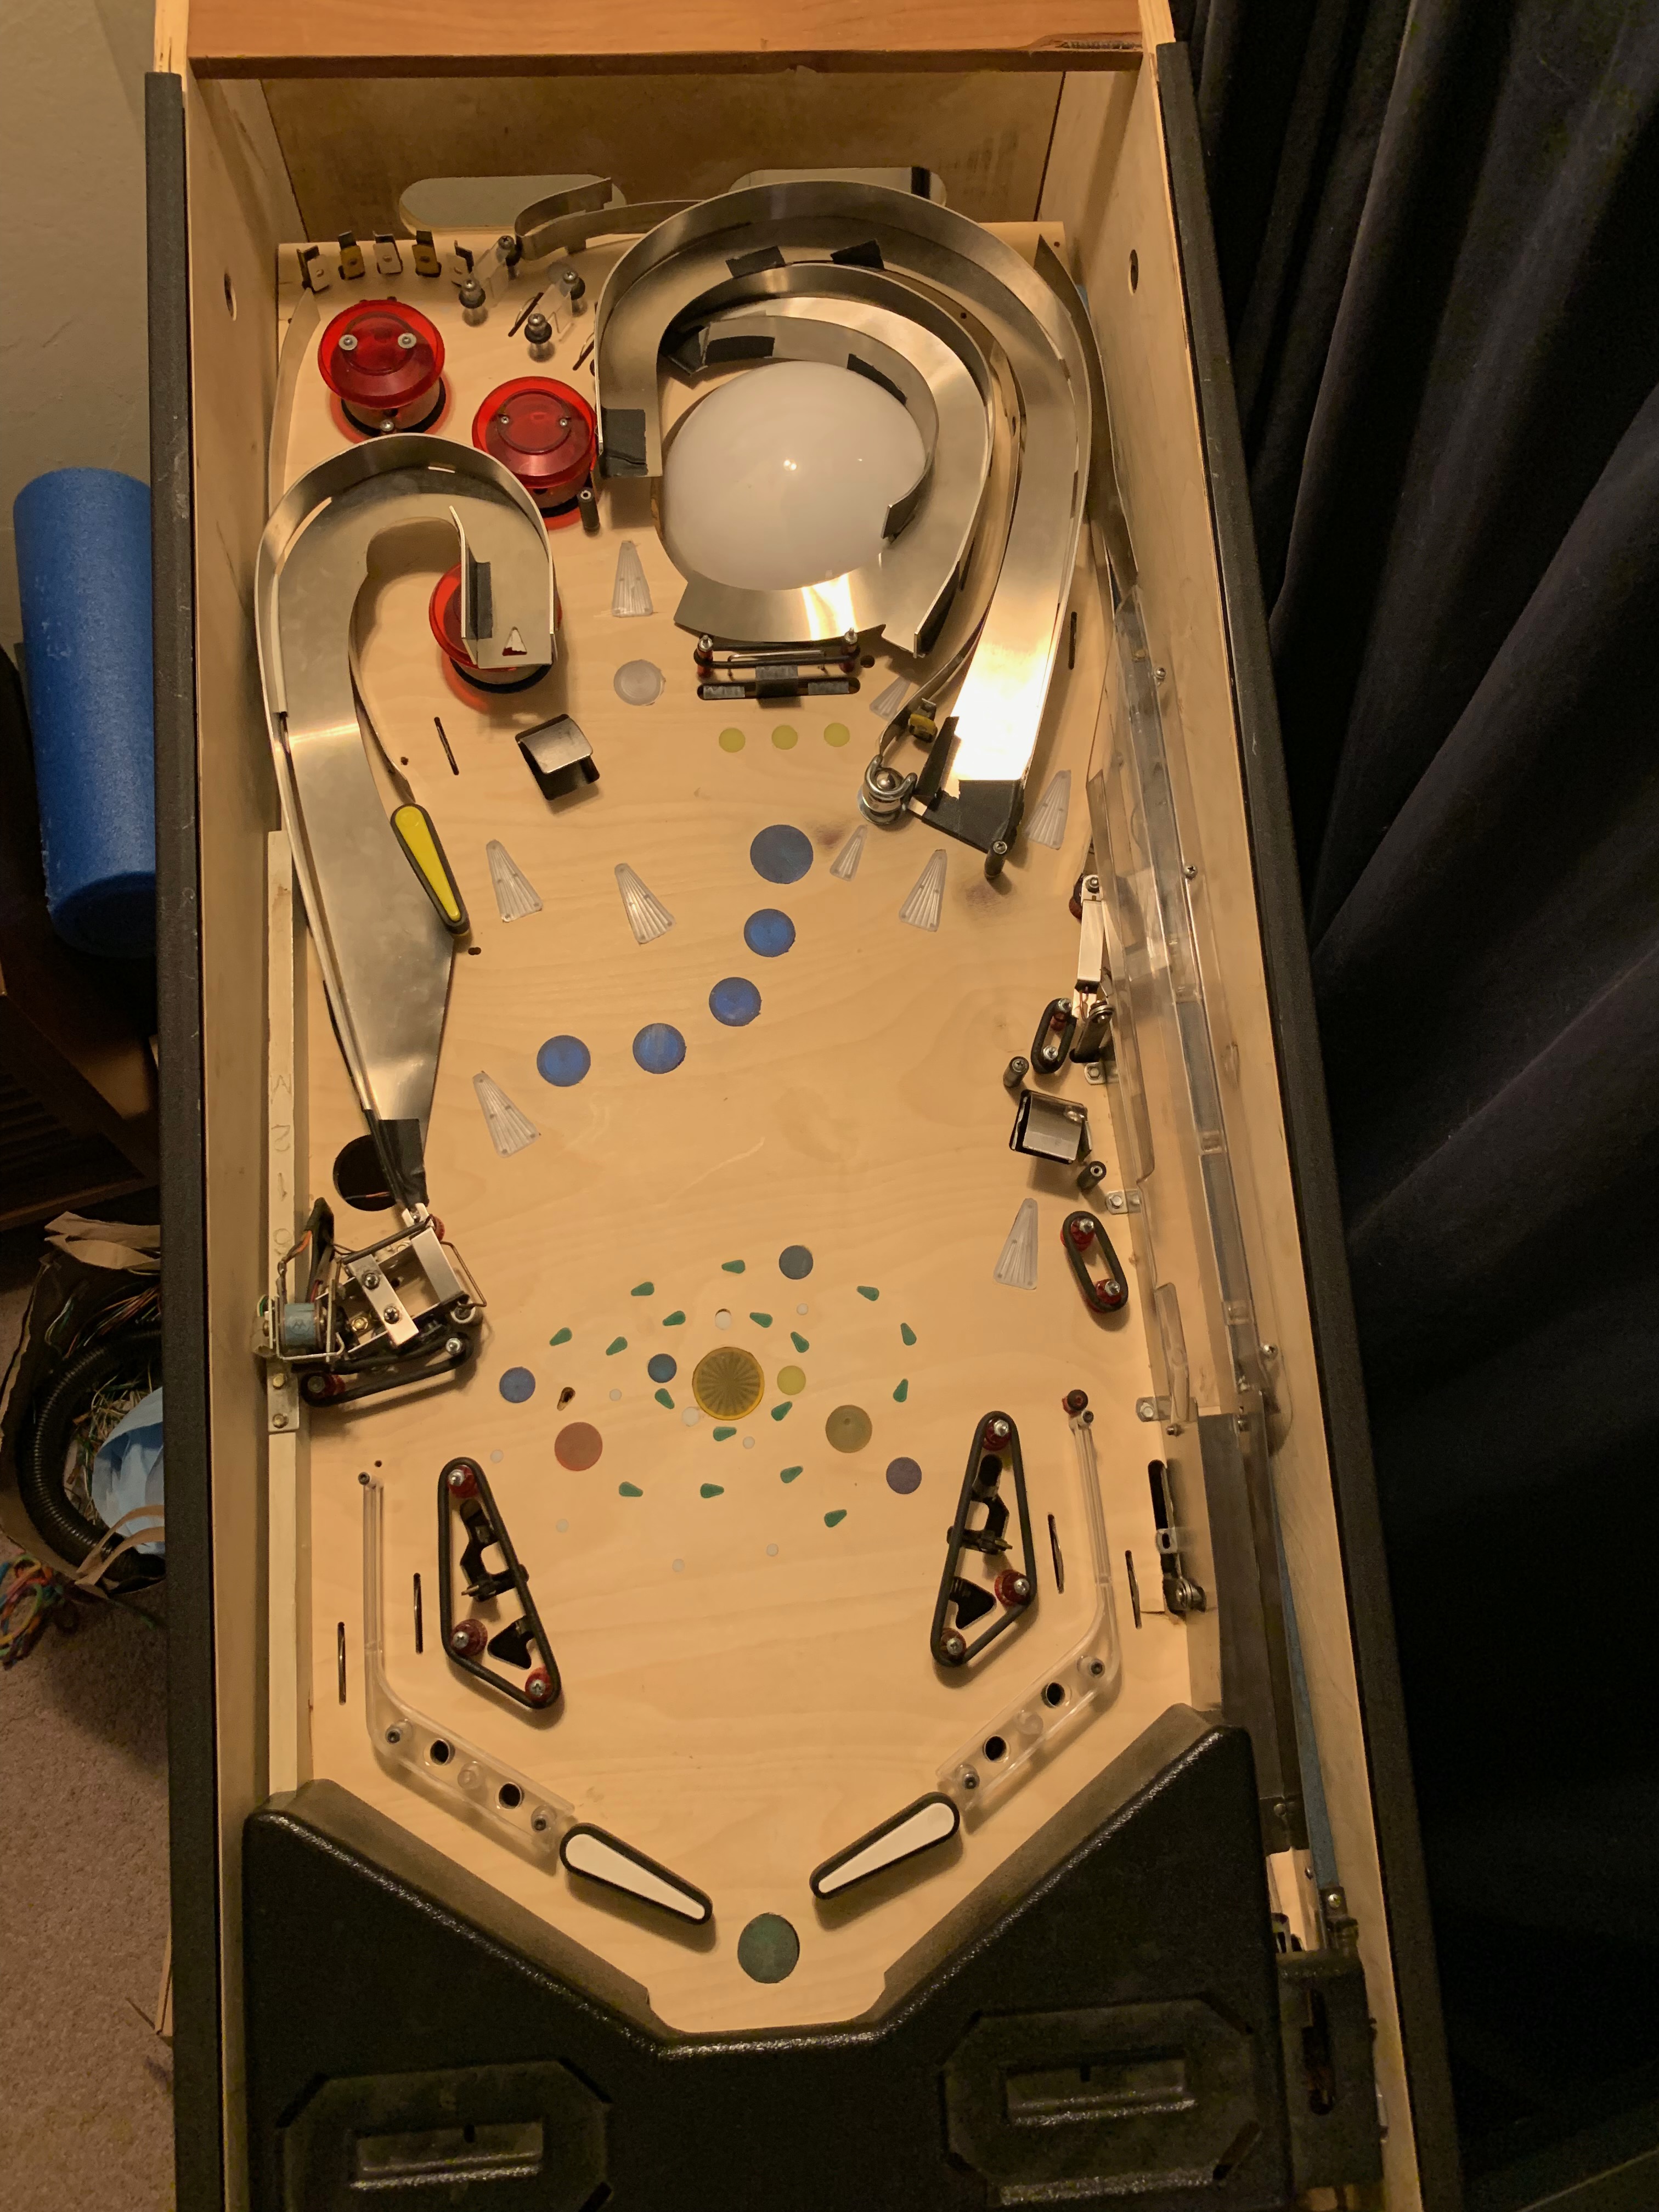
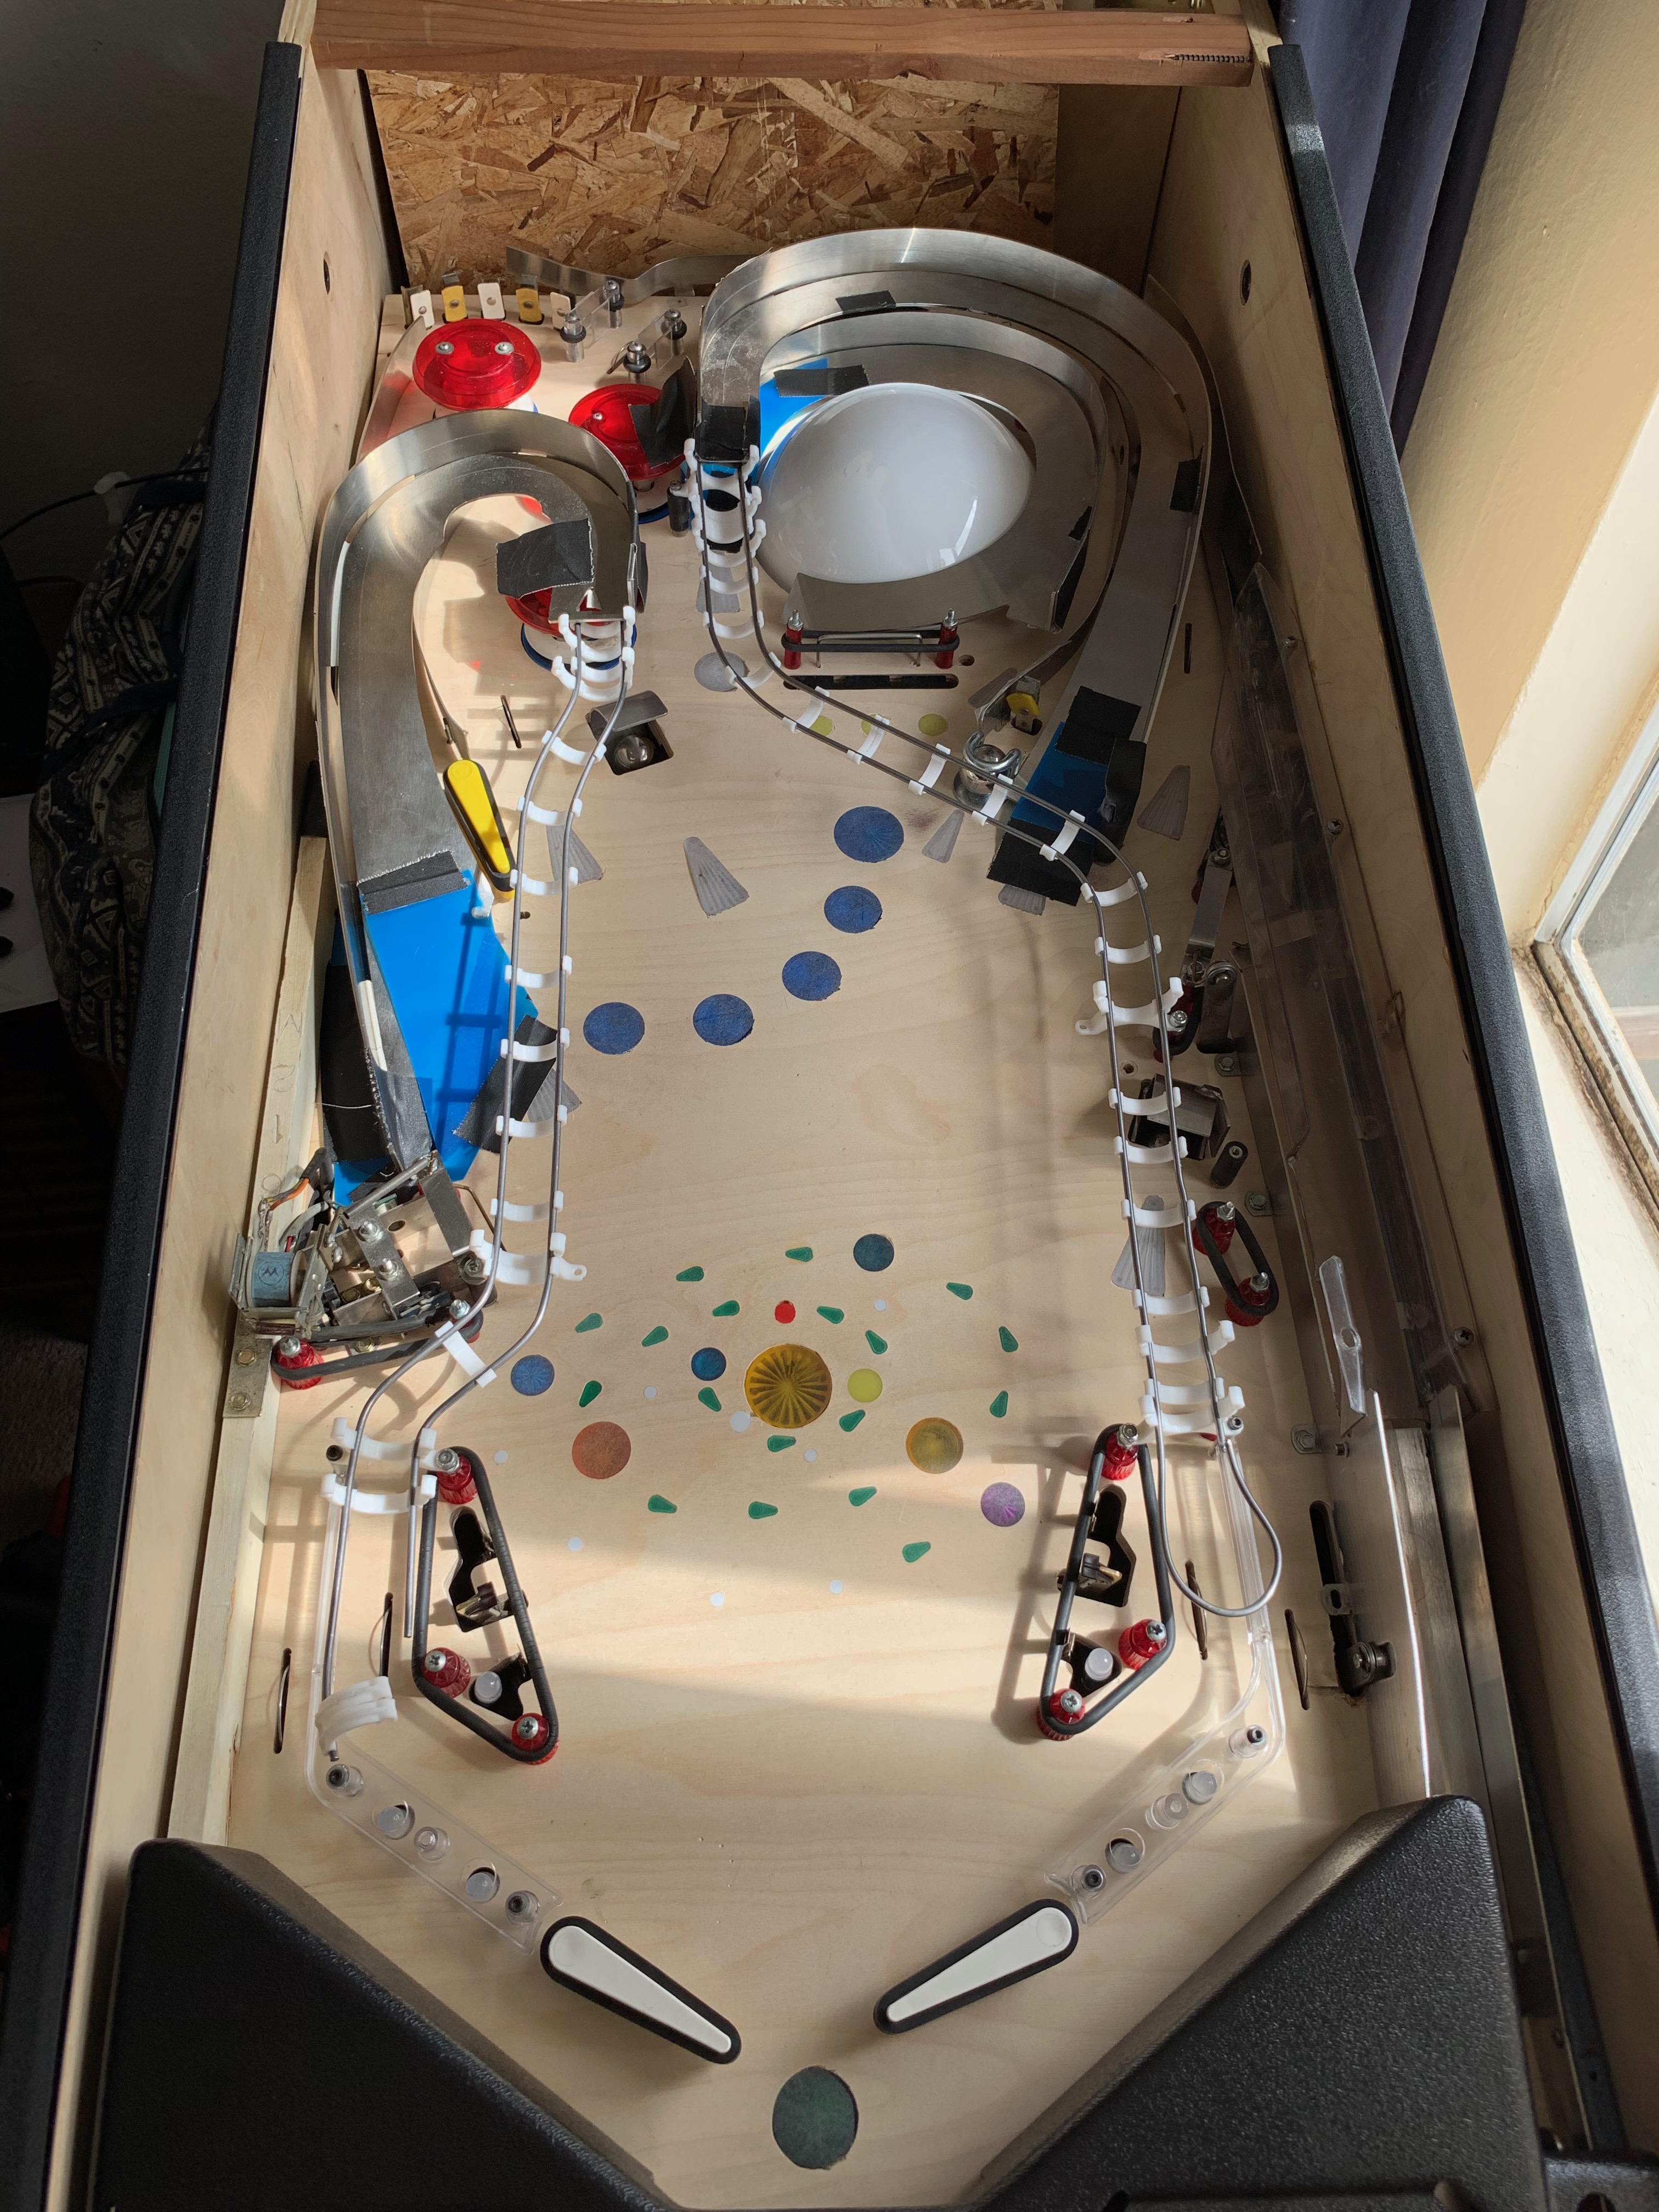
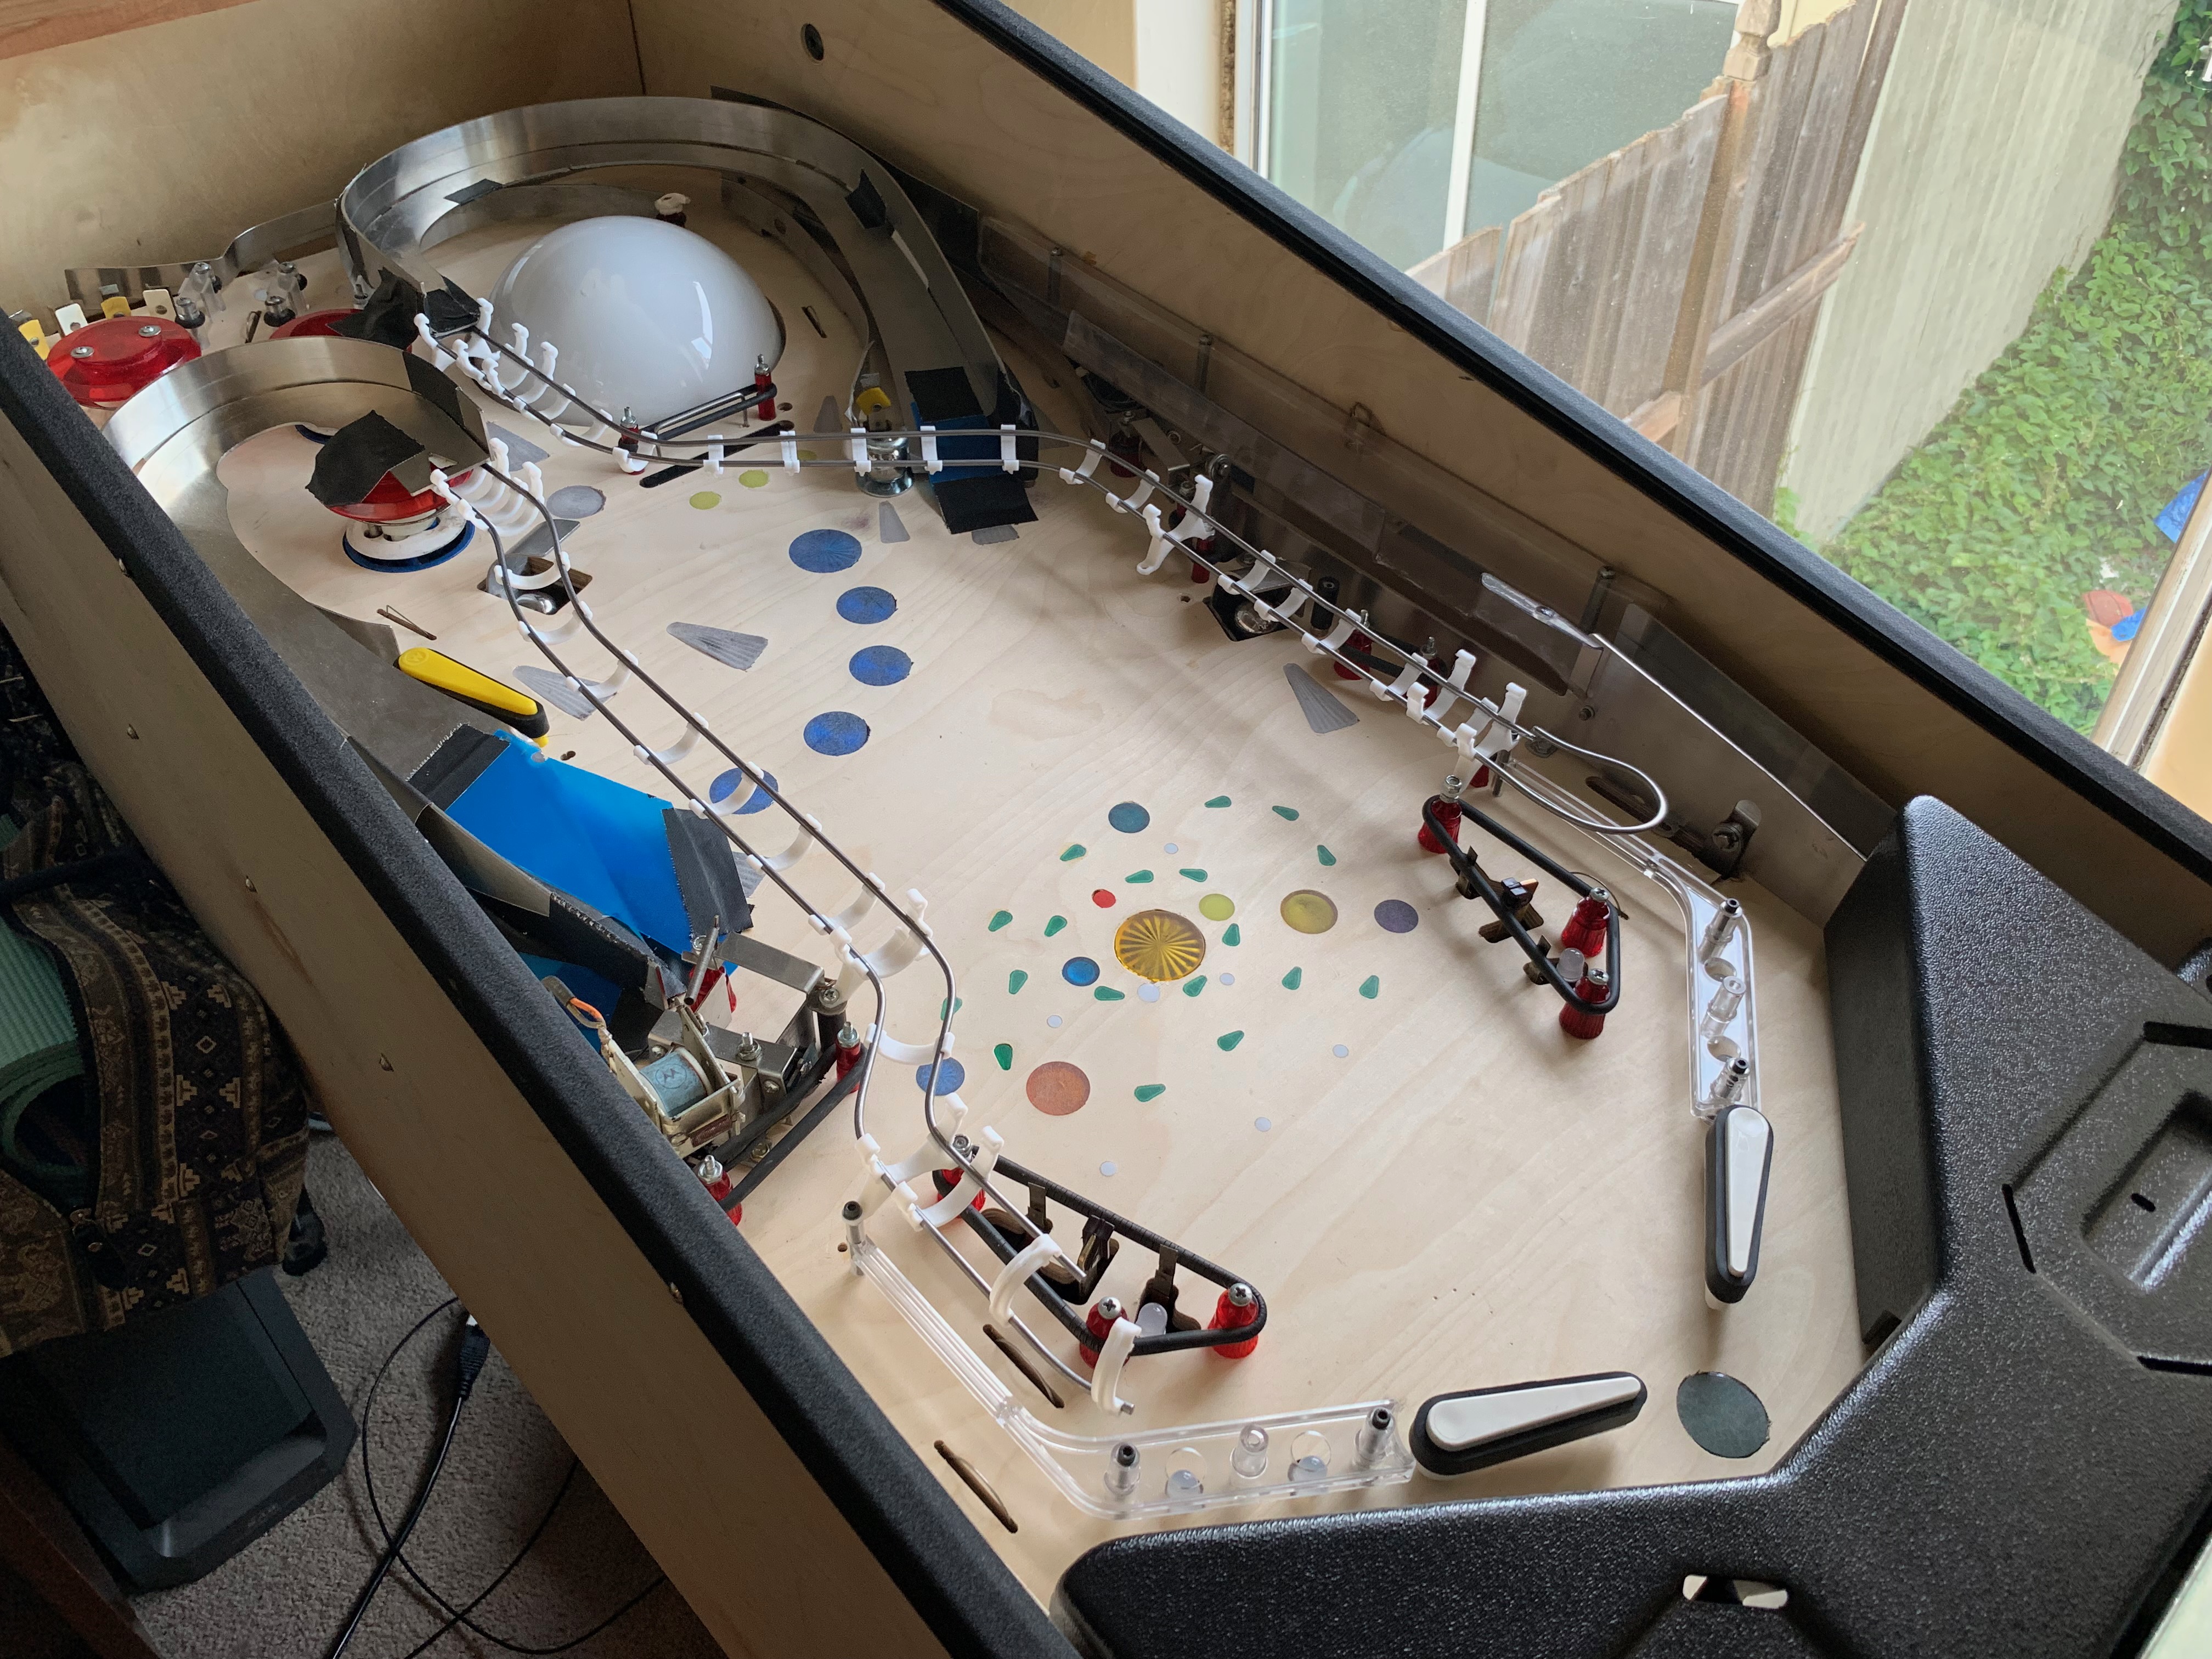
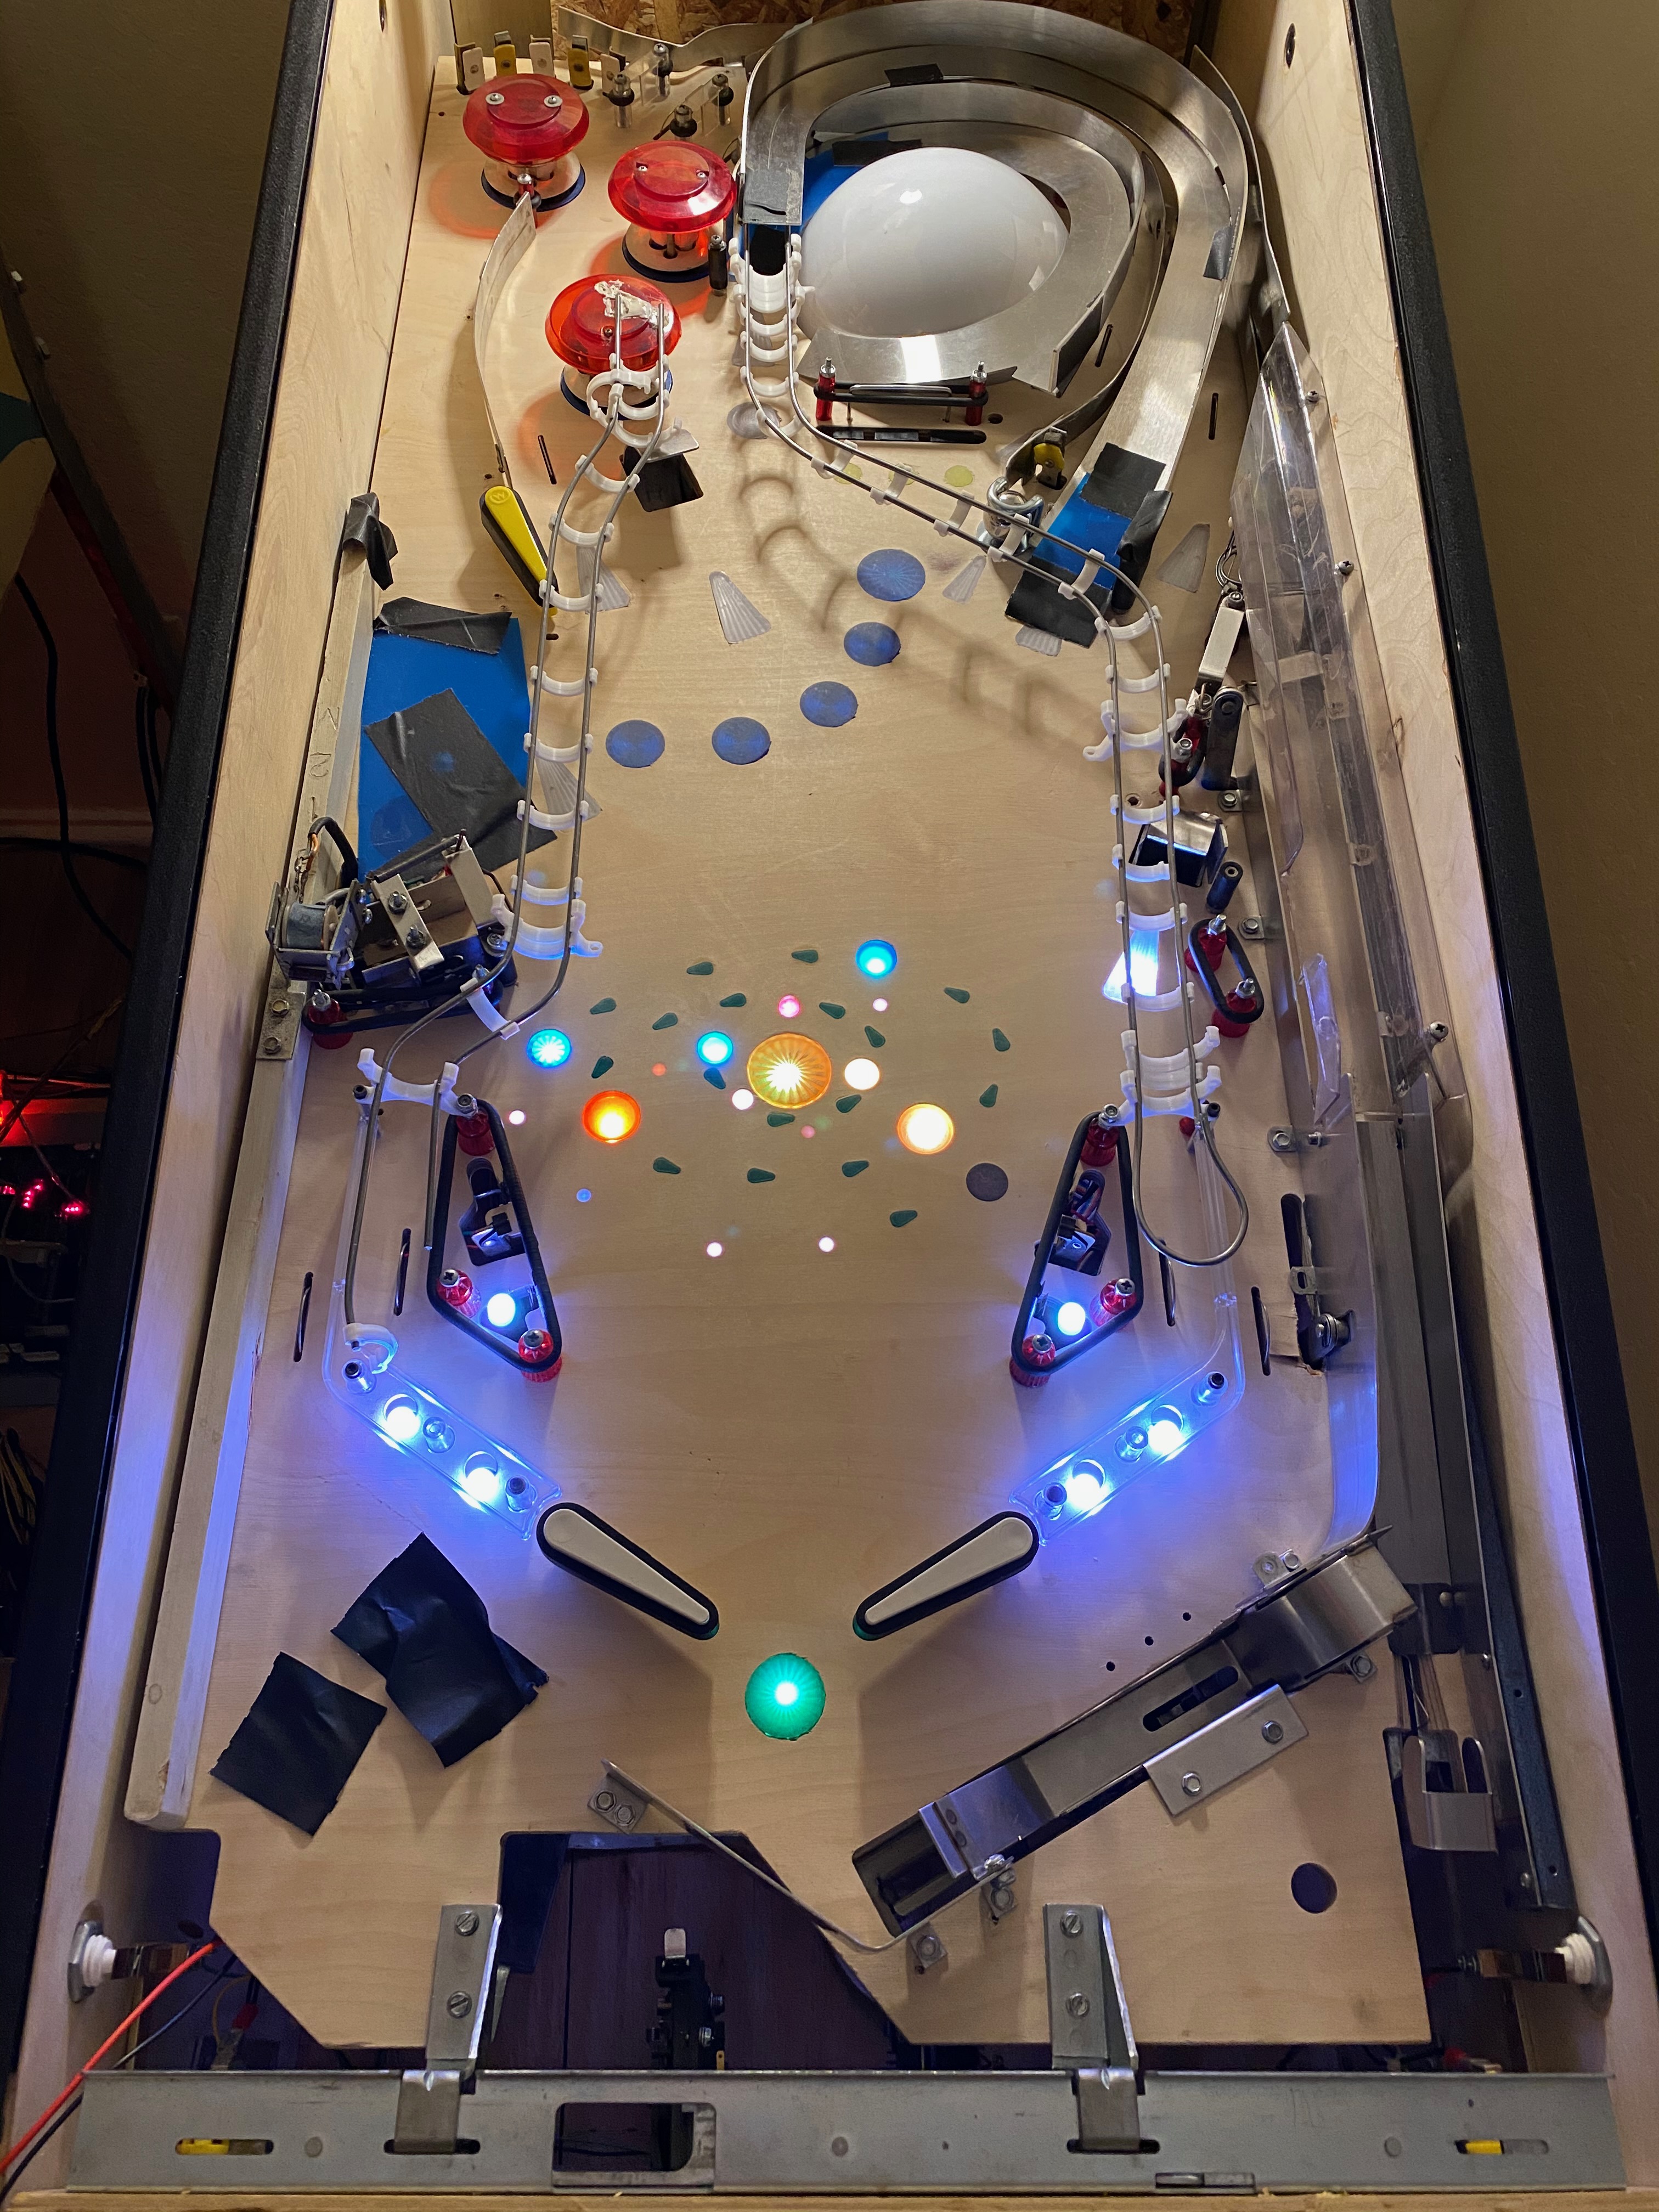
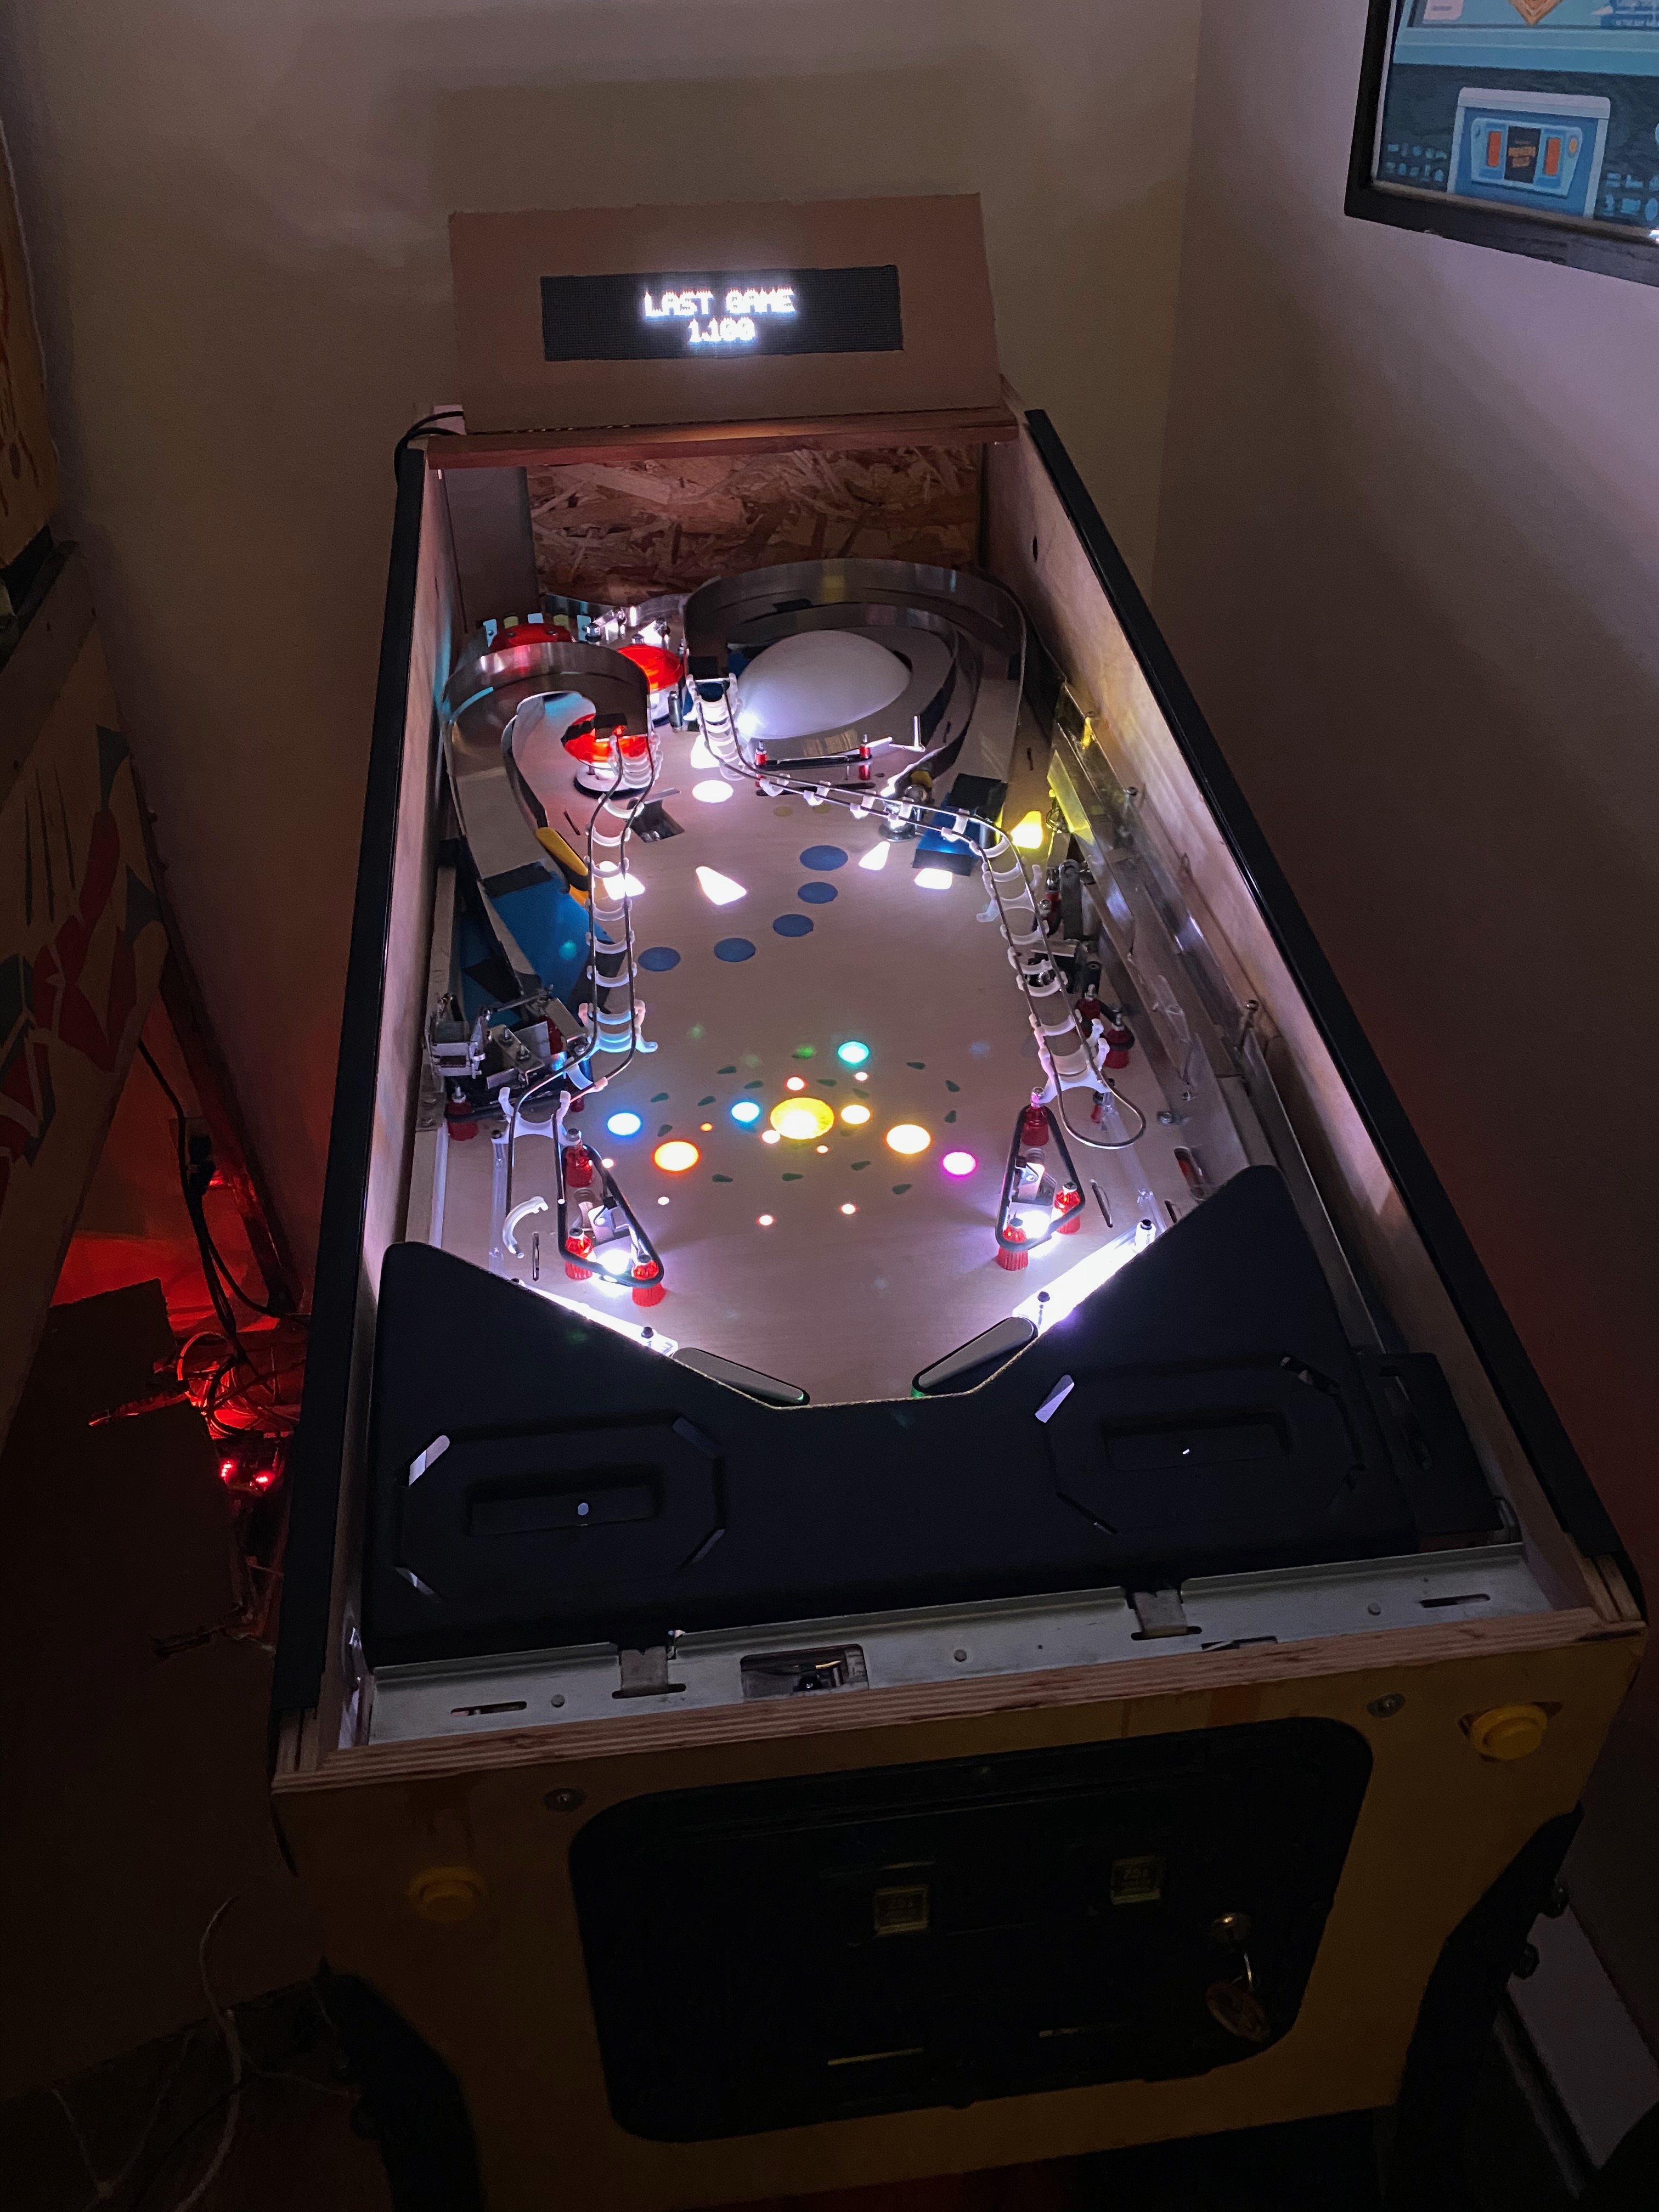
First shot of the fully populated playfield.
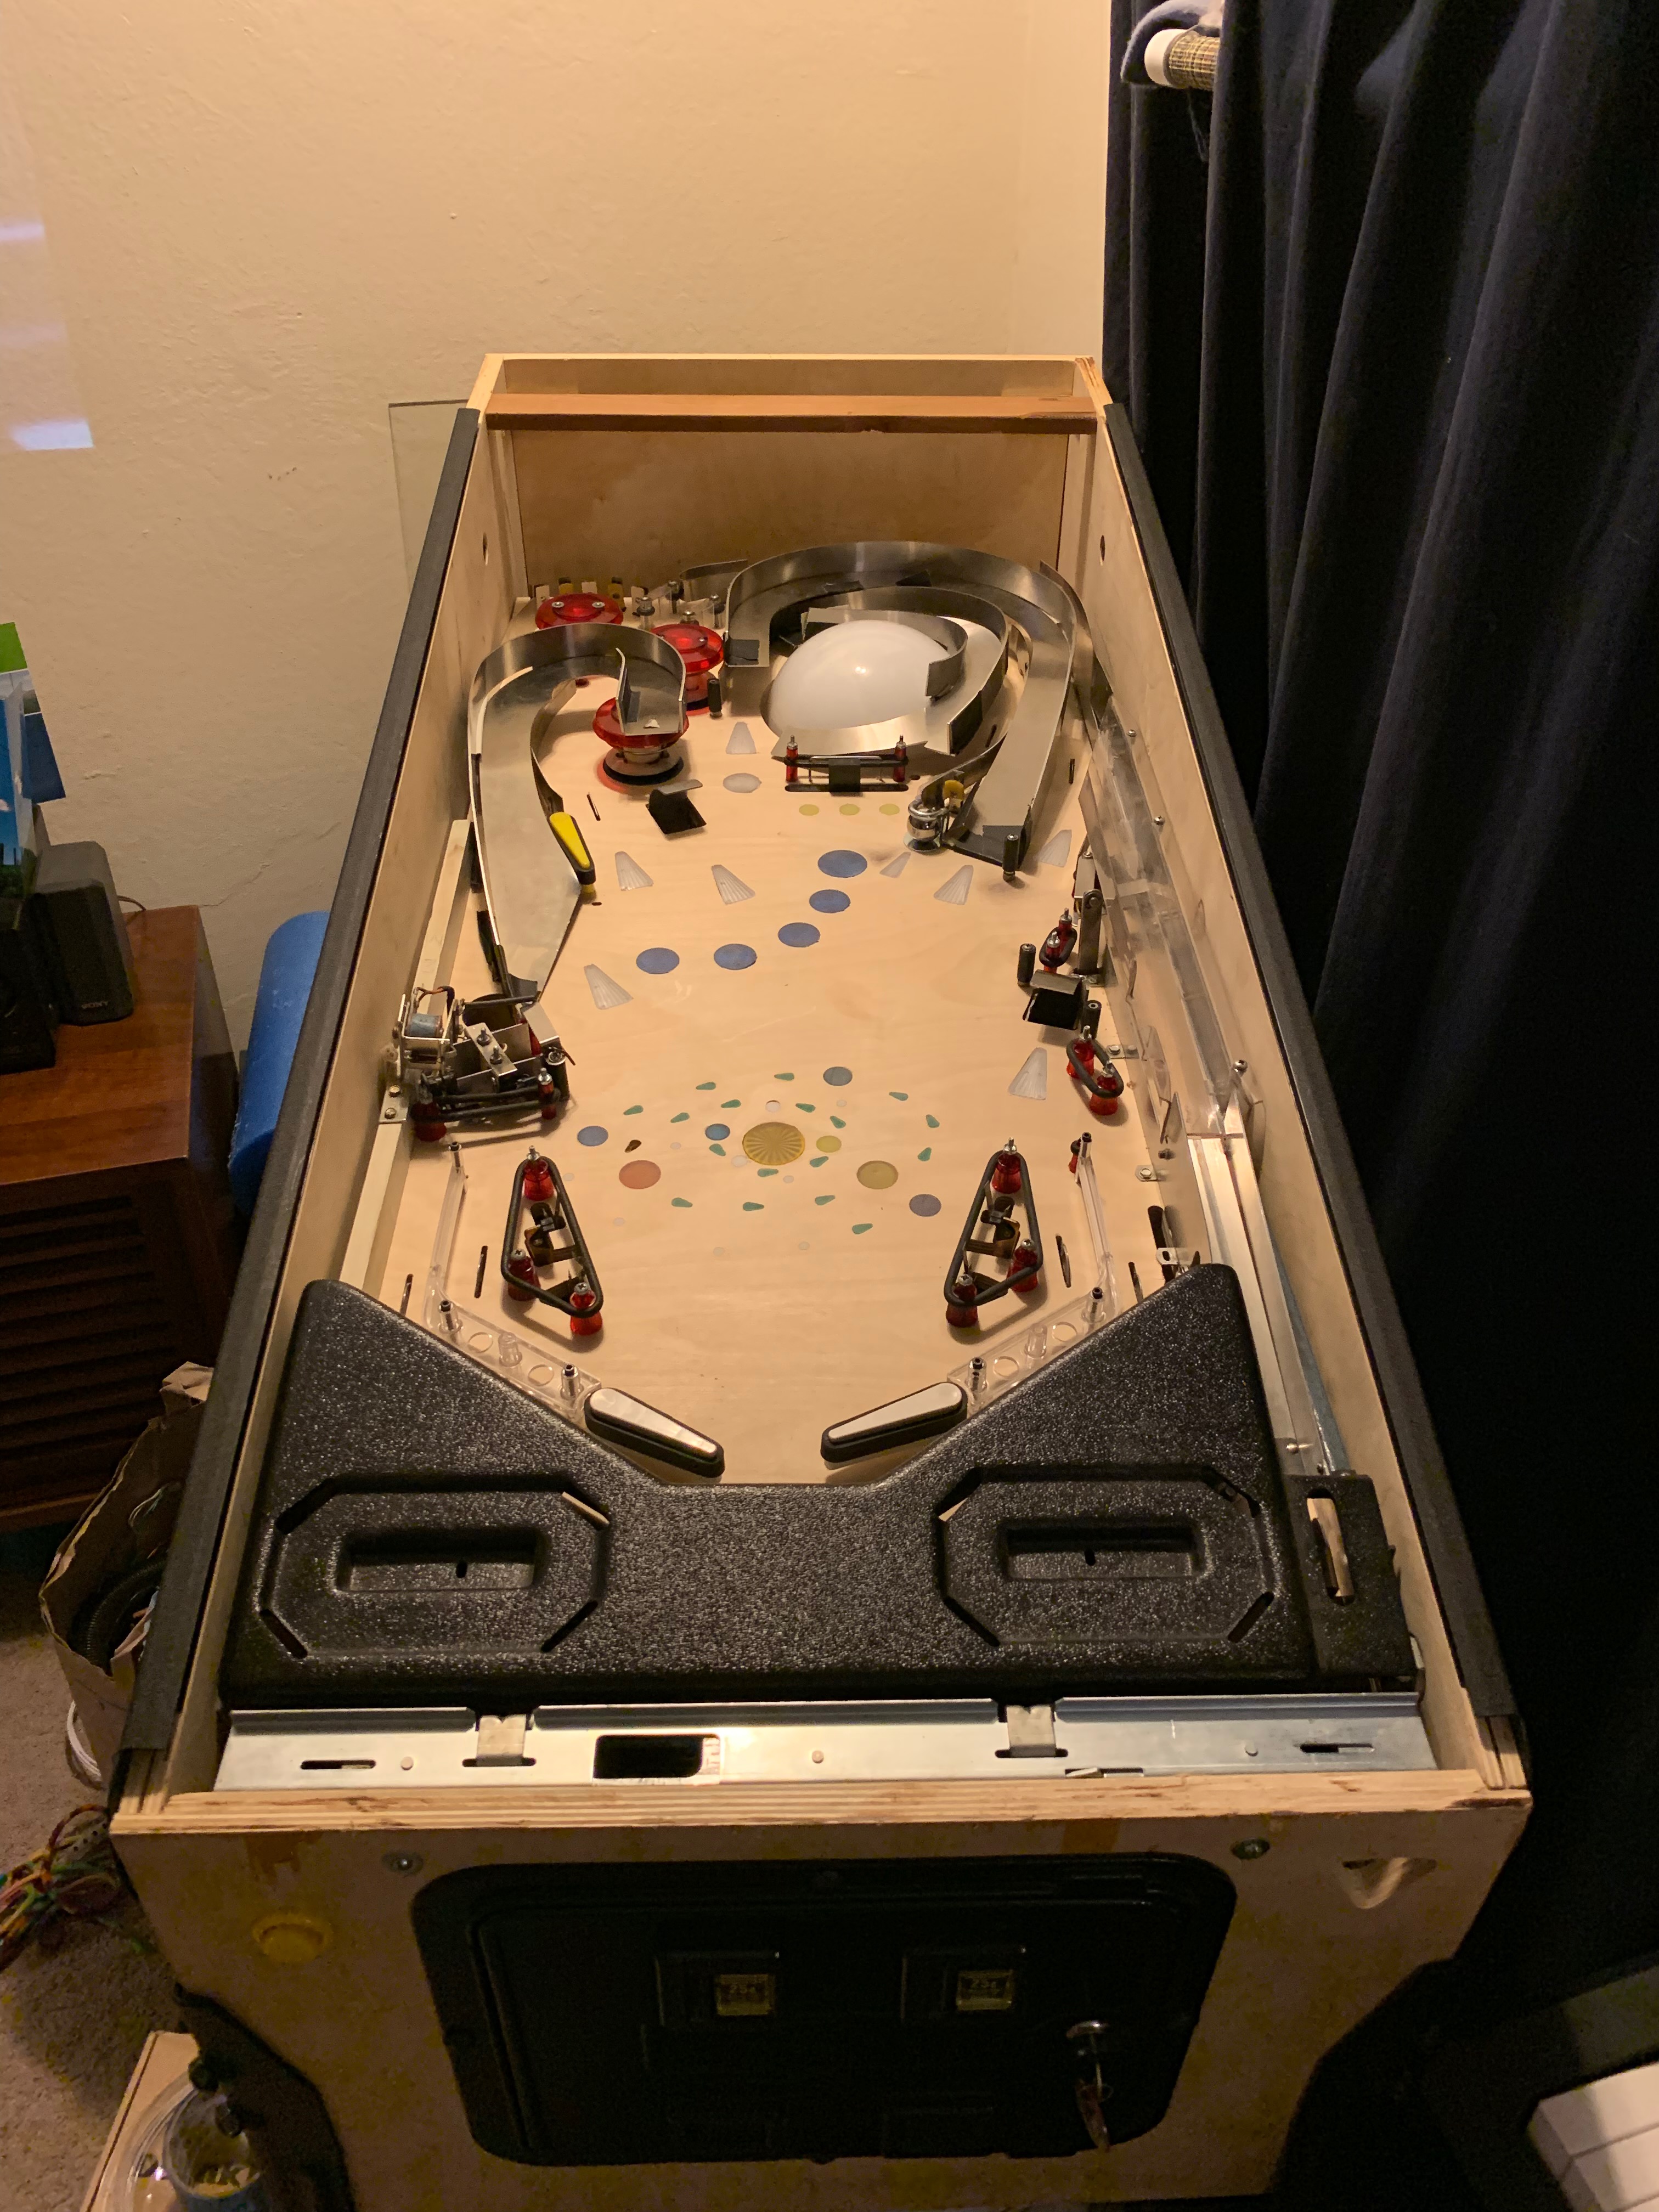
First flips! This is always a scary moment because you’re dealing with 48V flowing through these solenoids. Nothing melted (this time 😅).
I sourced many of my playfield components from Bram Stoker’s Dracula pinball machine. One interesting mechanism is the auto-reversing screw shaft which carries an electromagnet that’s able to move the ball back and forth on the playfield. The dual helix track causes the carrier to reverse automatically without the need for endstop switches to reverse the motor (though they are present to stop the carriage at either end for gameplay purposes).
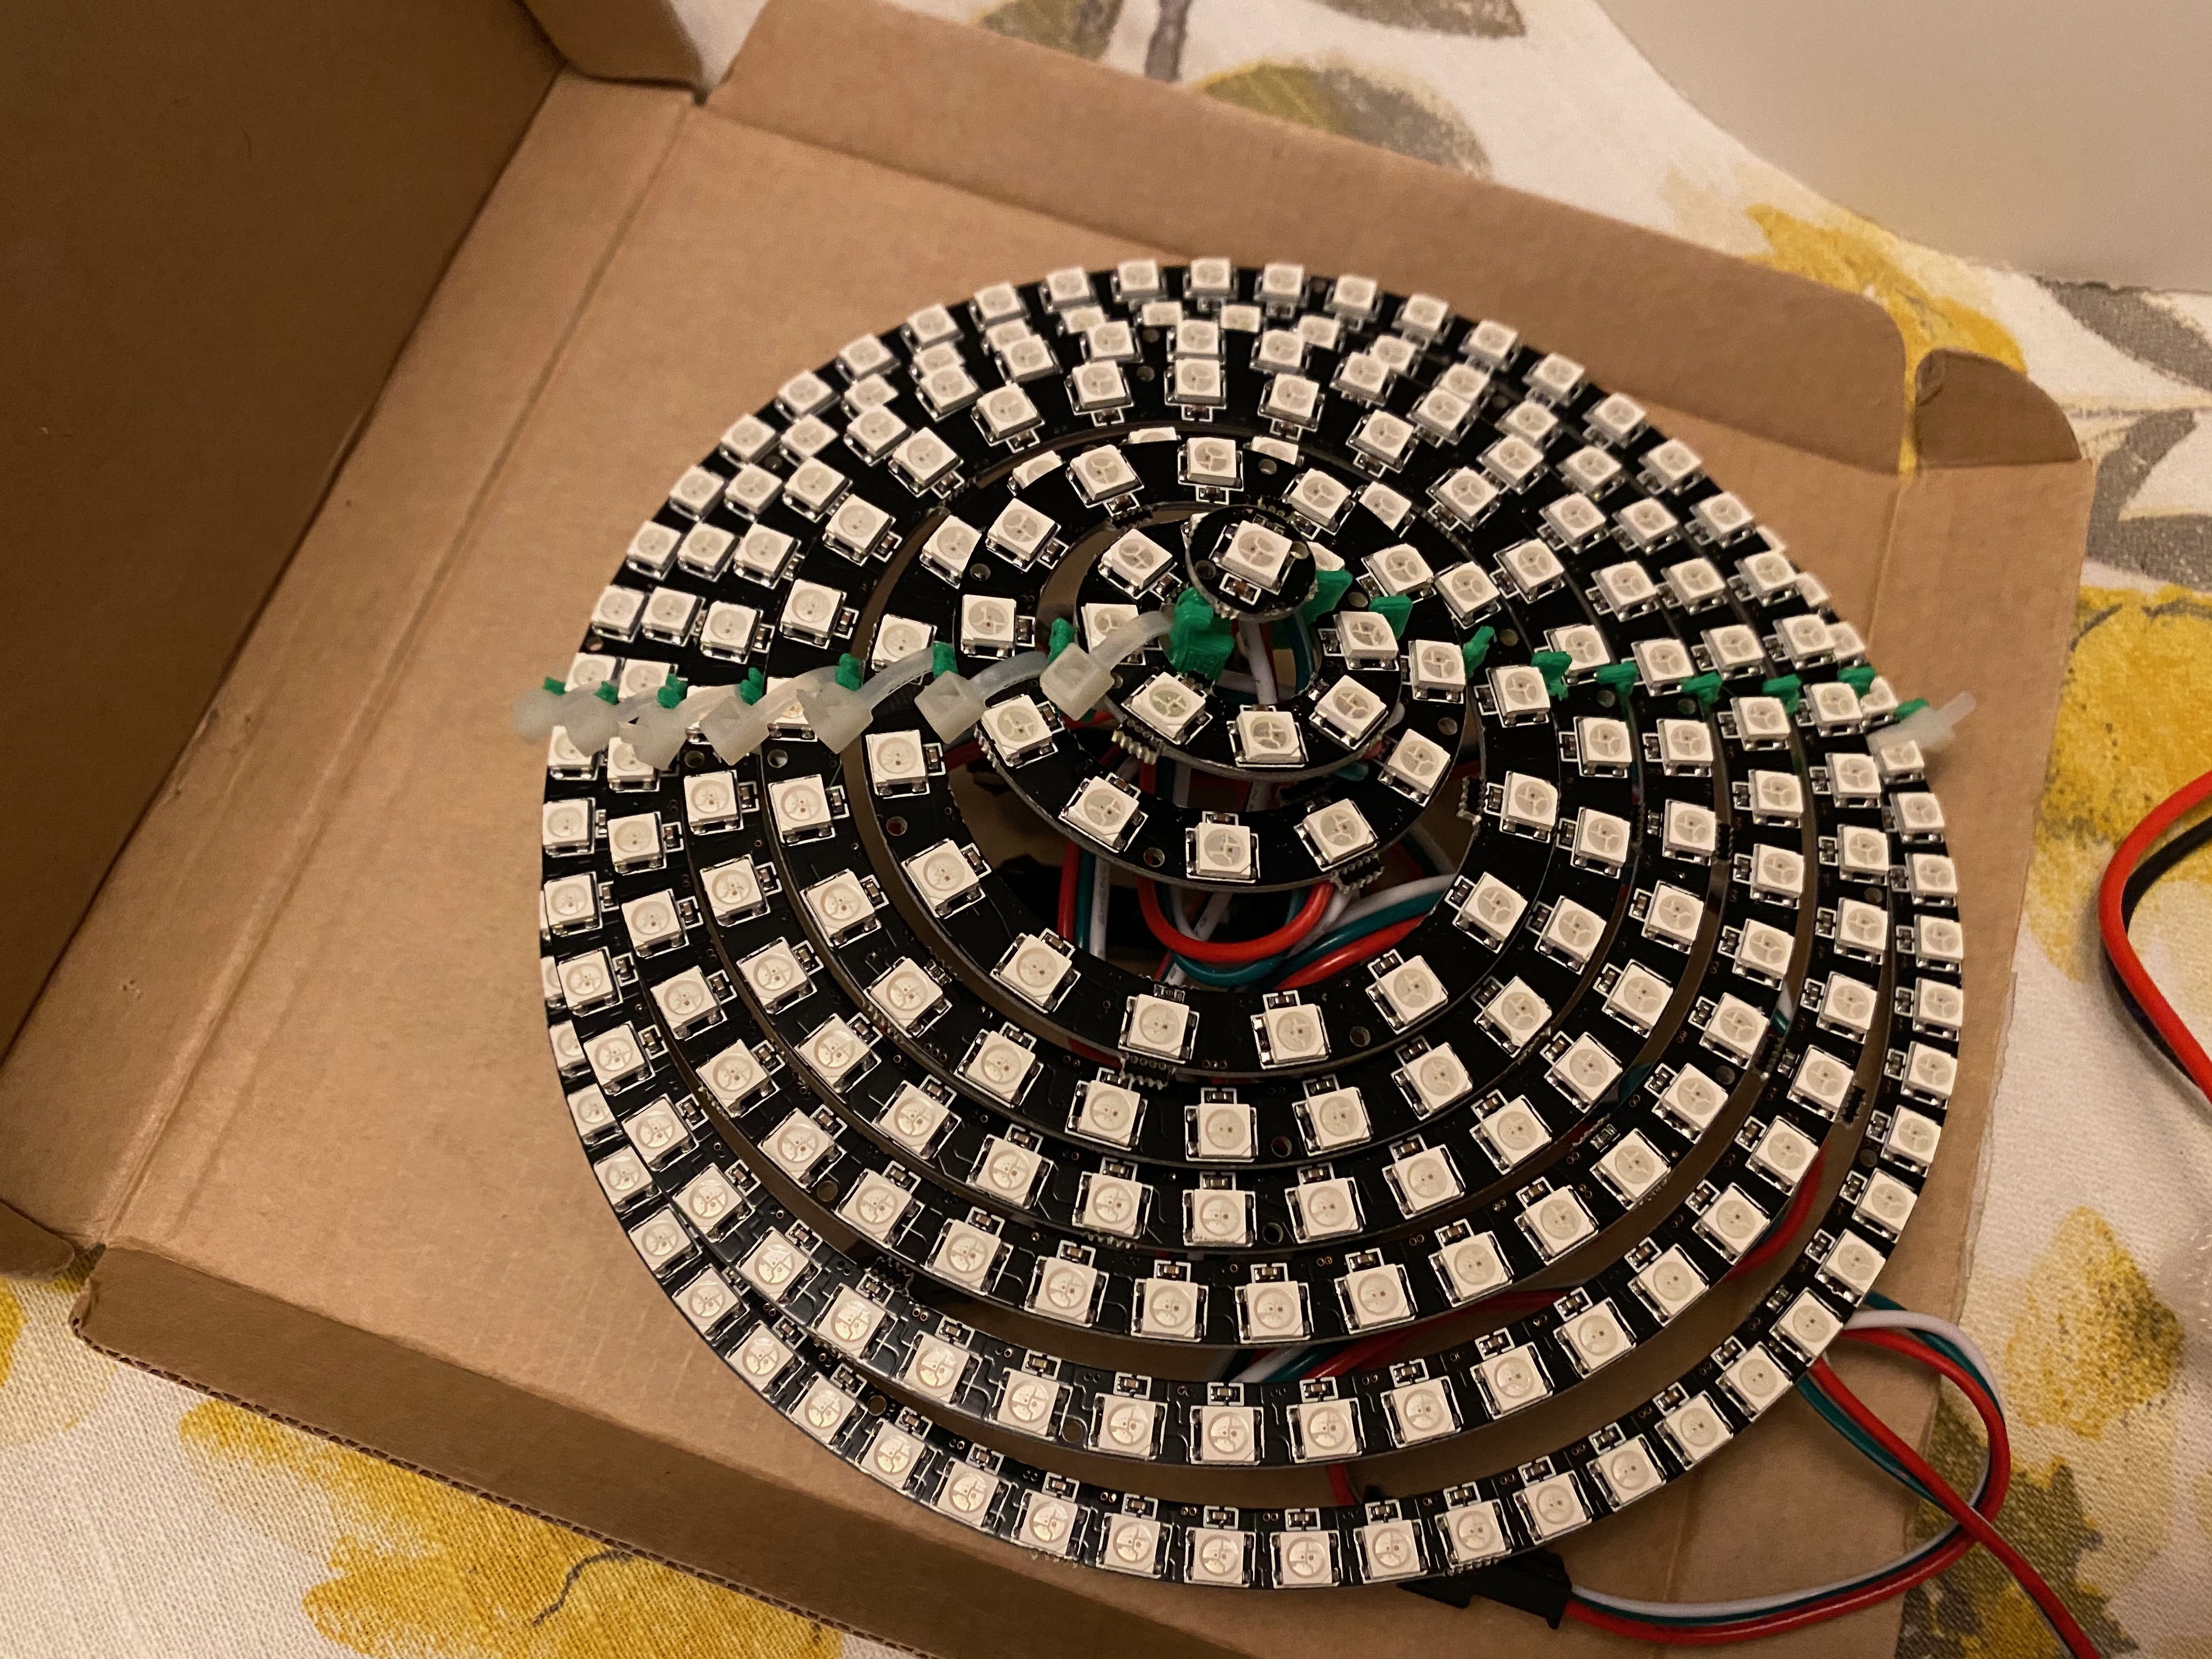
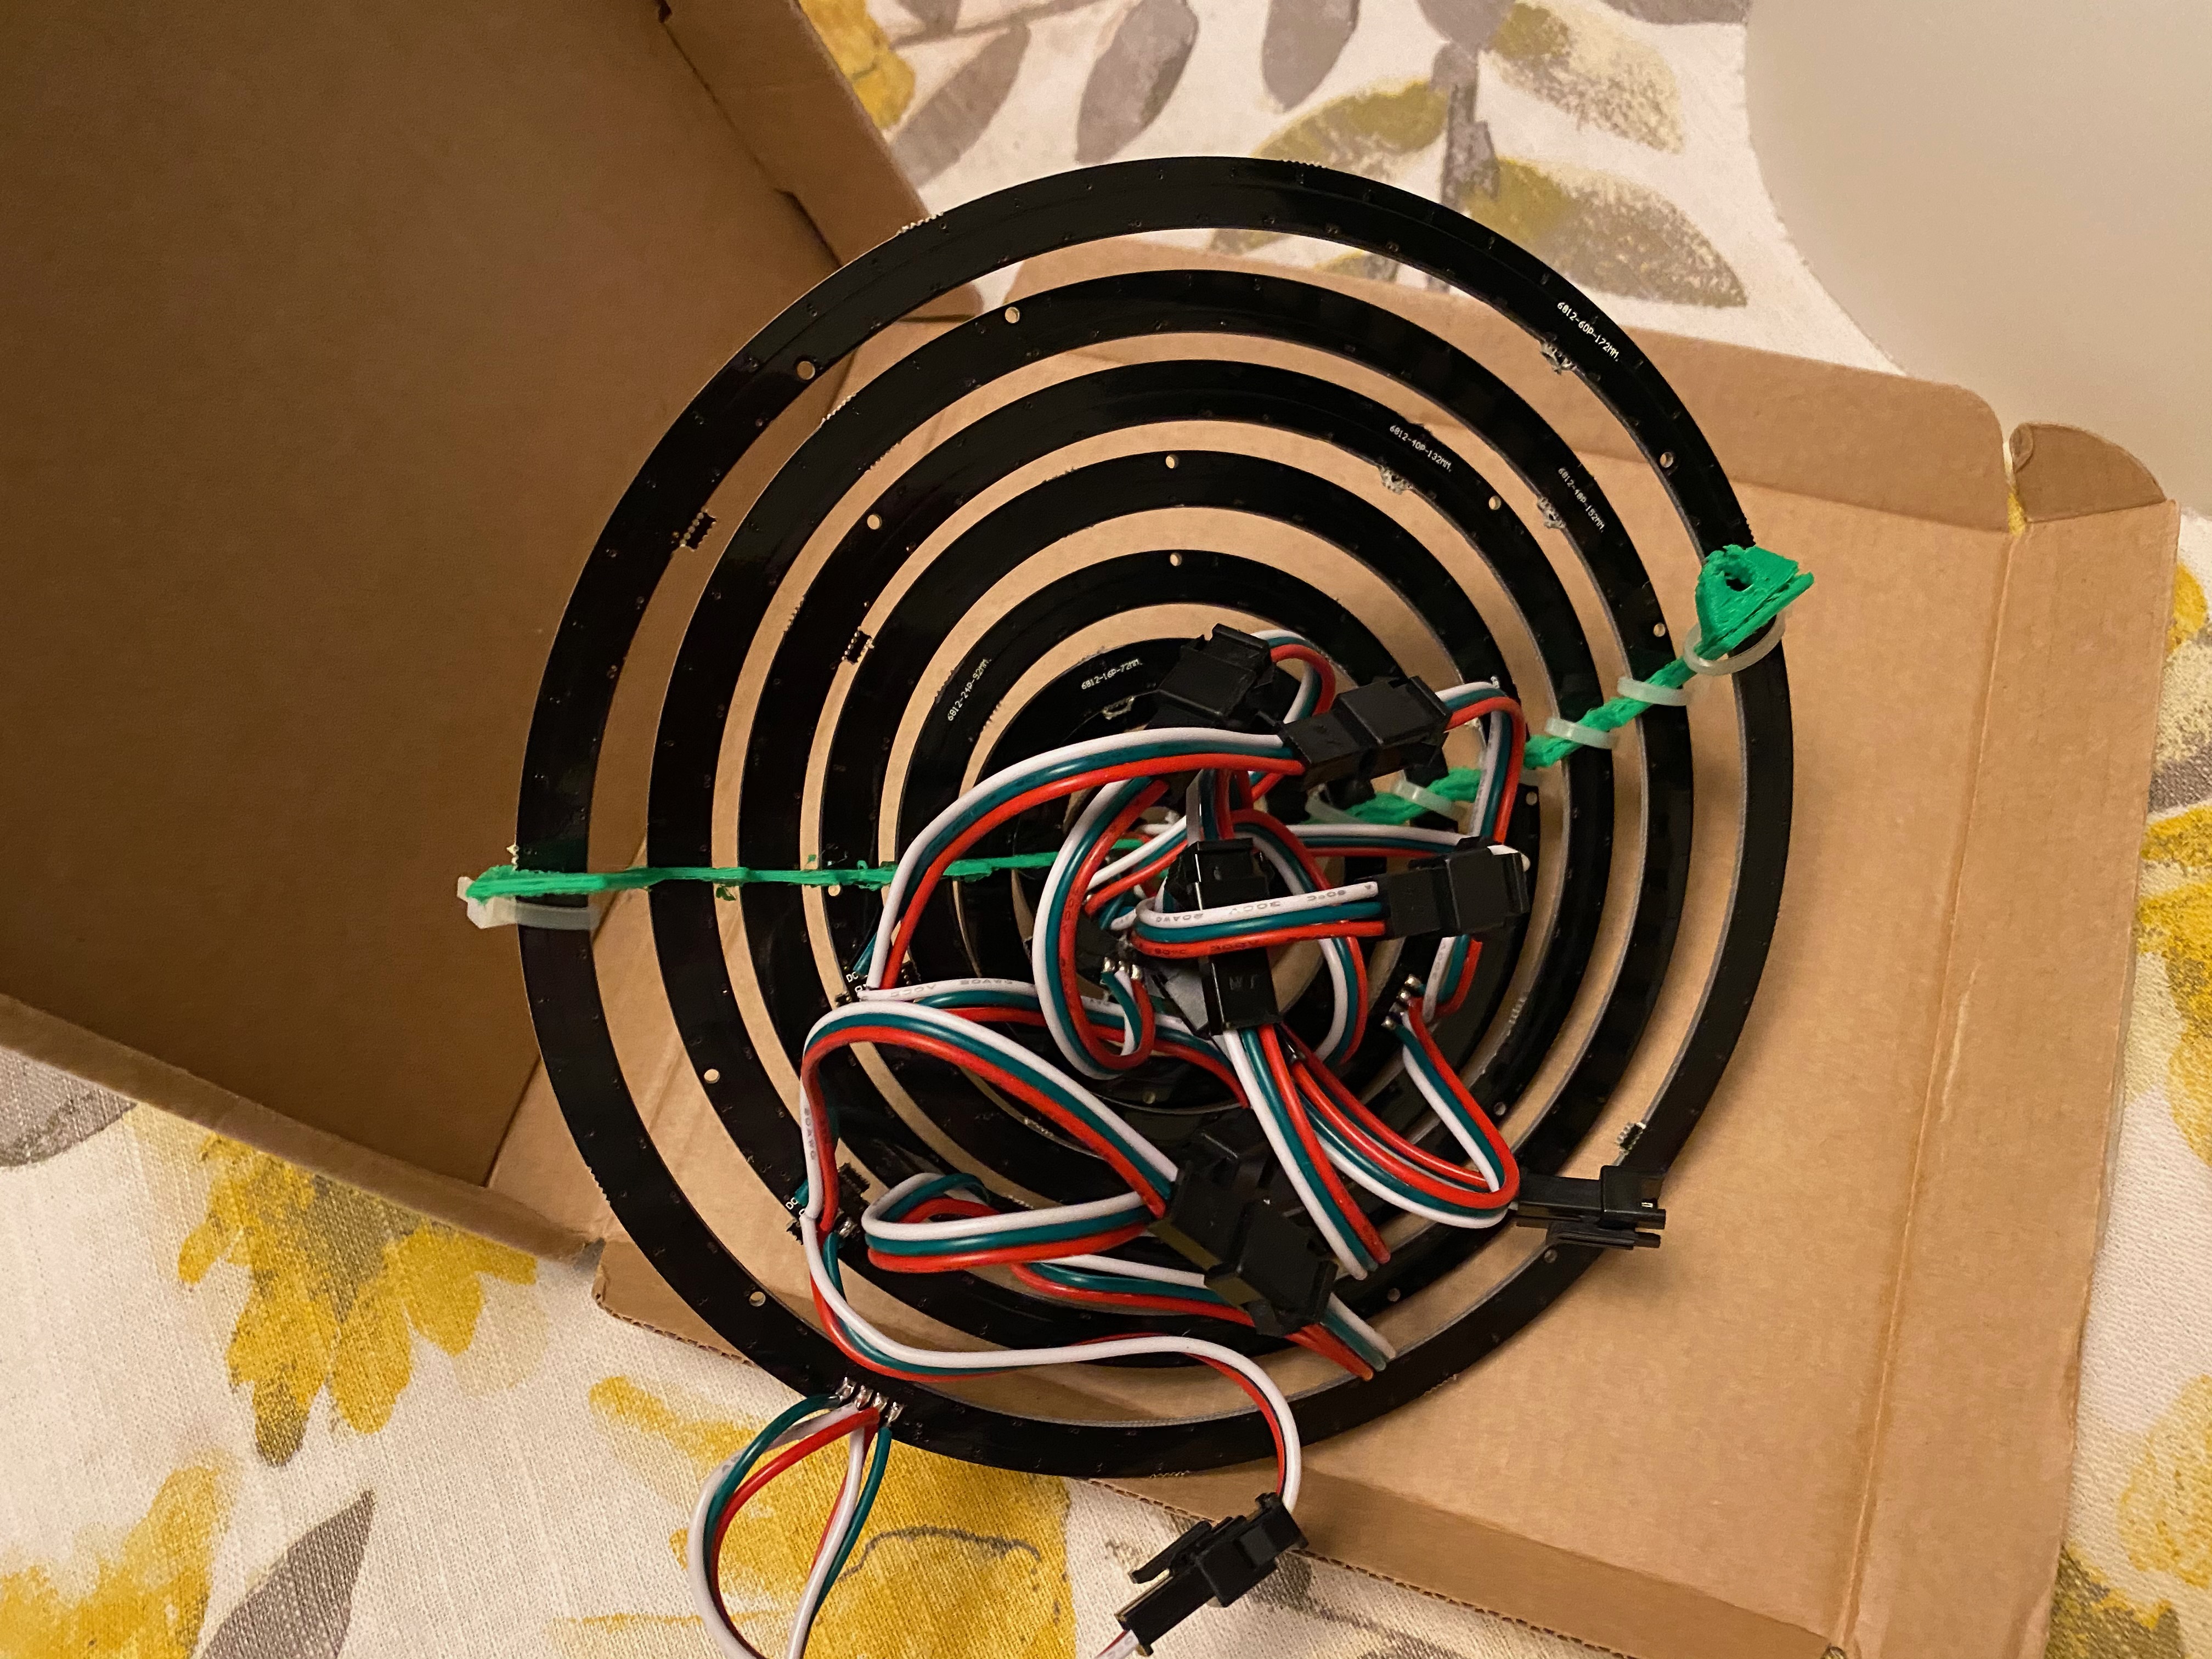
First batch of LED lights. Wiring these can get messy!
Nothing like the “hello world” blinking light!
More light tests.
After buying two LED dot matrix display displays with the right dot pitch spacing, I was able to piece together a DMD and get it showing an attract mode with Mission Pinball Framework. The game is far from working, but I could at least play through a game now! 🎉
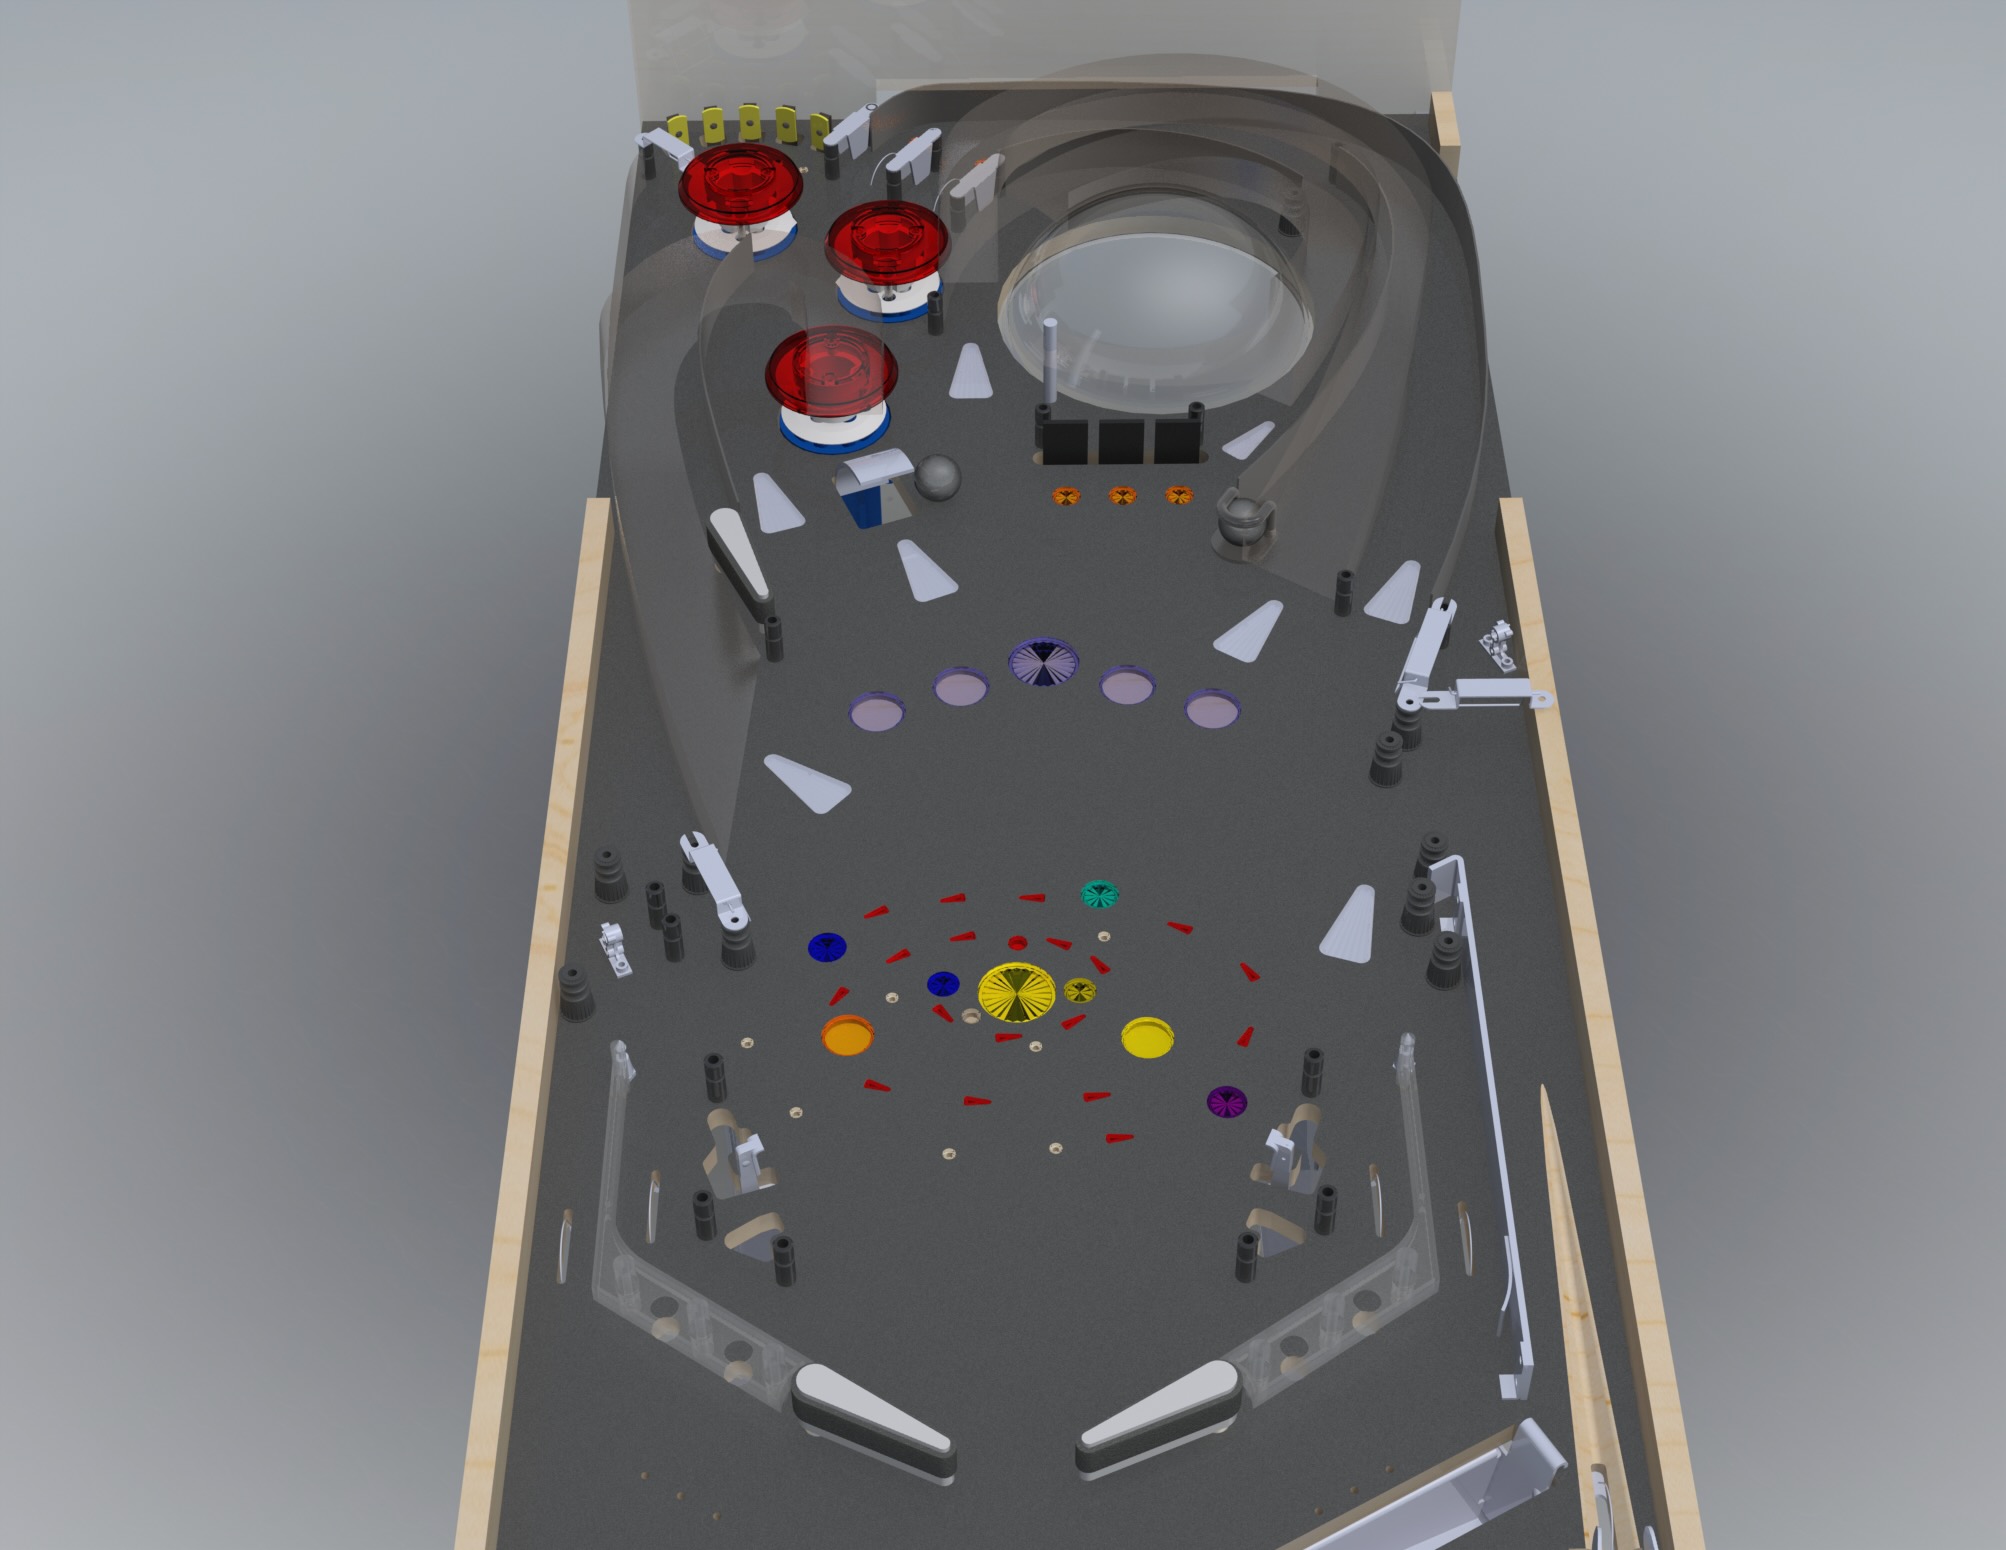
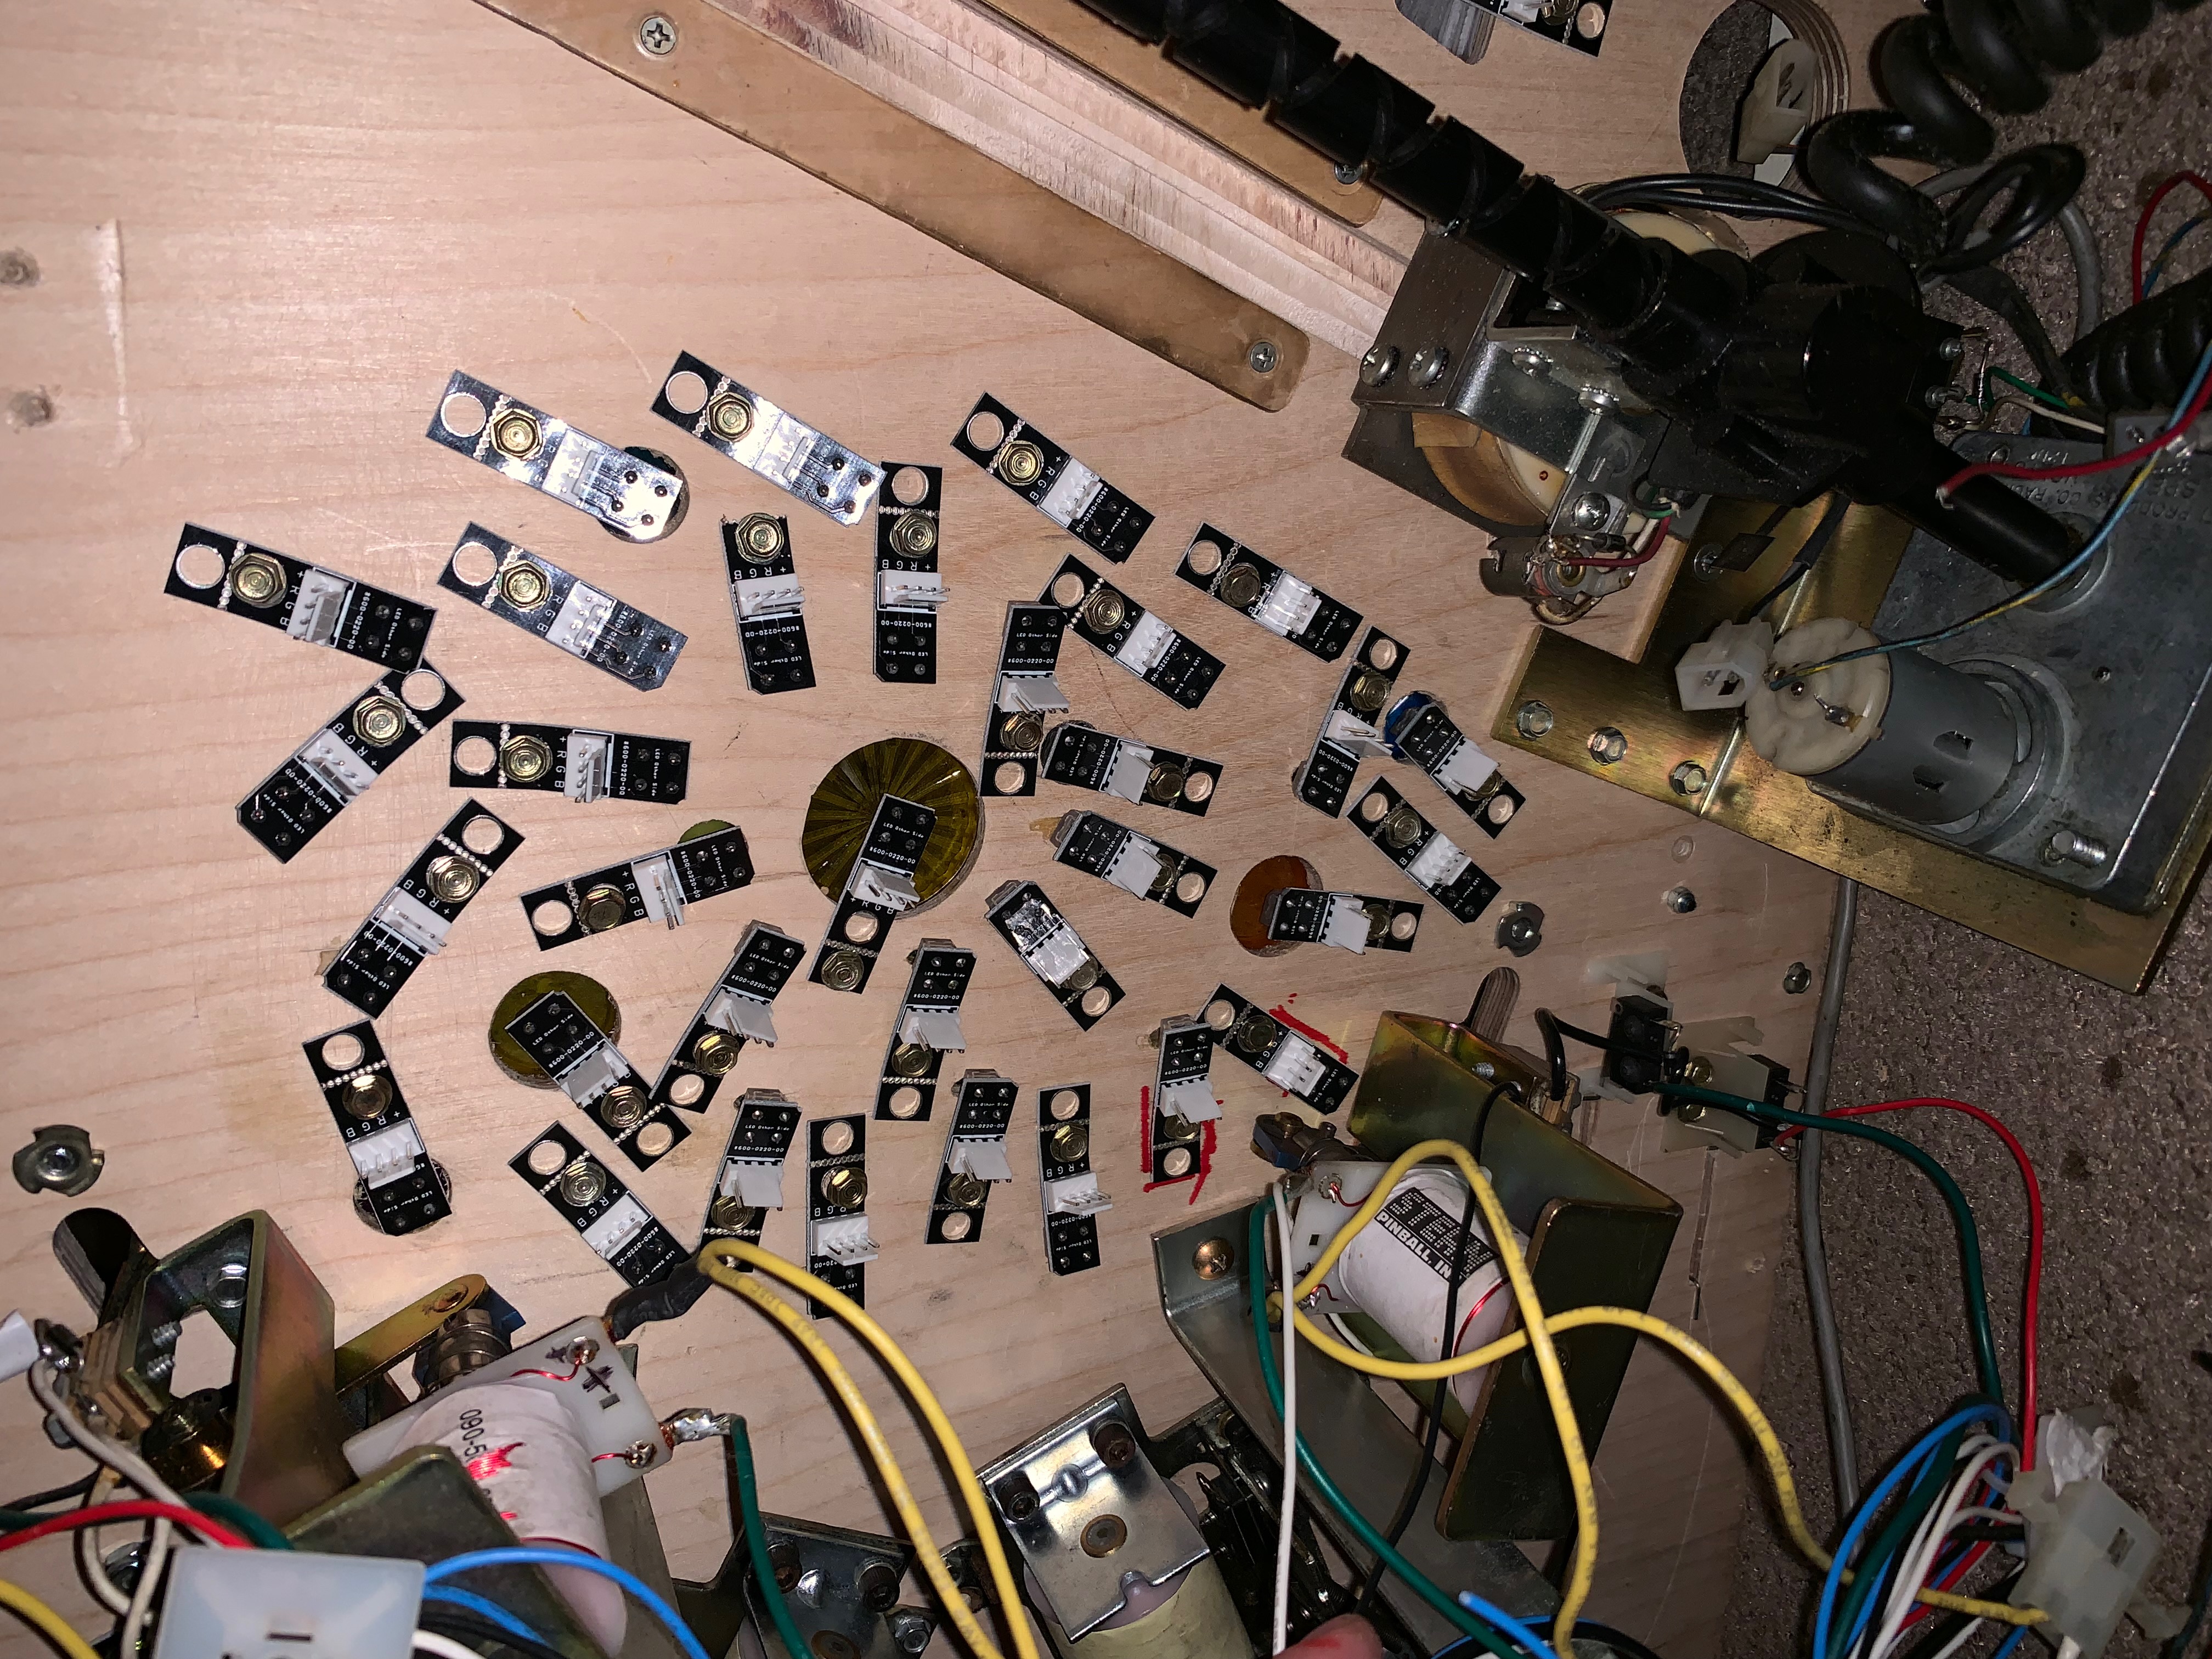
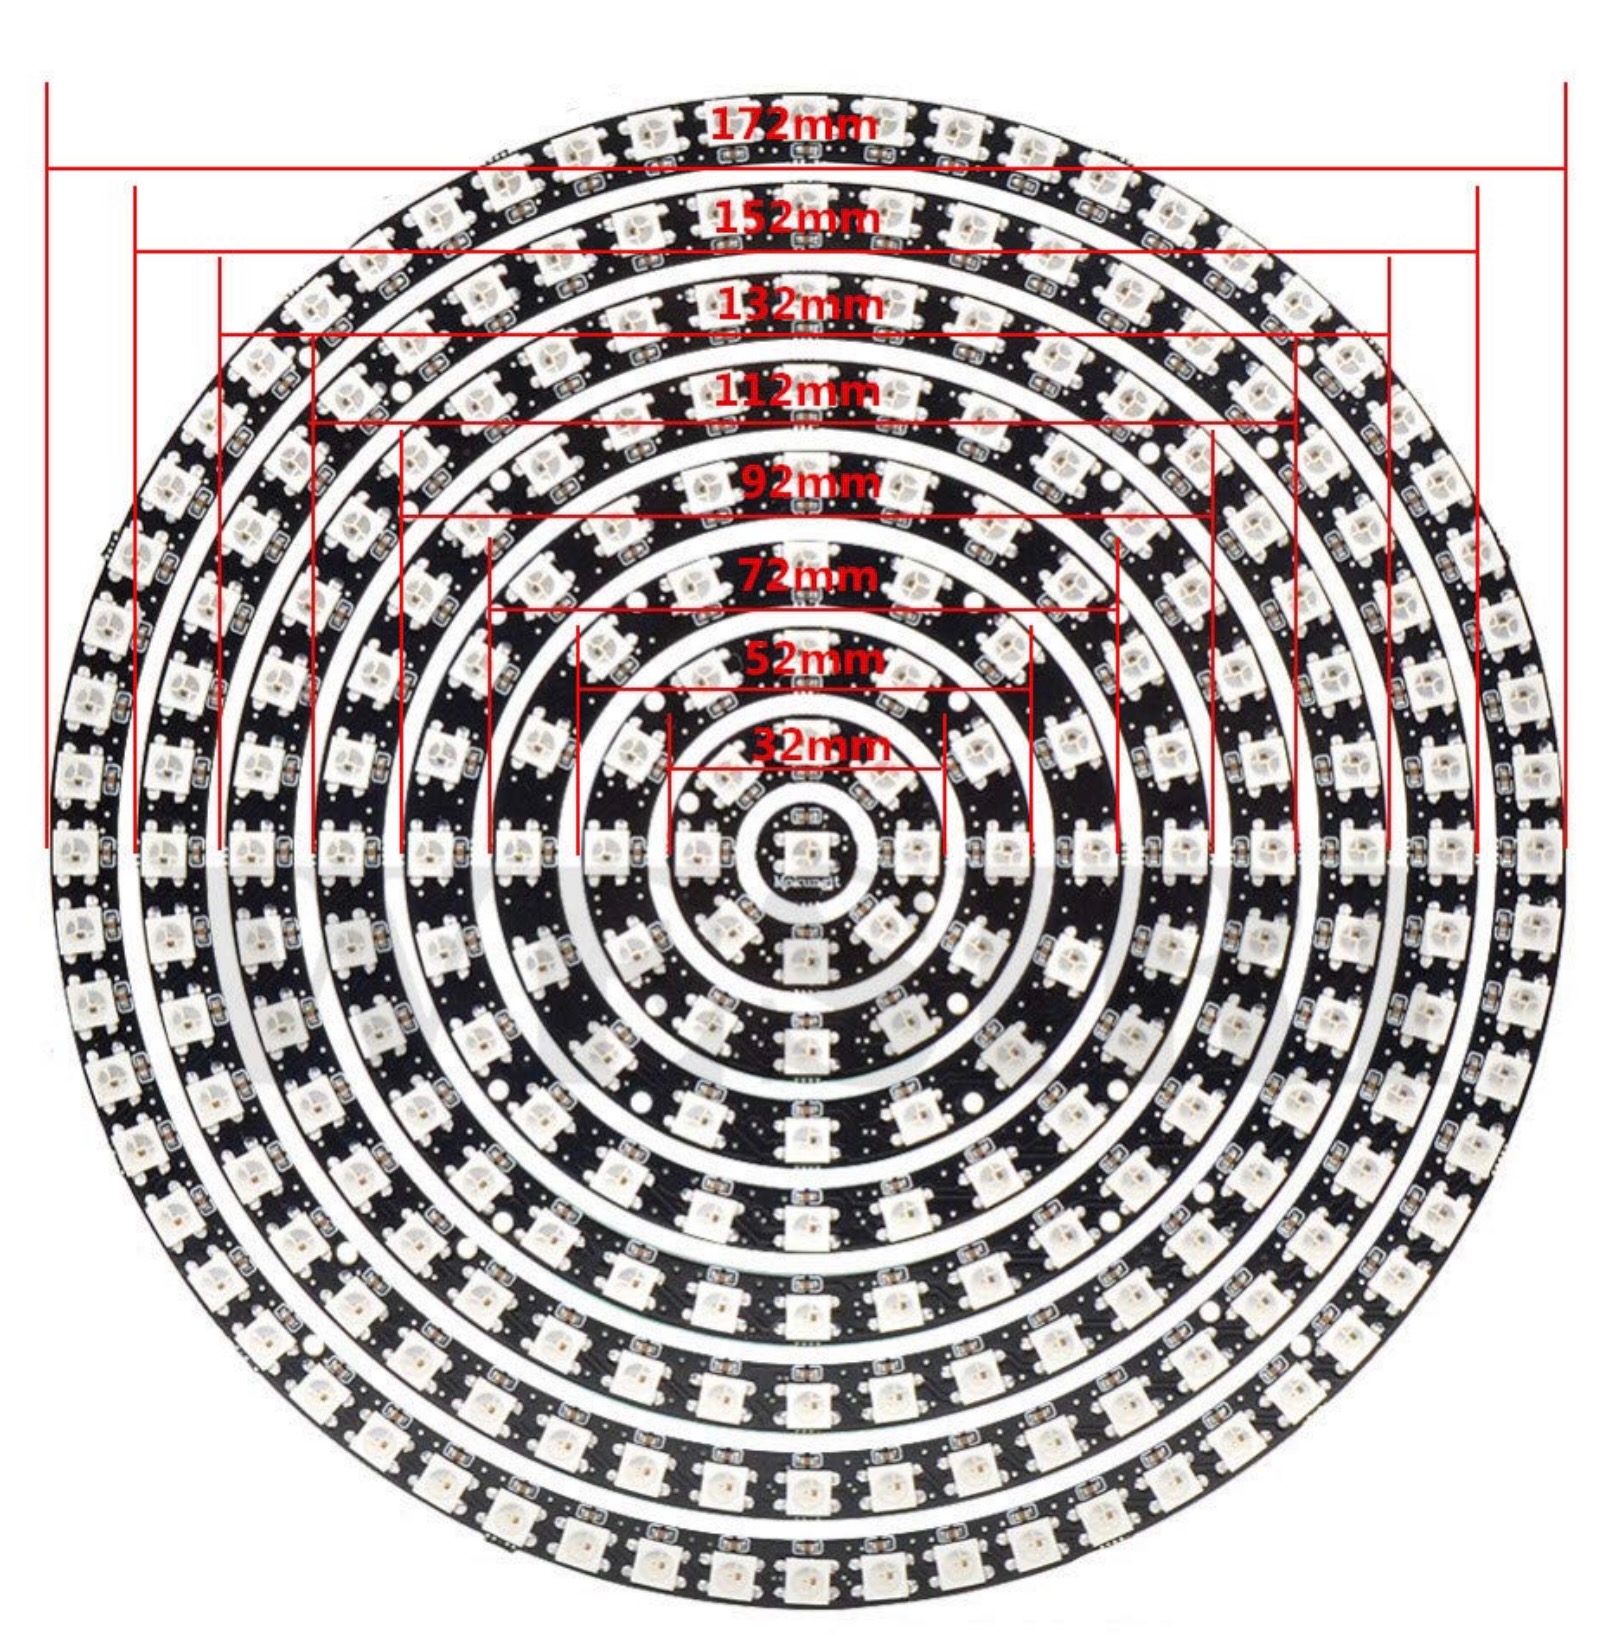
One central element to Gravity pinball is the Planet sphere toy. Part of the gameplay is to explore the solar system, and I wanted to have the planet act as a spherical display. After a lot of researching, I realized I had to build my own solution. Initially I was going to use strips of LED lights, but then I found concentric LED rings for purchase on adafruit.
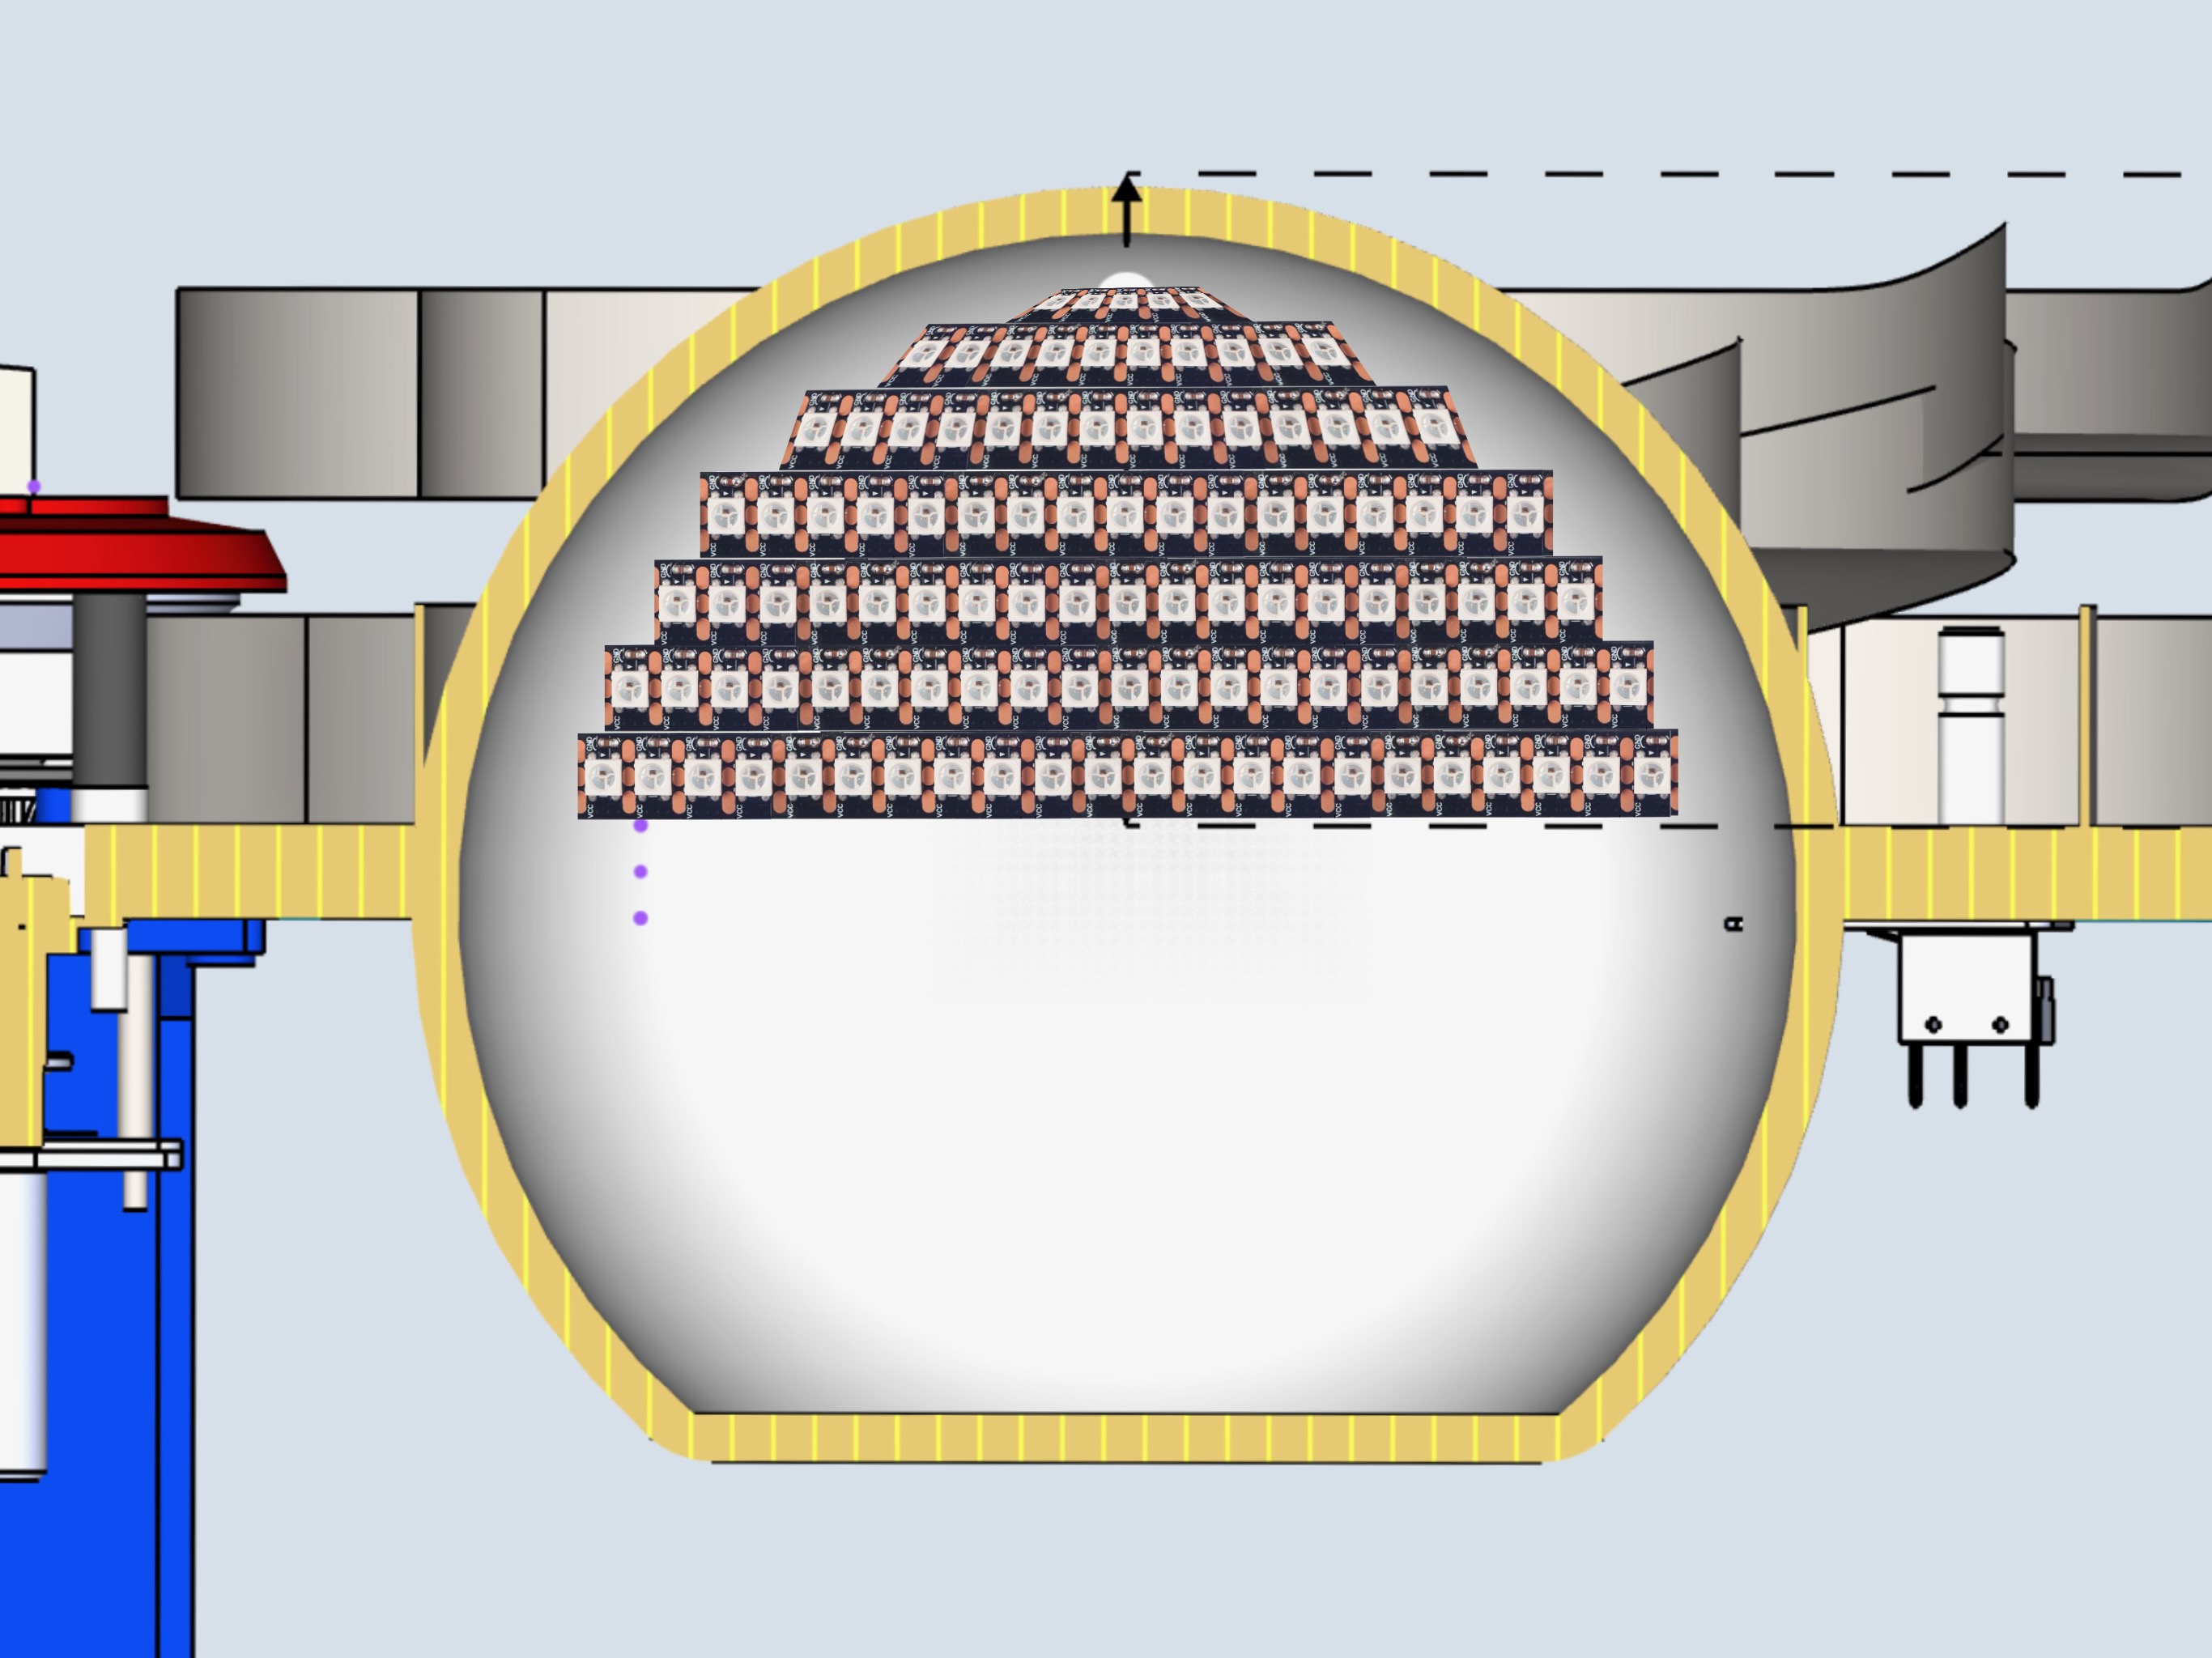
Using Processing along with some community projects that took care of the texture mapping to 3D sphere, I was able to finally test out the spherical display. I think it looks great!

Well, the sad part is these pictures are from 2020. Lots of life changes happened: the pandemic hit, then I became a father, then we moved into a new place, then I started a new company, then had a second kid – phew! I do plan on returning to this project again, so keep an eye out!